Title is pretty much it. I’m using the Inovelli Driver 3-27-2020 on a Red dimmer.
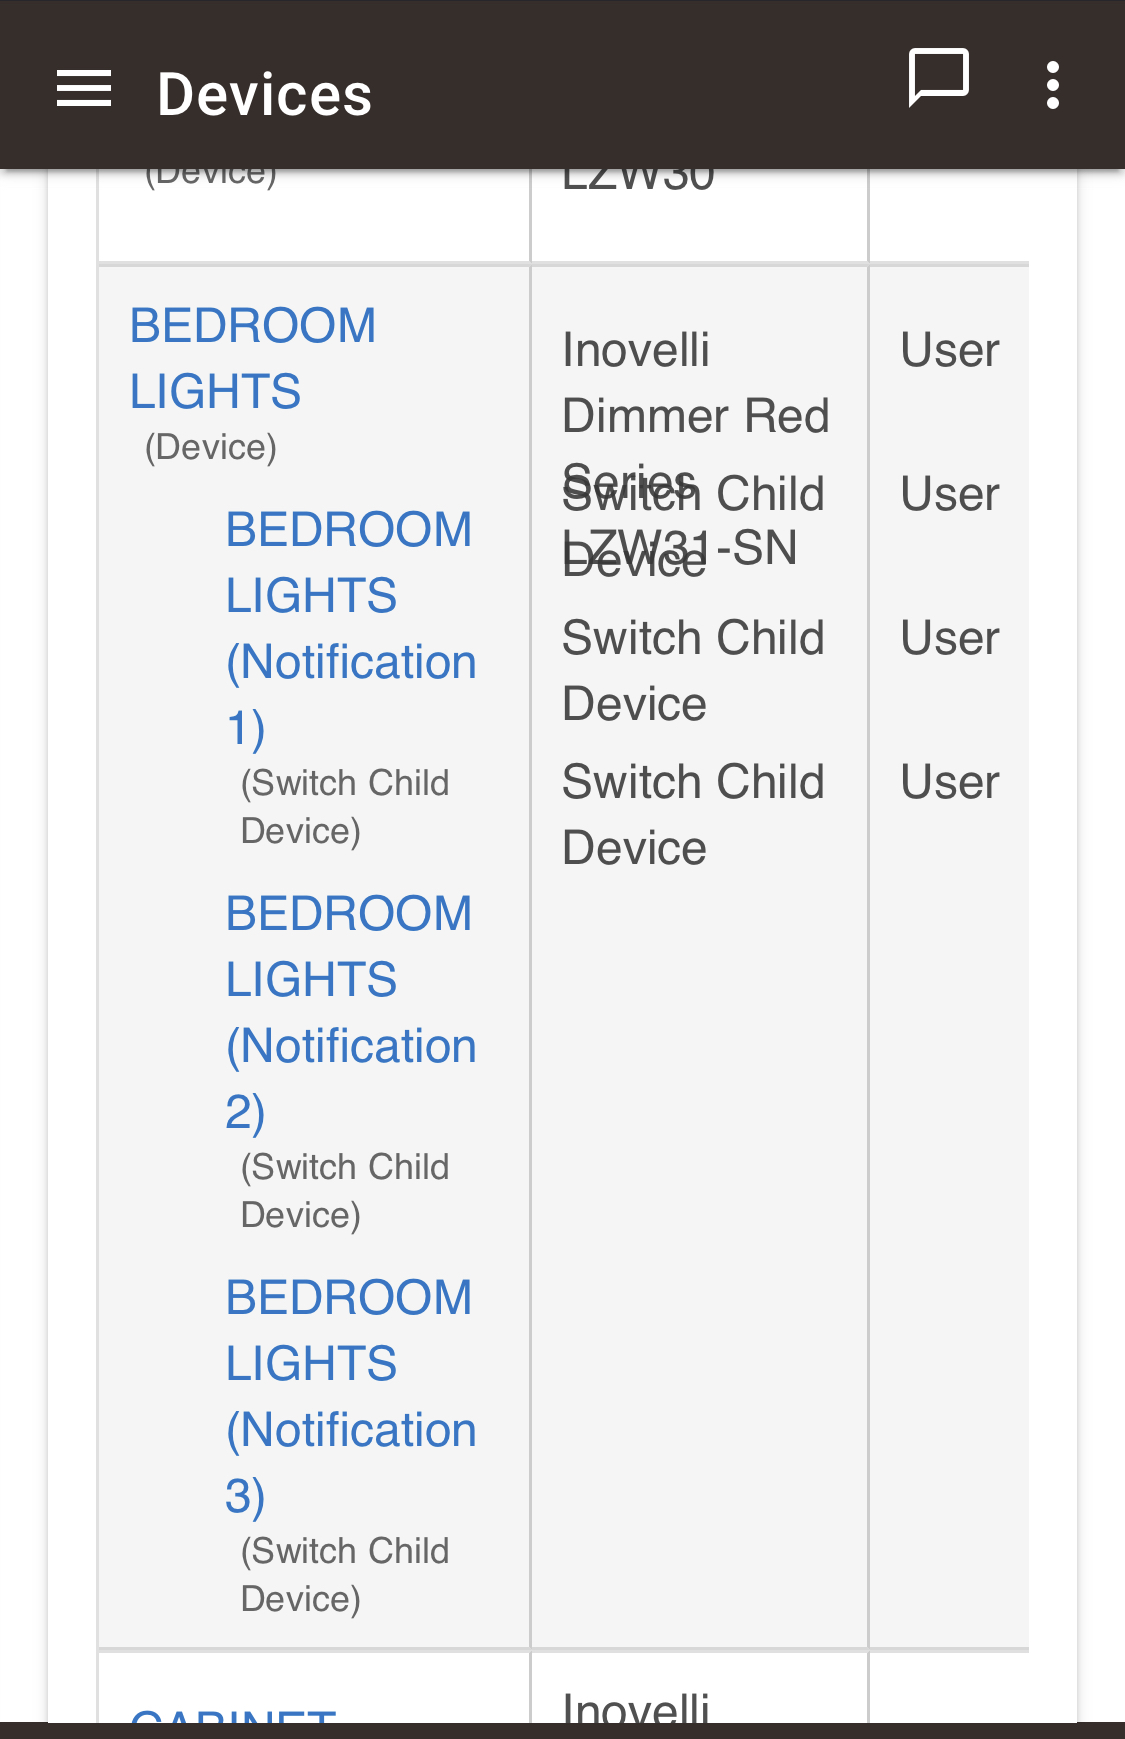
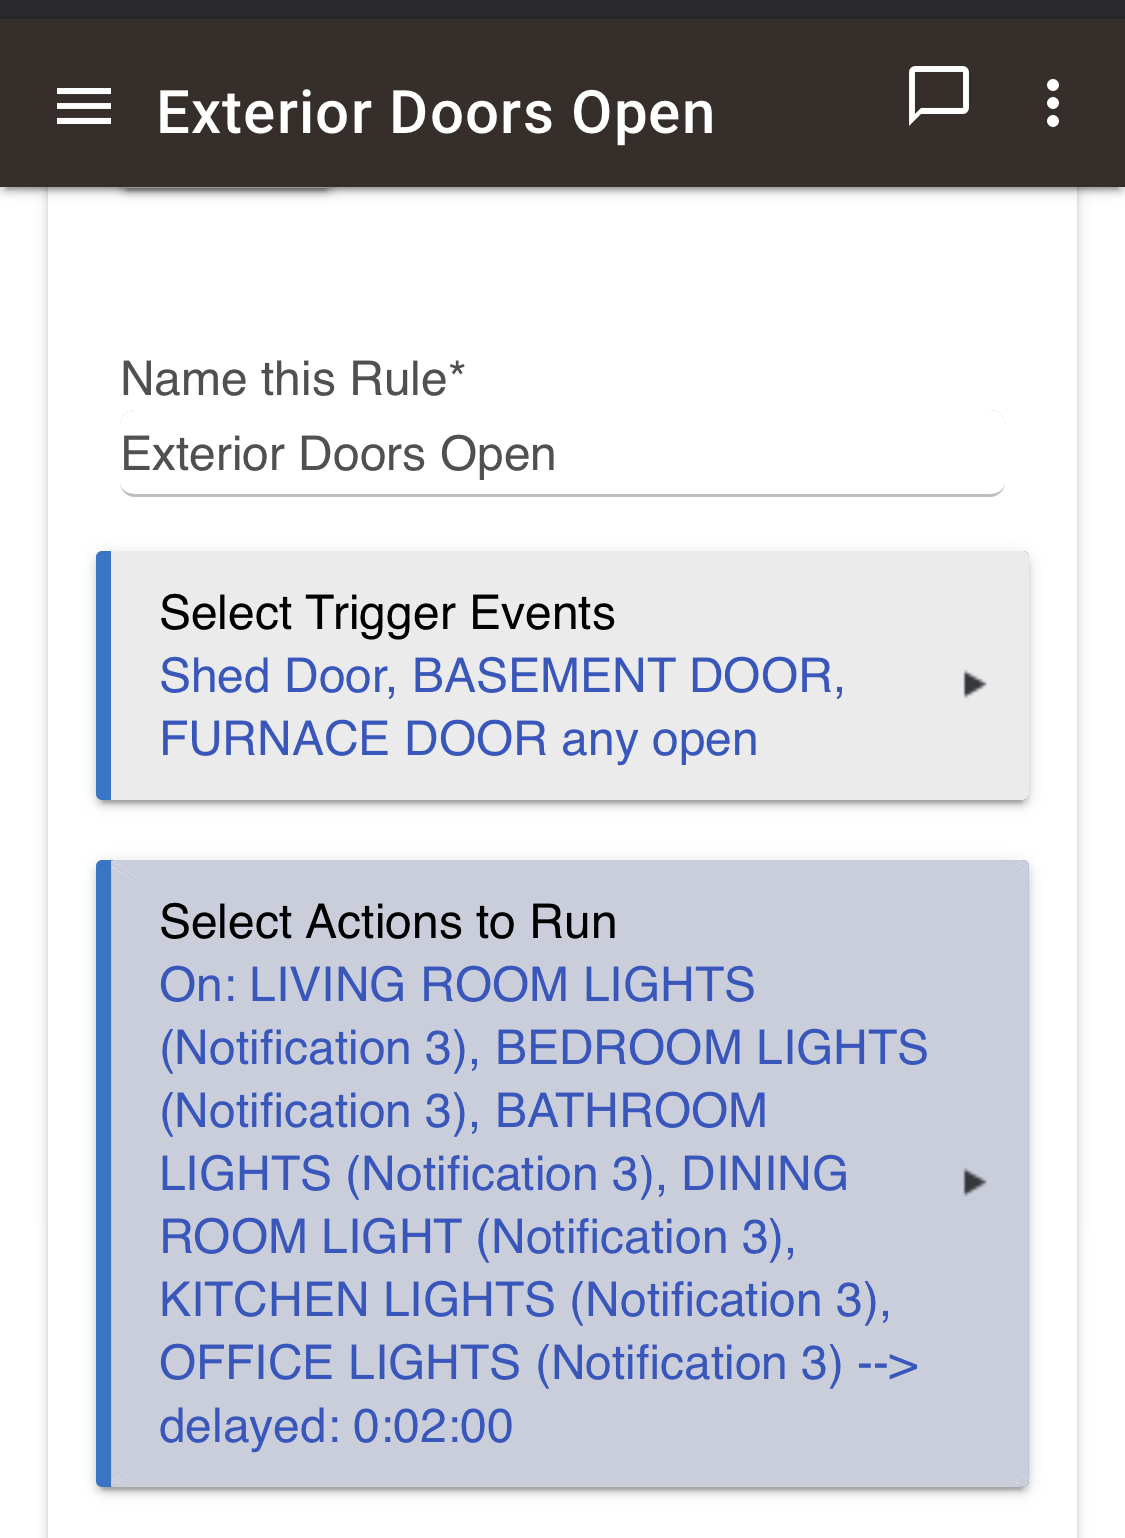
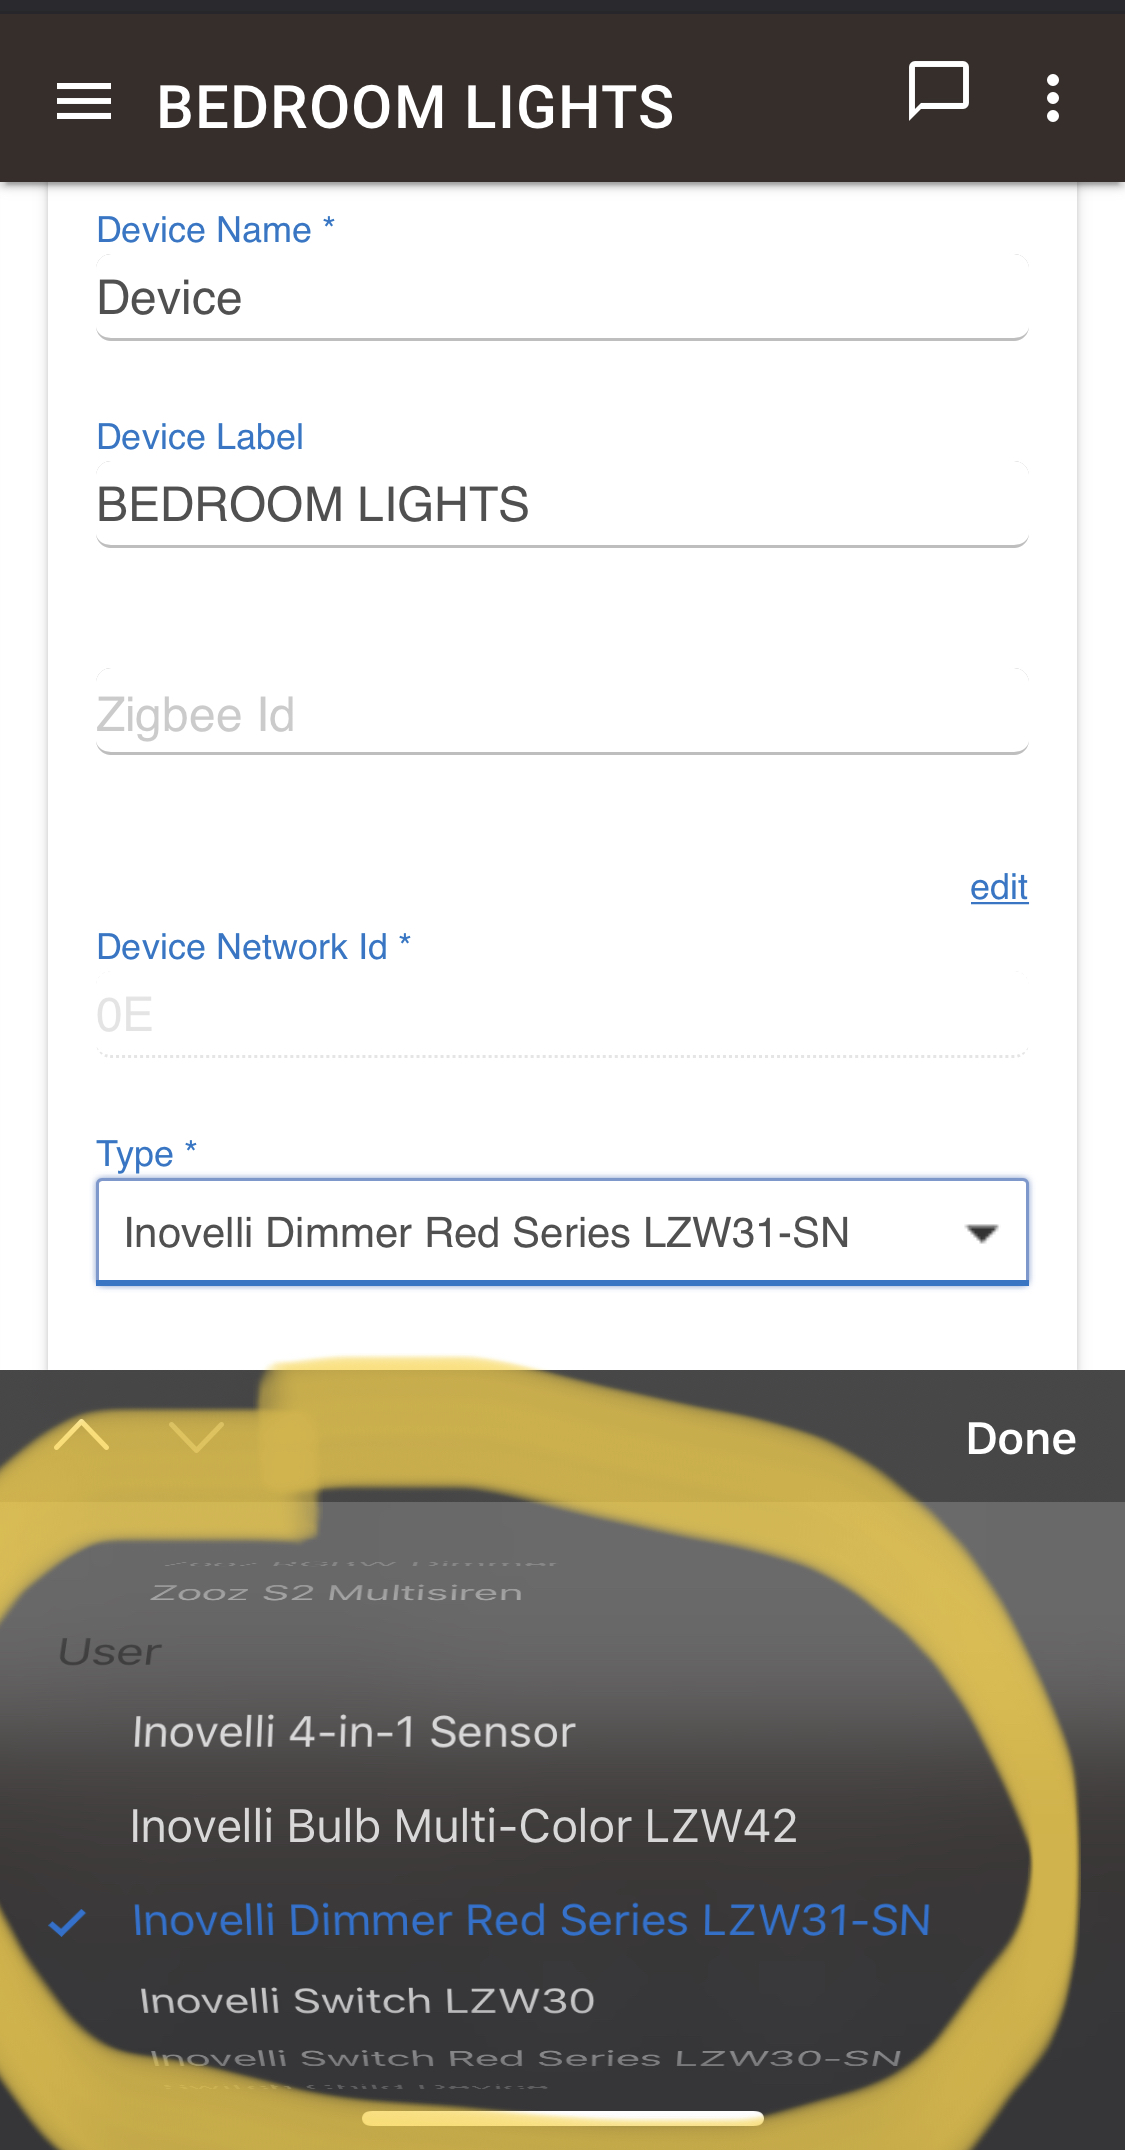
@JohnRob - Just so I understand the question. You’re looking what you’d use child switches for? Here’s my example. First is setting up switch device. Second is seeing child devices under the main switch configured. Theirs is rule machine that activates the child switch upon exterior doors opening.
Thanks
I think I can see the benefit, it replaces what might have been done with a custom rule but less complex.
However I’m not able to create a child device. I read that the New Inovelli driver uses the Hubitat child drivers. I have the Red dimmer installed and can control it in Rule Manager but the creation of a child app for this dimmer has me at a loss.
John
Weird. I usually just click on the device and scroll down to LED notifications X and select the parameters. Hit safe and boom it populates the child device. You sure you have Inovelli’s driver selected? Under User section.
1 Like
I got it! I think I hadn’t populated all the parameters. I went back and set each, then the Child popped up.
Thanks again,
John
@JohnRob - Great. Possibilities are (almost) endless.
Thanks for asking the question, I am stuck at this same spot. It seems on my previous drivers the child devices show up because I had to load a separate custom child driver then you set the parameters there. With this one you set the parameters in the parent to get the child to show up?
So the parent has this parameter
I am not installing any child devices because Hubitat has those generic ones that will be used correct? I don’t know what I am supposed to be entering in this parameter box? All I am trying to do is when I am doubling tapping the switch so I can use it in a Simple LIghting Rule. I am thinking that the multiple tapping is made available via a child device, right?
@dcoffing - I don’t use that; however, I recommend the Inovelli drivers over hubitats.
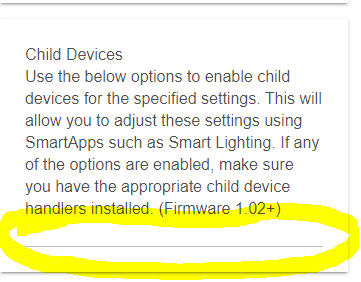
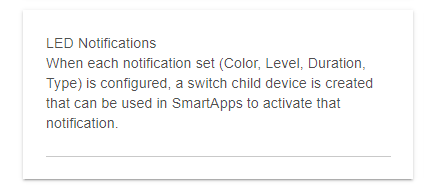
Multi-taps (“scenes” on the Z-Wave side — but probably not what you think of them as on the Hubitat side) do not require the child devices. The child devices are how the custom driver Inovelli provides handles notifications: configure the settings for any of the numbered “notification LED” options in the parent device, then a child device will be created that you can use to activate that notification. The child device is a switch-type device, so you can turn it on (to activate this notification) or off. If you have all the settings configured for your notification but still aren’t seeing the child devices get created, keep the Hubitat “Logs” (on the left) open when you click the “Save Preferences” button and see if you see any errors, especially ones about missing a driver. If you’re on the current version of Inovelli’s drivers, you do not need their “Switch Child Device” driver installed anymore; it will use an alternative built in to Hubitat. If you’re using an older version, you’ll need it but could avoid that if you haven’t created any already by just updating your Inovelli driver before you try.
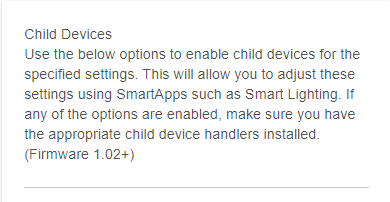
Also, to be extra clear: you don’t create any child devices; the “parent” device will do it for you when the settings are configured. If you’re an older Inovelli driver, you’d just also need to have their switch child driver code installed. I’d ignore the box you have highlighted in yellow above, which appears to be an artifact of porting their driver from SmartThings to Hubitat (it’s supposed to be just a paragraph of explanation).
But again, the above is to manage the notification LED. If you’re talking about multi-taps, you don’t need anything special for those (besides a driver that supports them; Inovelli’s will as-is, and Hubitat has built-in drivers for some that will give you limited taps as well, though not for the current dimmers). What happens with muli-taps (Z-Wave Central Scenes) is that Hubitat will interpret them as button events. With Inovelli’s driver, 1-5 taps up will give you “button 1 pushed” through “button 5” pushed. Similarly, 1-5 taps down will give you “button 1 held” through “button 5” held (no, that doesn’t really make sense, but I can understand why they did it this way; neither ST nor Hubitat has a “quintuple-tappable button capability” that would solve the awkwardness of any possible here, though I prefer other approaches). You can use any automation on the Hubitat side to respond to that. The Button Controller app in Hubitat firmware 2.2.0+ is an easily accessible choice, though the community Advanced Button Controller is also popular. All these events happen on the parent device and are not related to any child devices.
2 Likes
So I’m still lost as to what the “Child Devices” option/configuration posted by @dcoffing . I am not criticizing your answer and appreciate you response. Still I find it frustrating that I cannot look somewhere and read what these do and how/why you could / should use them.
I’m using the “2020-03-27” version of the Inovelli driver for their Red dimmer.
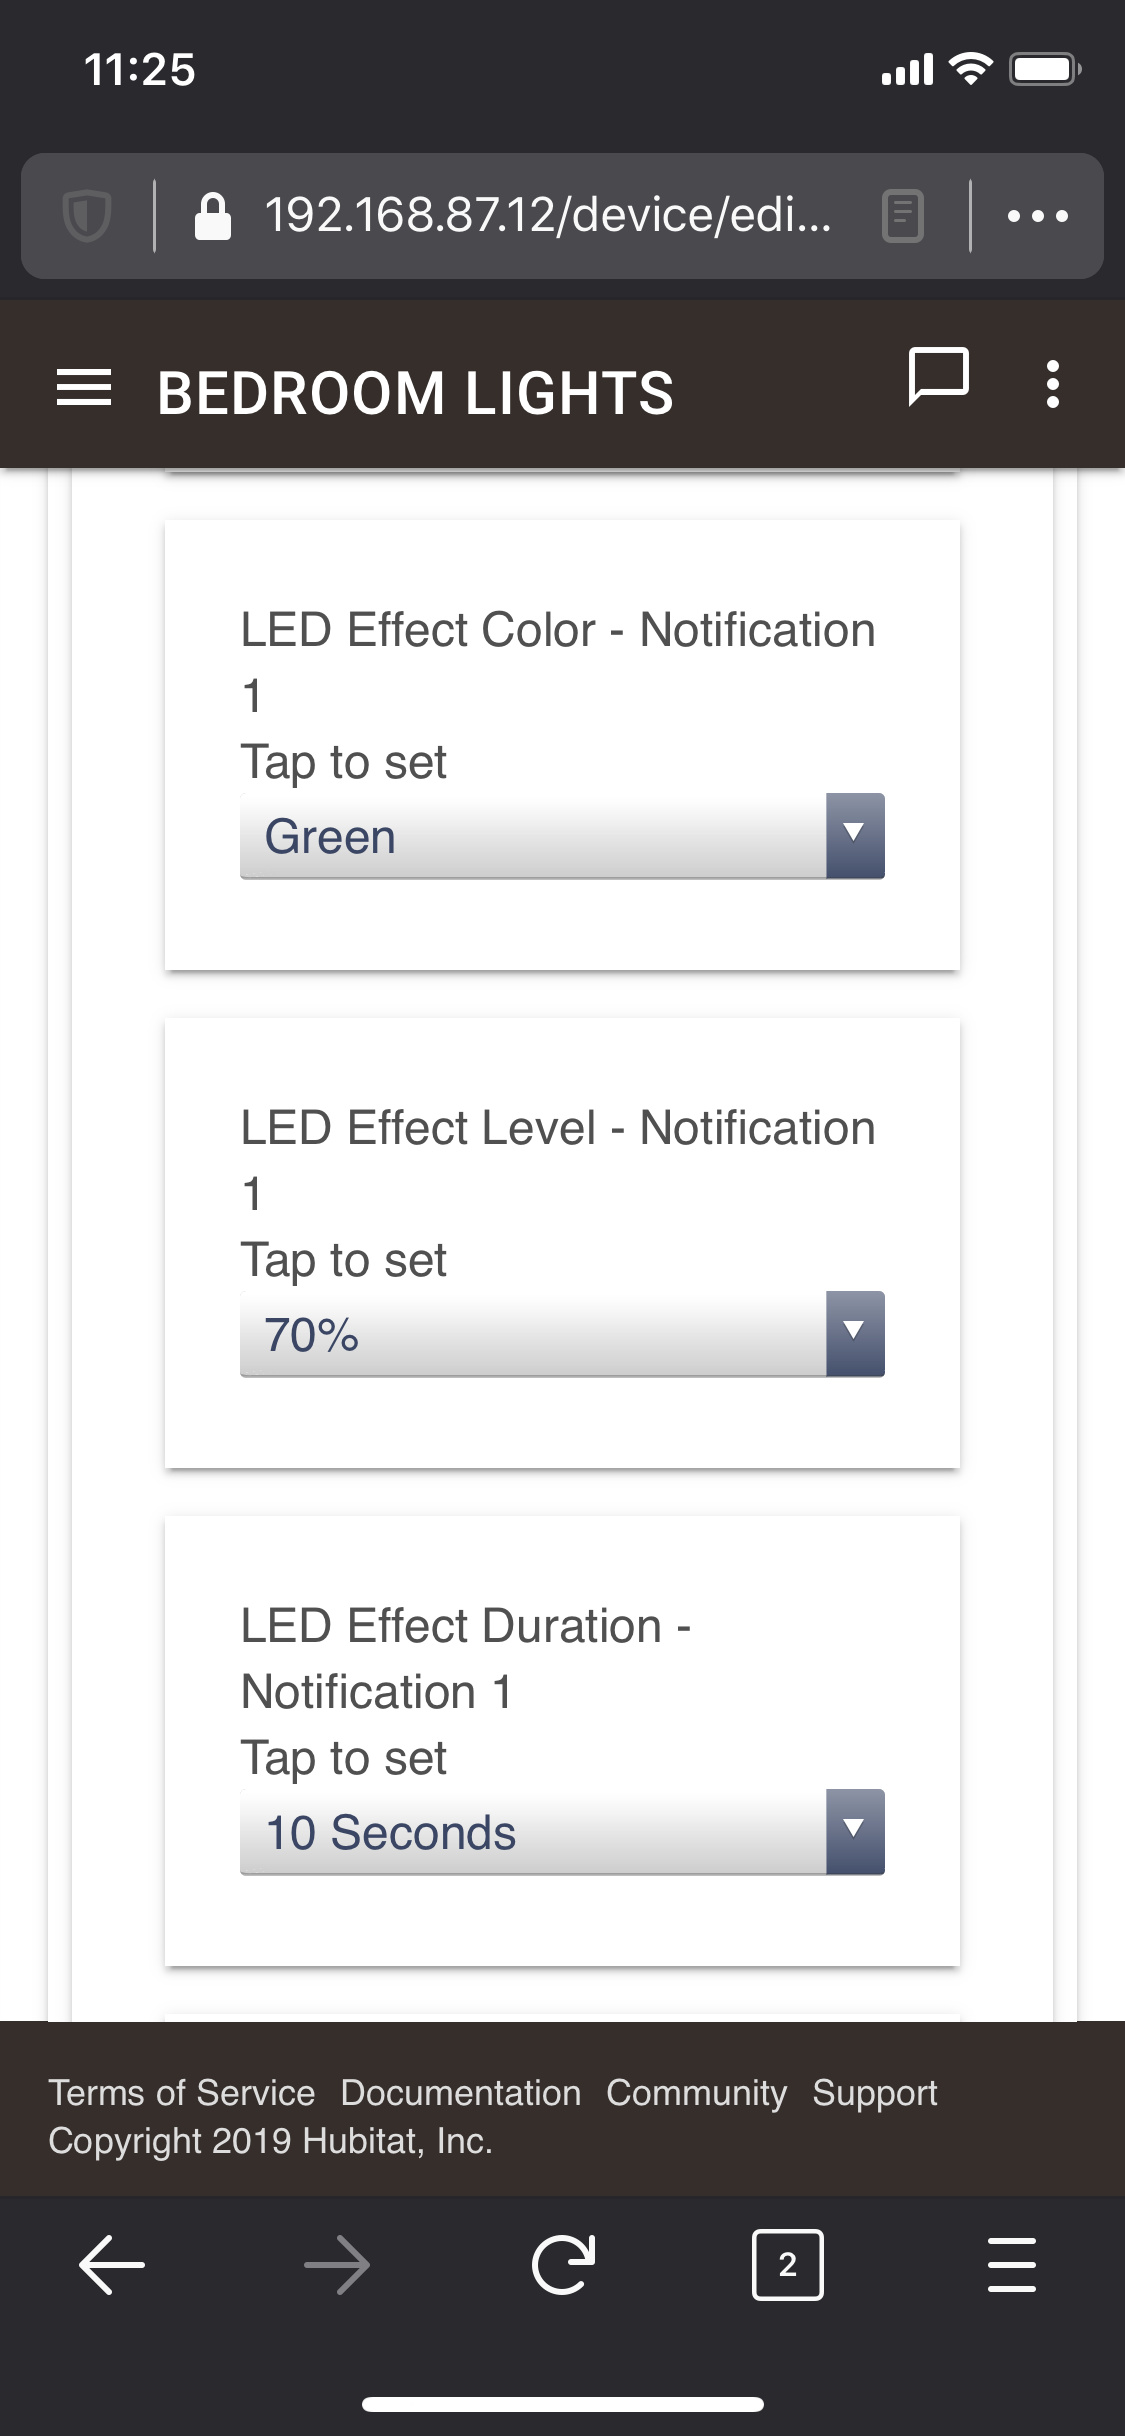
I understand that if I populate “LED Effect Color - Notification x” a child device will be created for the defined LED effect and RM4 can trigger it just like any other device capability.
I also understand that multi-tap actions are returned when the device description string is parsed.
That still leaves the three entries below that I have no idea how to use them nor what they actually do.
AND
AND

The first two screenshots show things that should not be inputs at all, just paragraphs of explanation/text. SmartThings allows this in their UI, but Hubitat does not; the fact that it appears as an input on Hubitat is an artifact of the fact that the Hubitat driver appears to be a quick port of the SmartThings equivalent. I’d just pretend the input isn’t there.
The last screenshot just shows custom commands that the Inovelli driver implemented. You can’t really do anything with these yourself; they are there because the child devices (notification LEDs or some of the other, less popular ones) invoke these commands on the parent and the parent has to declare them as commands for the child devices to be able to work like this. This, too, is a sort of artifact, here one of how Hubitat’s component child device model works (child calls command on parent, passes device as a parameter, which you can’t see or do yourself from the admin UI).
None of this is pretty and in an ideal world would probably not be there. But Hubitat has maintained that the admin UI is meant primarily for administration, not control of devices, so I think all of this is just a byproduct of the fact it more or less displays a barely-prettifed version of preferences and commands the driver implements (along with attributes/current states) that users are not intended to see most of the time. Because SmartThings conflates administration with control/use, it has a few more concessions to make things prettier, not all of which work well in general on Hubitat but particularly when porting ST DTHs as done here.
tl;dr these aren’t anything you can do anything with 
2 Likes
Thank you for the response, I think I understand better. I was thinking I was needing a virtual child switch that was virtually switched after a multi-tap that could be used in a rule. So if I understand it now I can use the Inovelli as-is since it is acting as if it is a button device being pushed based on taps with the mapping on Inovelli’s website.
- Tap UP 1x = Button 1 PUSHED
- Tap DOWN 1x = Button 1 HELD
- Tap UP 2x = Button 2 PUSHED
- Tap DOWN 2x = Button 2 HELD
- Tap UP 3x = Button 3 PUSHED
- Tap DOWN 3x = Button 3 HELD
- Tap UP 4x = Button 4 PUSHED
- Tap DOWN 4x = Button 4 HELD
- Tap UP 5x = Button 5 PUSHED
- Tap DOWN 5x = Button 5 HELD
- Hold UP 3 Seconds = Button 6 PUSHED
- Hold DOWN 3 Seconds = Button 6 HELD
- Tap the Config/Favorite Button 1x = Button 7 PUSHED taps
Awesome, Thanks so much for your patience and response. Now I can sleep at night knowing there isn’t something I’m missing and everybody else knows ![]()
John
This topic was automatically closed 67 days after the last reply. New replies are no longer allowed.