First, you will need to install the driver provided by a SmartThings community user:
Note: SmartThings has a bug that makes it so if the device is not joined using S2 security the ST hub does not read the association reports sent by the switch. In this case please install the driver “Z-Wave Device Config Mc Test” and use that one. You won’t get feedback that the device association went through because of the bug, but just send it a couple of times and it should work.
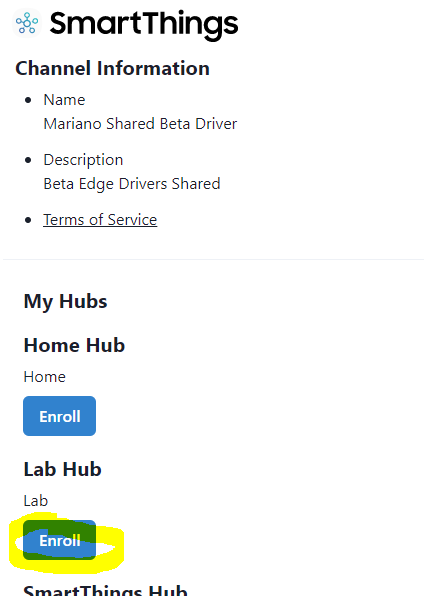
After clicking on the above link, you can scroll down just a bit and click on the link that is an invitation to the users channel.
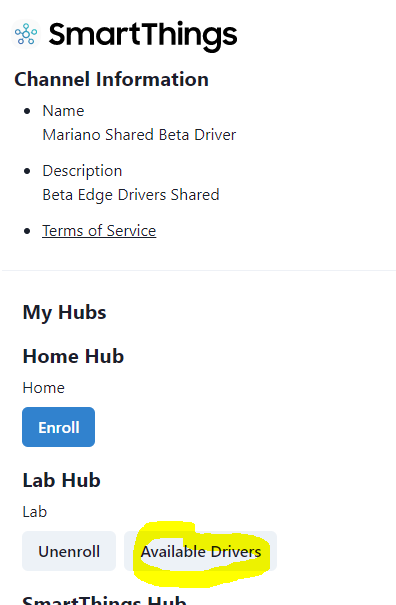
Enroll the hub you desire by following the screenshots below.

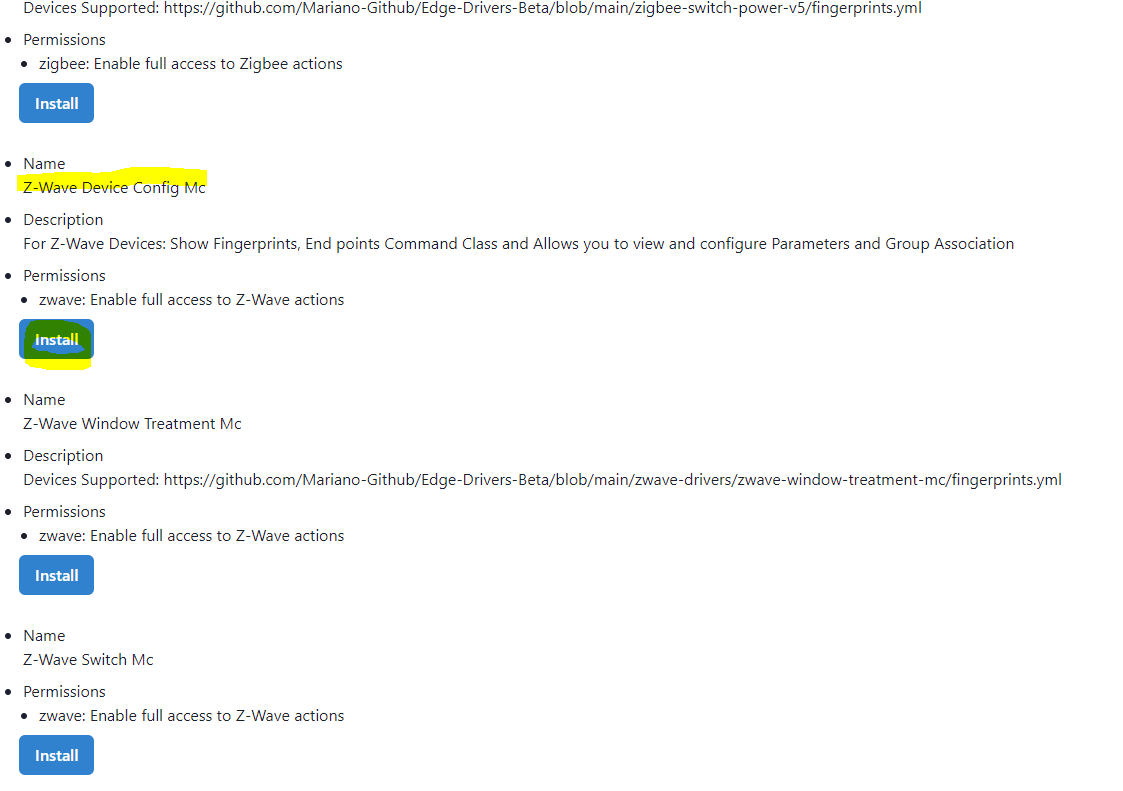
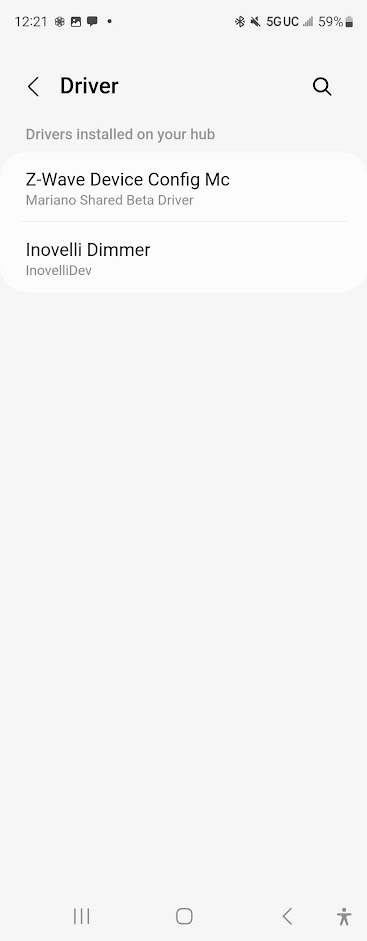
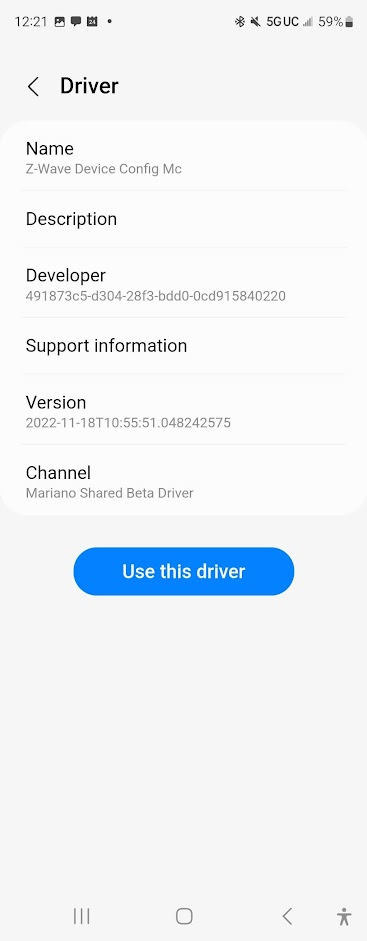
Scroll down, find the correct driver (Z-Wave Device Config Mc), and click install.
Note: SmartThings has a bug that makes it so if the device is not joined using S2 security the ST hub does not read the association reports sent by the switch. In this case please install the driver “Z-Wave Device Config Mc Test” and use that one. You won’t get feedback that the device association went through because of the bug, but just send it a couple of times and it should work.
You also need to get the other device’s (the switch or bulb you want to associate to) networkId by following the directions here:
Getting the networkID
In order to associate the Z-Wave devices together, we need to identify which devices will be bound together. To do this, we need to get the Z-Wave ID’s. SmartThings does not have an easy way to do this, so apologies for the extra steps. In addition, there are two ways to accomplish this – please select the dropdown that aligns to your situation.
Remember to check first to see whether or not the smart bulb is using an Edge Driver or not (if the bulb does use an Edge Driver, please use the Edge Driver instructions – if not, use the Device Handler instructions). Instructions to check are here: Edge Driver Check
Smart Bulb is using an Edge Driver
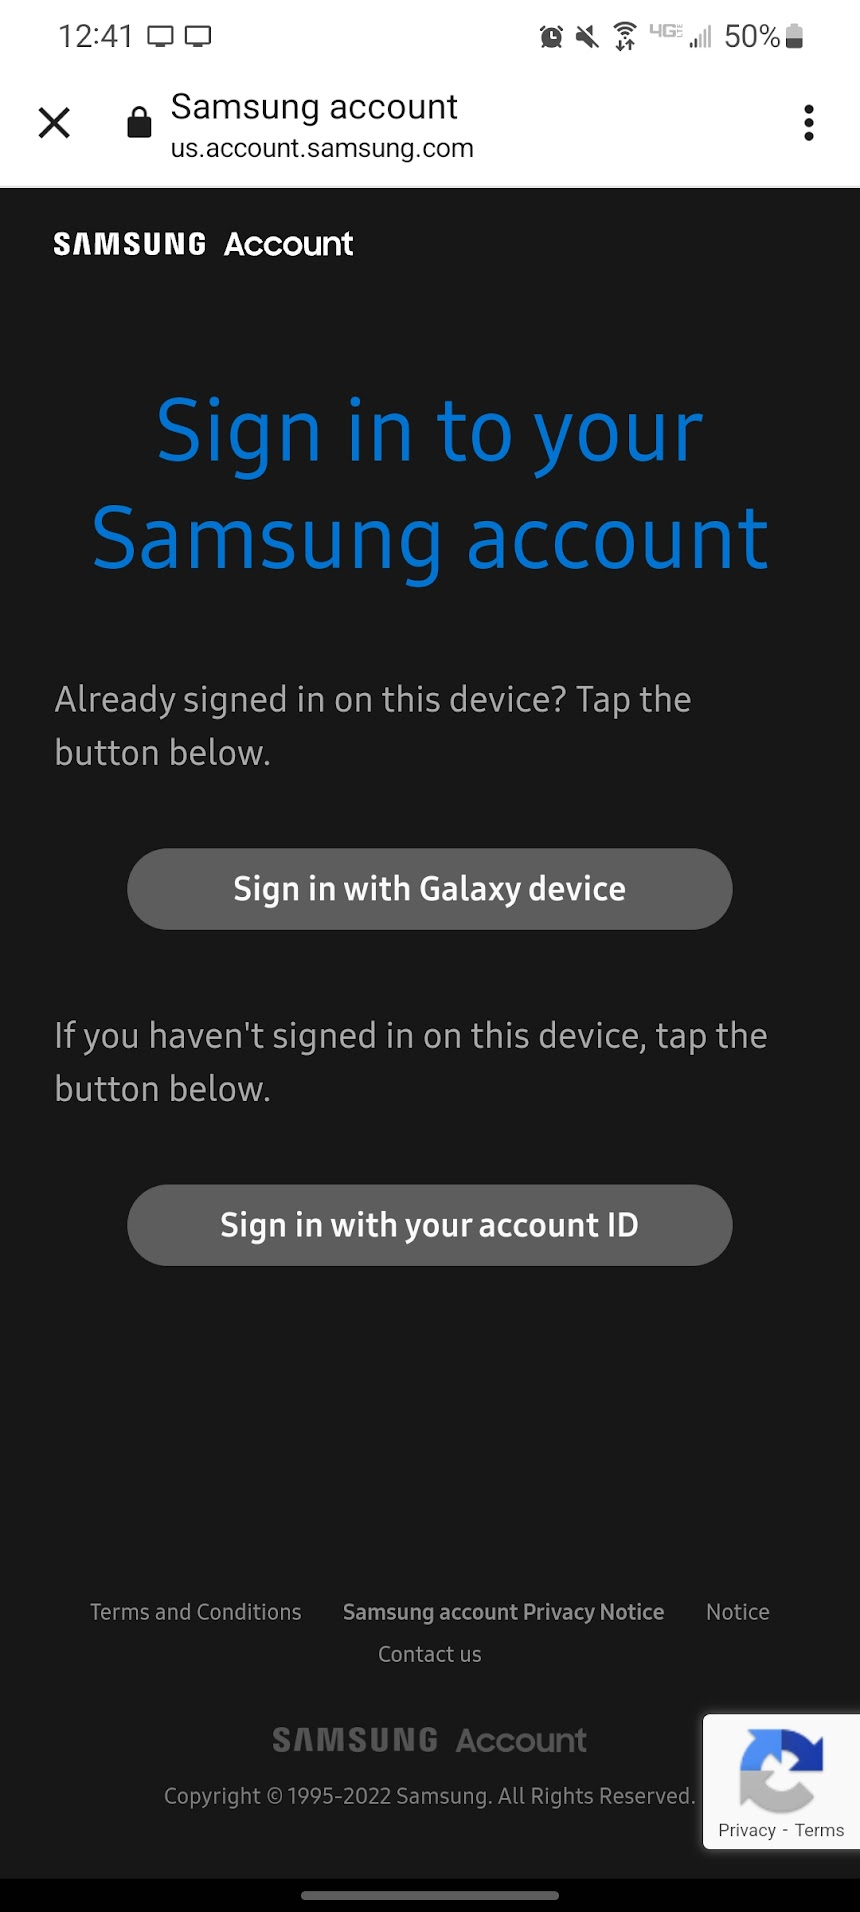
- First, we’ll need to create a SmartThings Access Token so that we can ultimately find the smart bulb’s information – head to the following link and login: SmartThings Access Token—
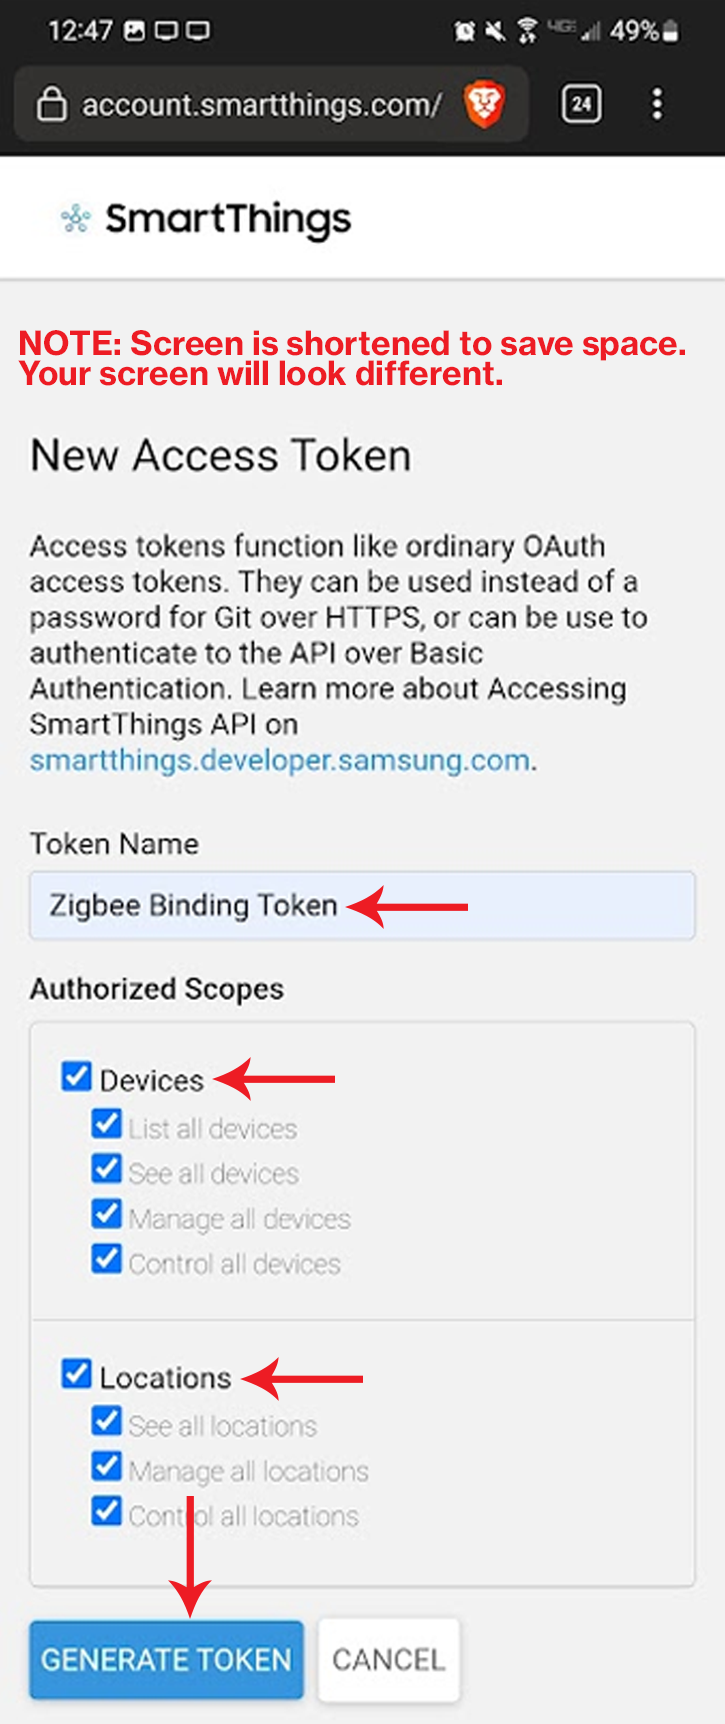
- Enter in a Token Name, select everything in the sections titled, “Devices” and “Locations” and then click, “Generate Token”—
- WRITE DOWN THE TOKEN AND SAVE IT!!! You will not be able to access this token again so you want to make sure you have it for future reference. Click on, “Copy token” move to Step 4.—
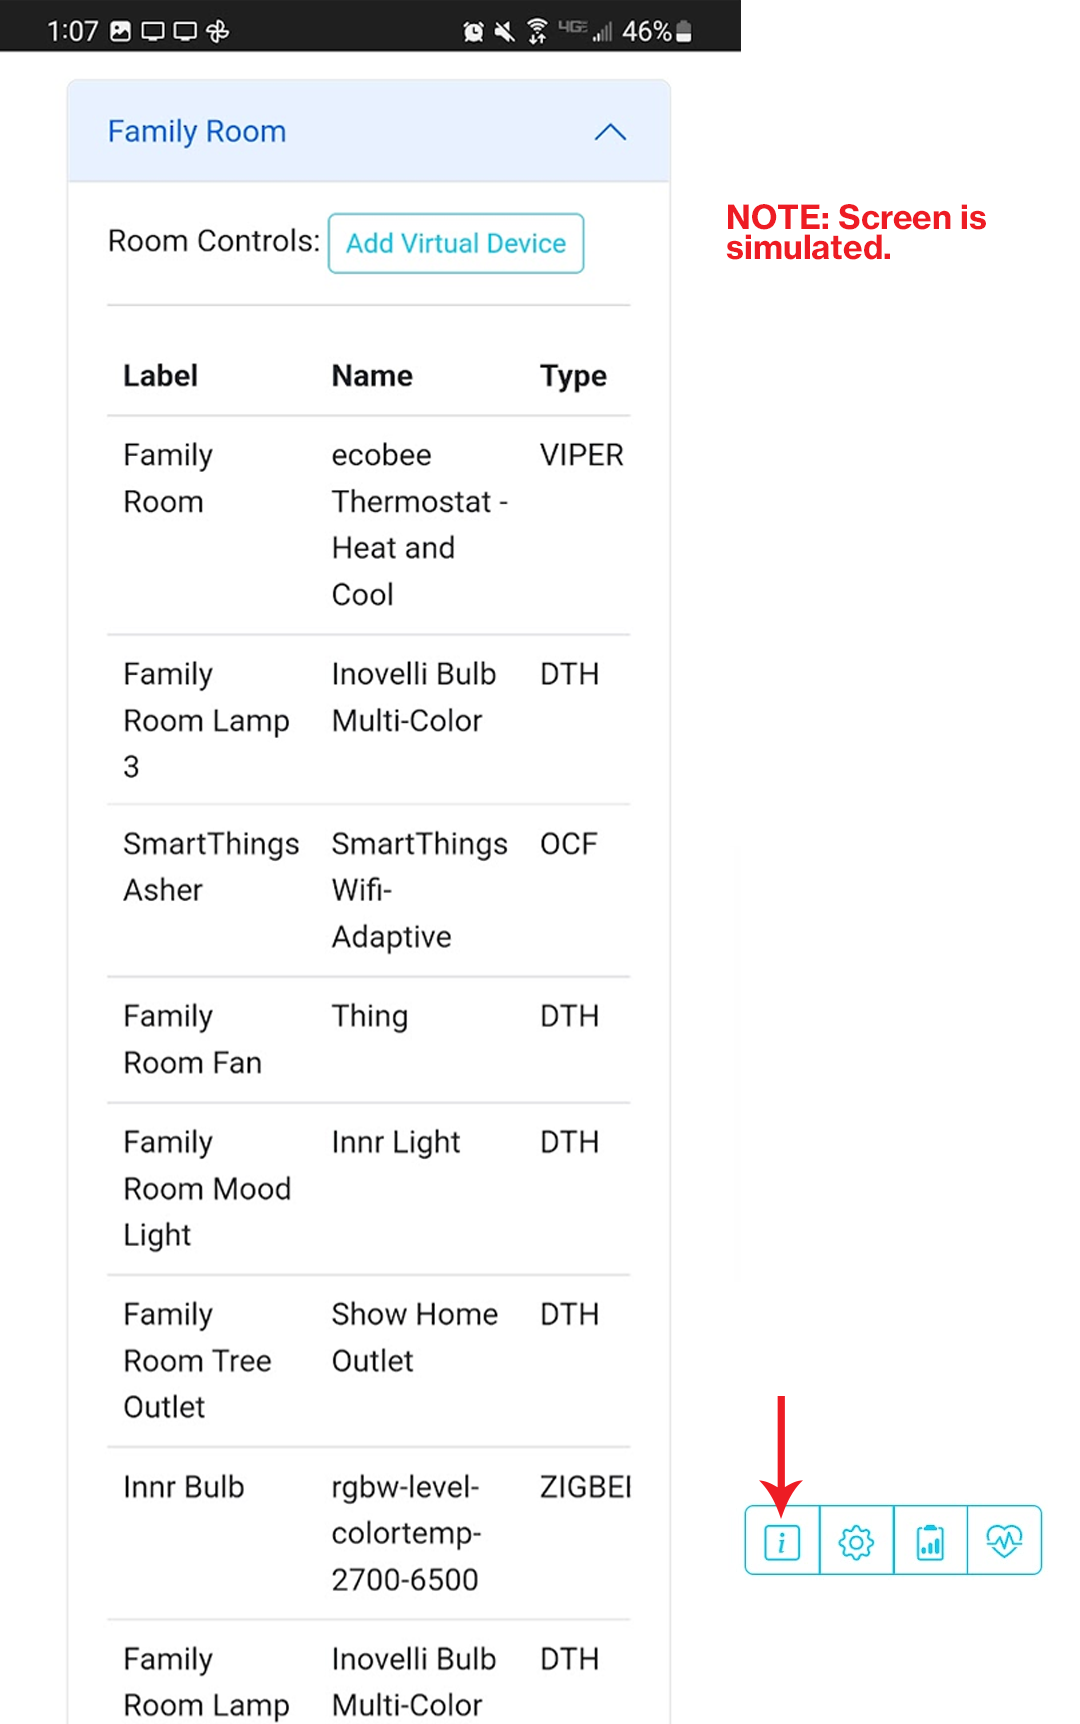
- Once you have the token saved in a secure place and copied to your clipboard, please go to the following URL, enter the access token and click, “Submit” (you should see your hub location and the various rooms you’ve created in the SmartThings app): ST Device Info Viewer—
- Find your device and click on the, “i” —
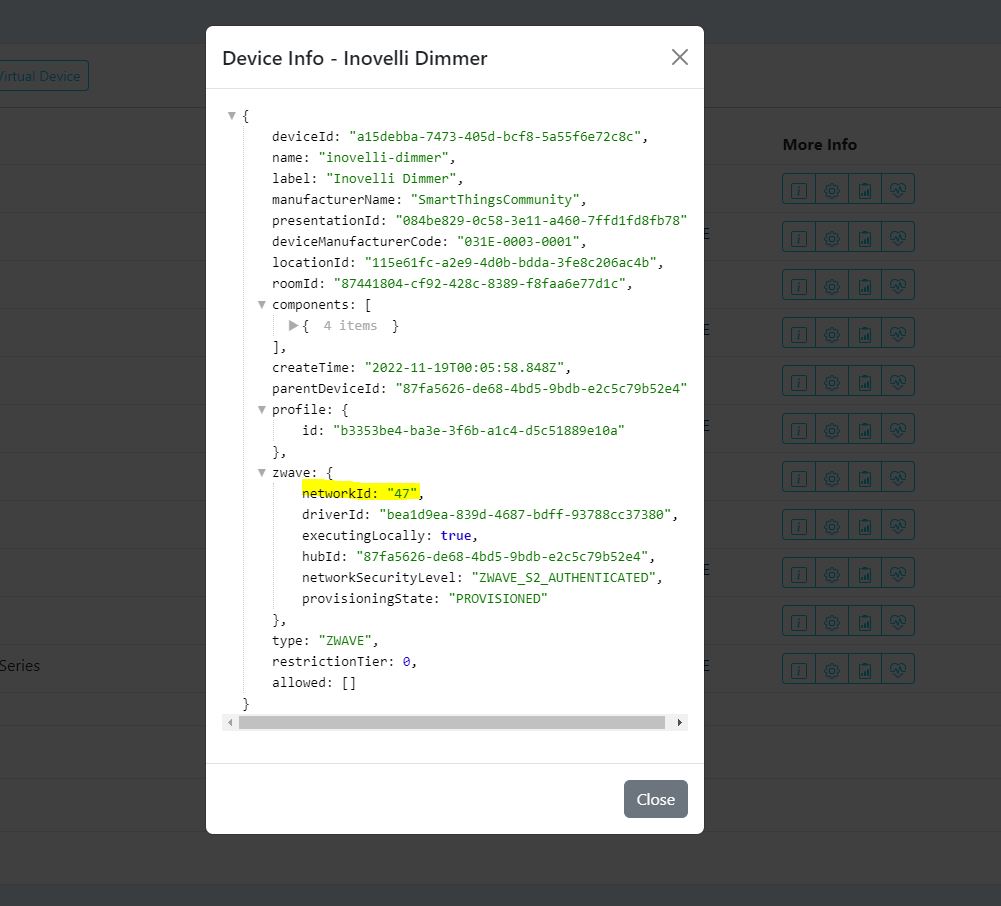
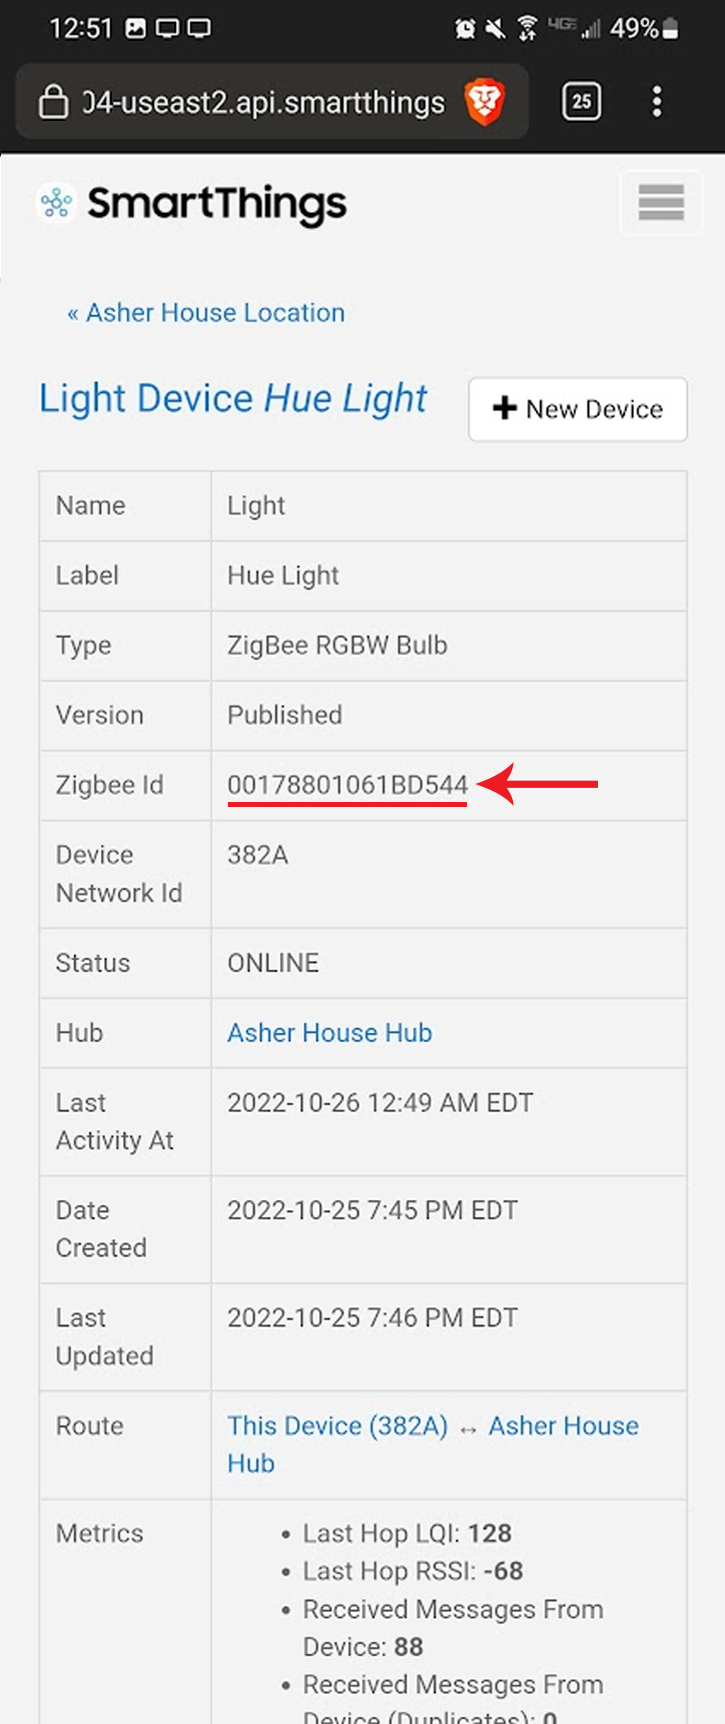
- Locate where it says, “networkId” and copy the 2 digit code—
- Convert the number that you find there to its hexadecimal equivalent by going to a website such as this: Decimal to Hex Converter

Smart Bulb is using an Device Handler (DTH)
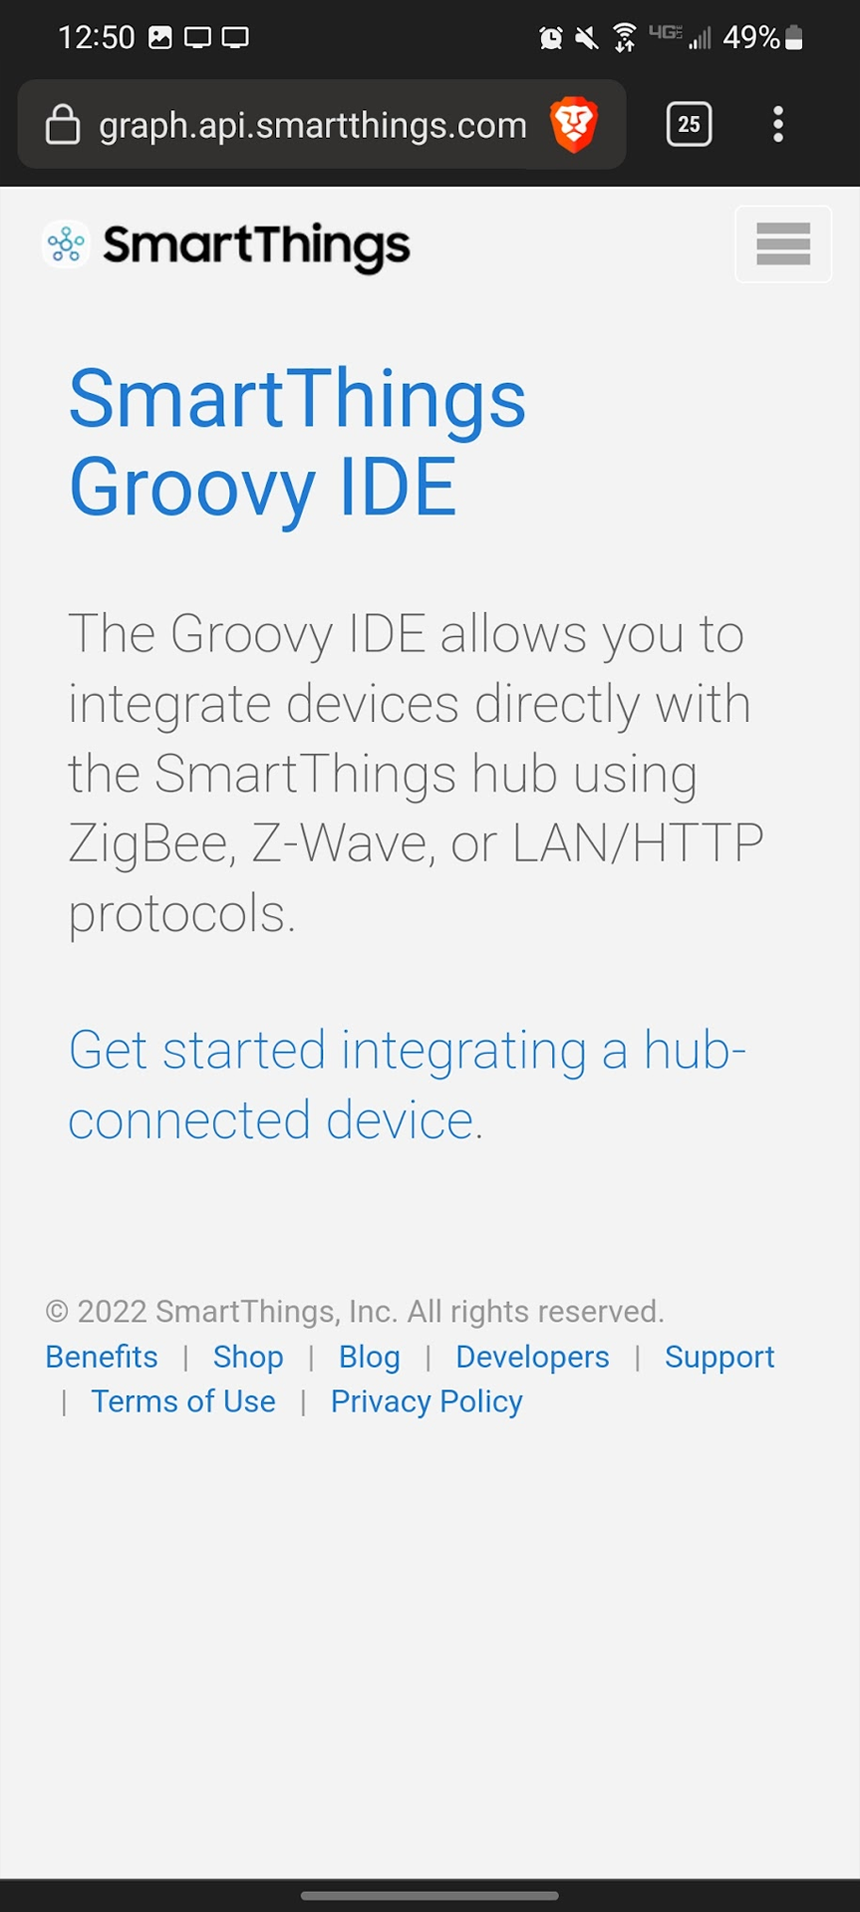
- First, we’ll need login to SmartThings IDE, which can be found here: SmartThings IDE—
- Click on, “Devices” (if no devices show up, you may need to click on, “Locations” and then click on your Hub – then click, “Devices”), find your device and click on it—
- Scroll to where it says, “Device Network Id” and copy the ID (should be 2 characters)—

After you have installed the driver and retrieved the other device’s network ID, navigate to your Inovelli device in the SmartThings app and temporarily assign it the “Z-Wave Device Config Mc” driver as shown in the screenshots below:
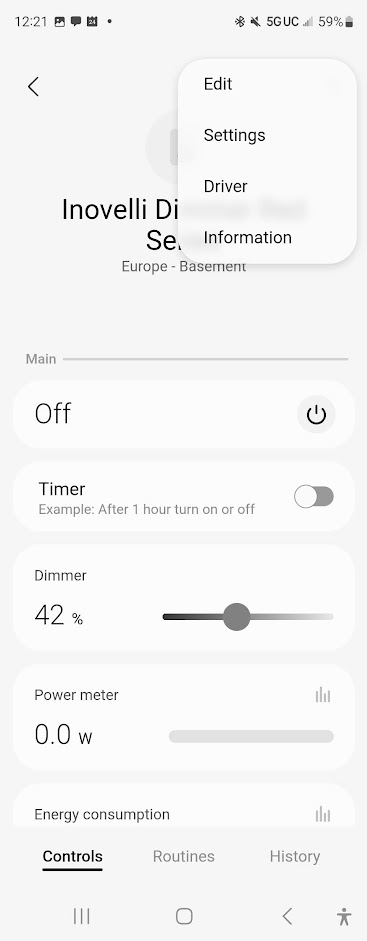

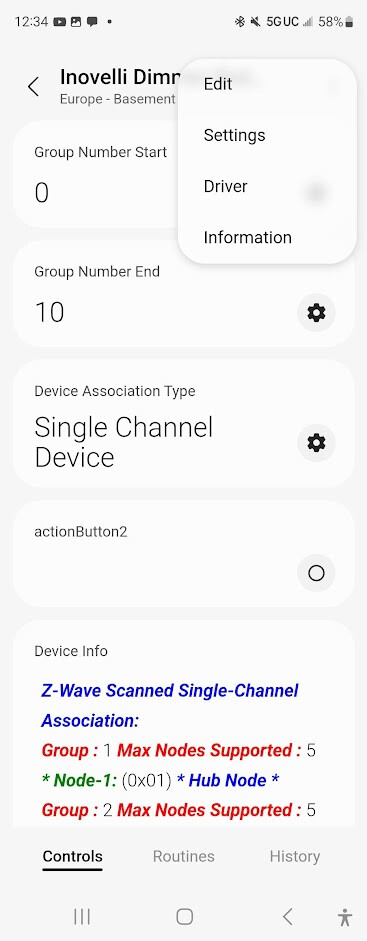
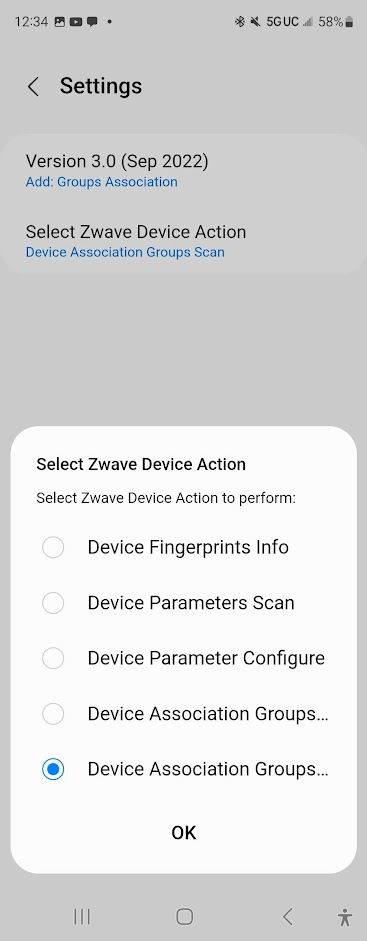
Back out of the device page and back into it and you should see a different interface. Click on “Settings” and choose the one shown in the screenshots below:

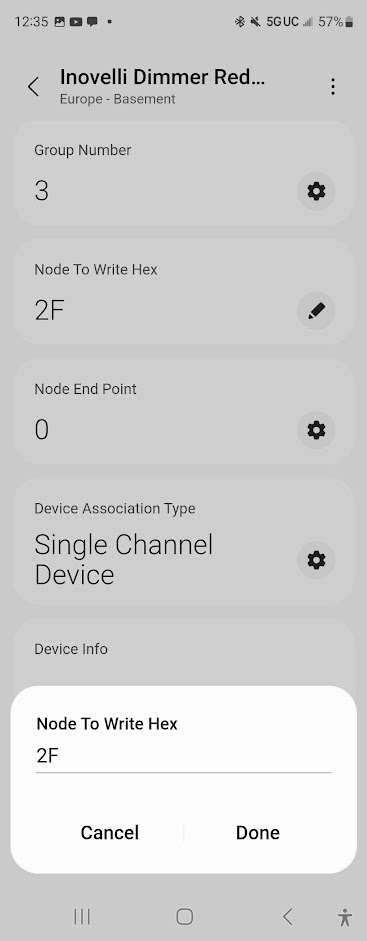
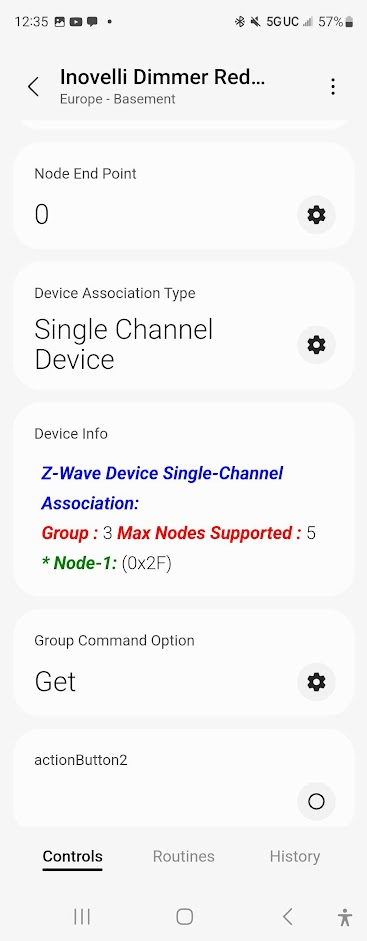
Next, choose the group number you are using, and input the Node ID that you looked up earlier:
Lastly, change the “Group Command Option” to “Set” and then tap on the “actionButton2” to submit the request.
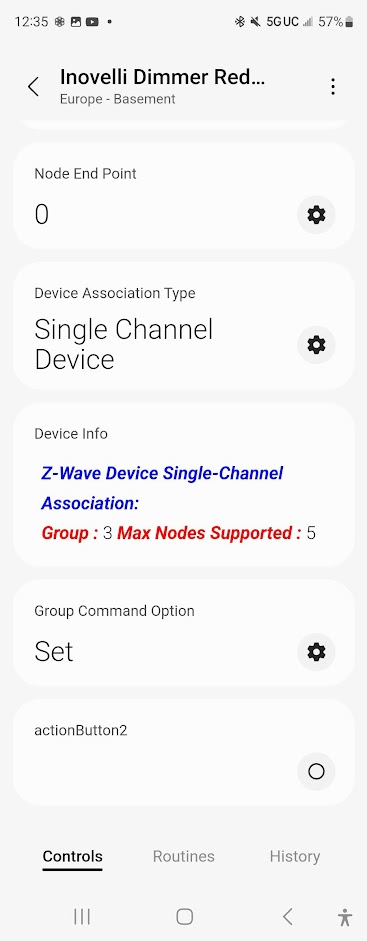
You should see the “Device Info” panel fill in with the request you just made:
You can then perform this action for any other groups or nodes that you want to association.
One final step is to change the driver back to the Inovelli driver similar to how you changed to this “Z-Wave Device Config Mc” driver earlier in the guide.