Below is a brief explanation on how to use scenes and notifications in the Homeseer platform. I’m using the latest Homeseer version (HS3) as of this writing. I’m going to create a single “Event” in Homeseer to show off both features. In essence, I’ll be killing two birds with one stone.
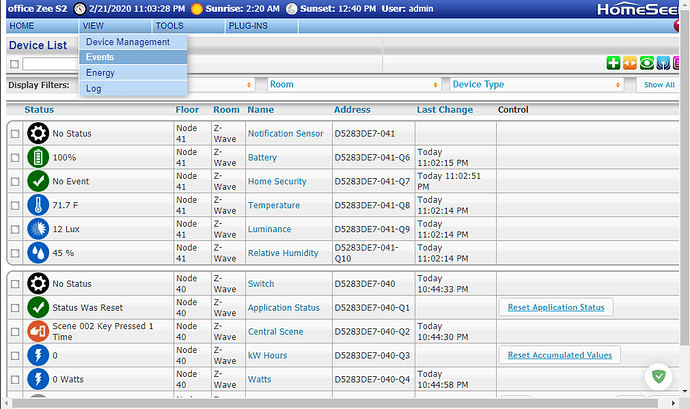
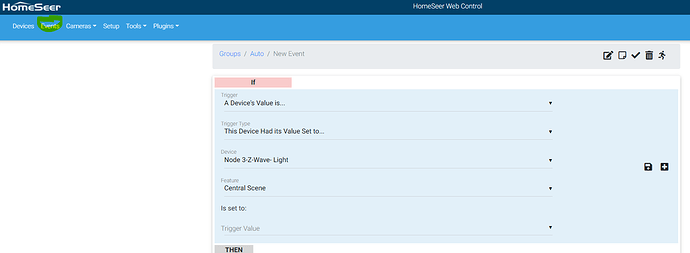
In Homeseer, click on the “Events” option in the “View” drop down to begin.
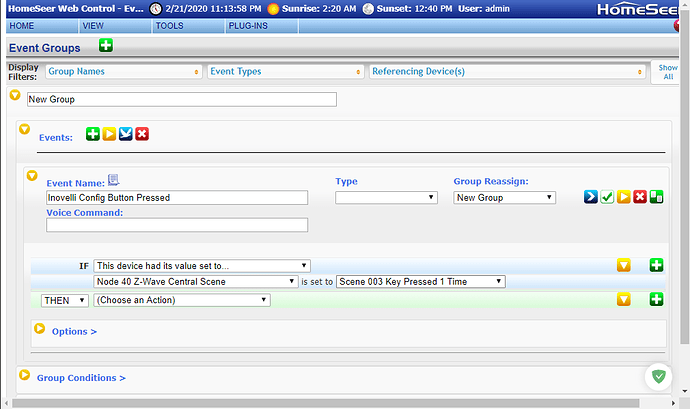
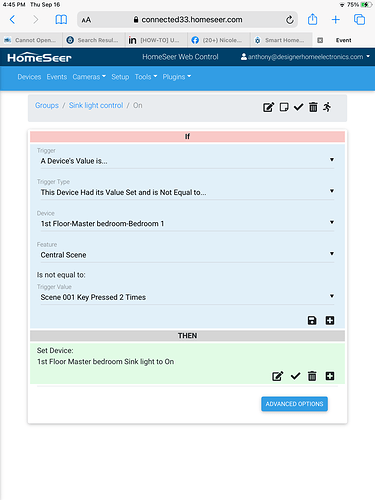
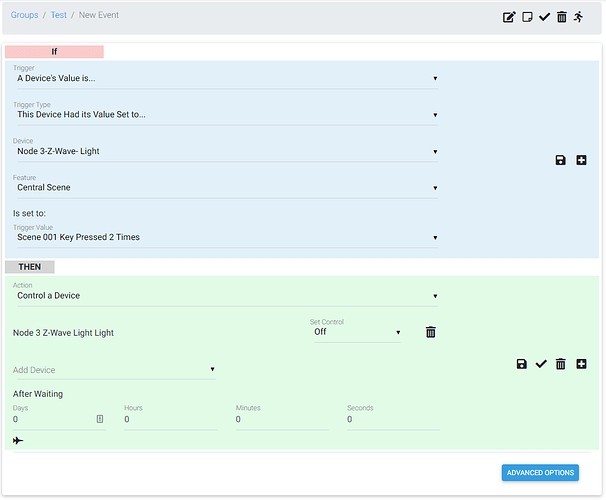
Next, you will begin to fill in the details regarding the “event” (i.e.scene). Other than the “Event Name”, the key information is going to be:
IF: Here we are going to specify which button press combo we are going to use.
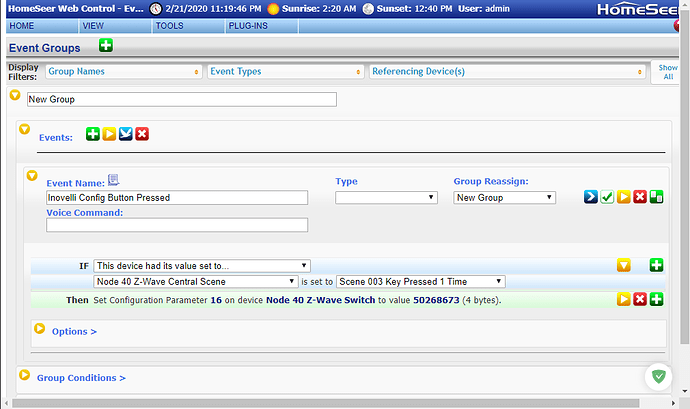
THEN: The action we want to perform. In this case, I’m turning on the LED to notify me of something.
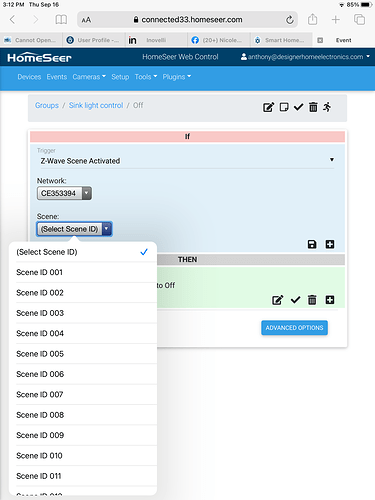
You’ll notice that in the “IF” statement I have chosen Central Scene. More specifically I specified “Scene 003 Key Pressed 1 Time”. Scene 003 is the config button. It breaks down like this:
Scene 001 - Down button
Scene 002 - Up button
Scene 003 - Config Button
For the “THEN” section, this is where we setup the action we want to occur. In this case, I want the LED on the same dimmer to chase up and down with the color red. So, I select:
Z-Wave Actions > Set a Configuration Parameter Value > Choose A Device (set this to the correct z-wave node)
Fill in the final 3 options with this in mind:
Parameter Number: 16 for the red or black dimmer, or 8 for the red or black switch
Value: Use the fancy community provided calculator here: Notification Calculator
Size: 4-Byte
That is all there is to it. Using these steps as a guideline you should be able to get scenes and notifications working in your Homeseer setup!
