@EricM_Inovelli was great enough to give me the CAD file I requested, and as a side project I’ve been playing with an idea to use a resin printer to print a replacement LED diffuser which would keep the LEDs a bit more distinct. I’m using Siraya Tech Blu resin for this (it’s a slightly yellow clear, the Blu is not the color but the chemical) and my idea is to design grooves between the LEDs which can be filled with black paint to create a barrier.
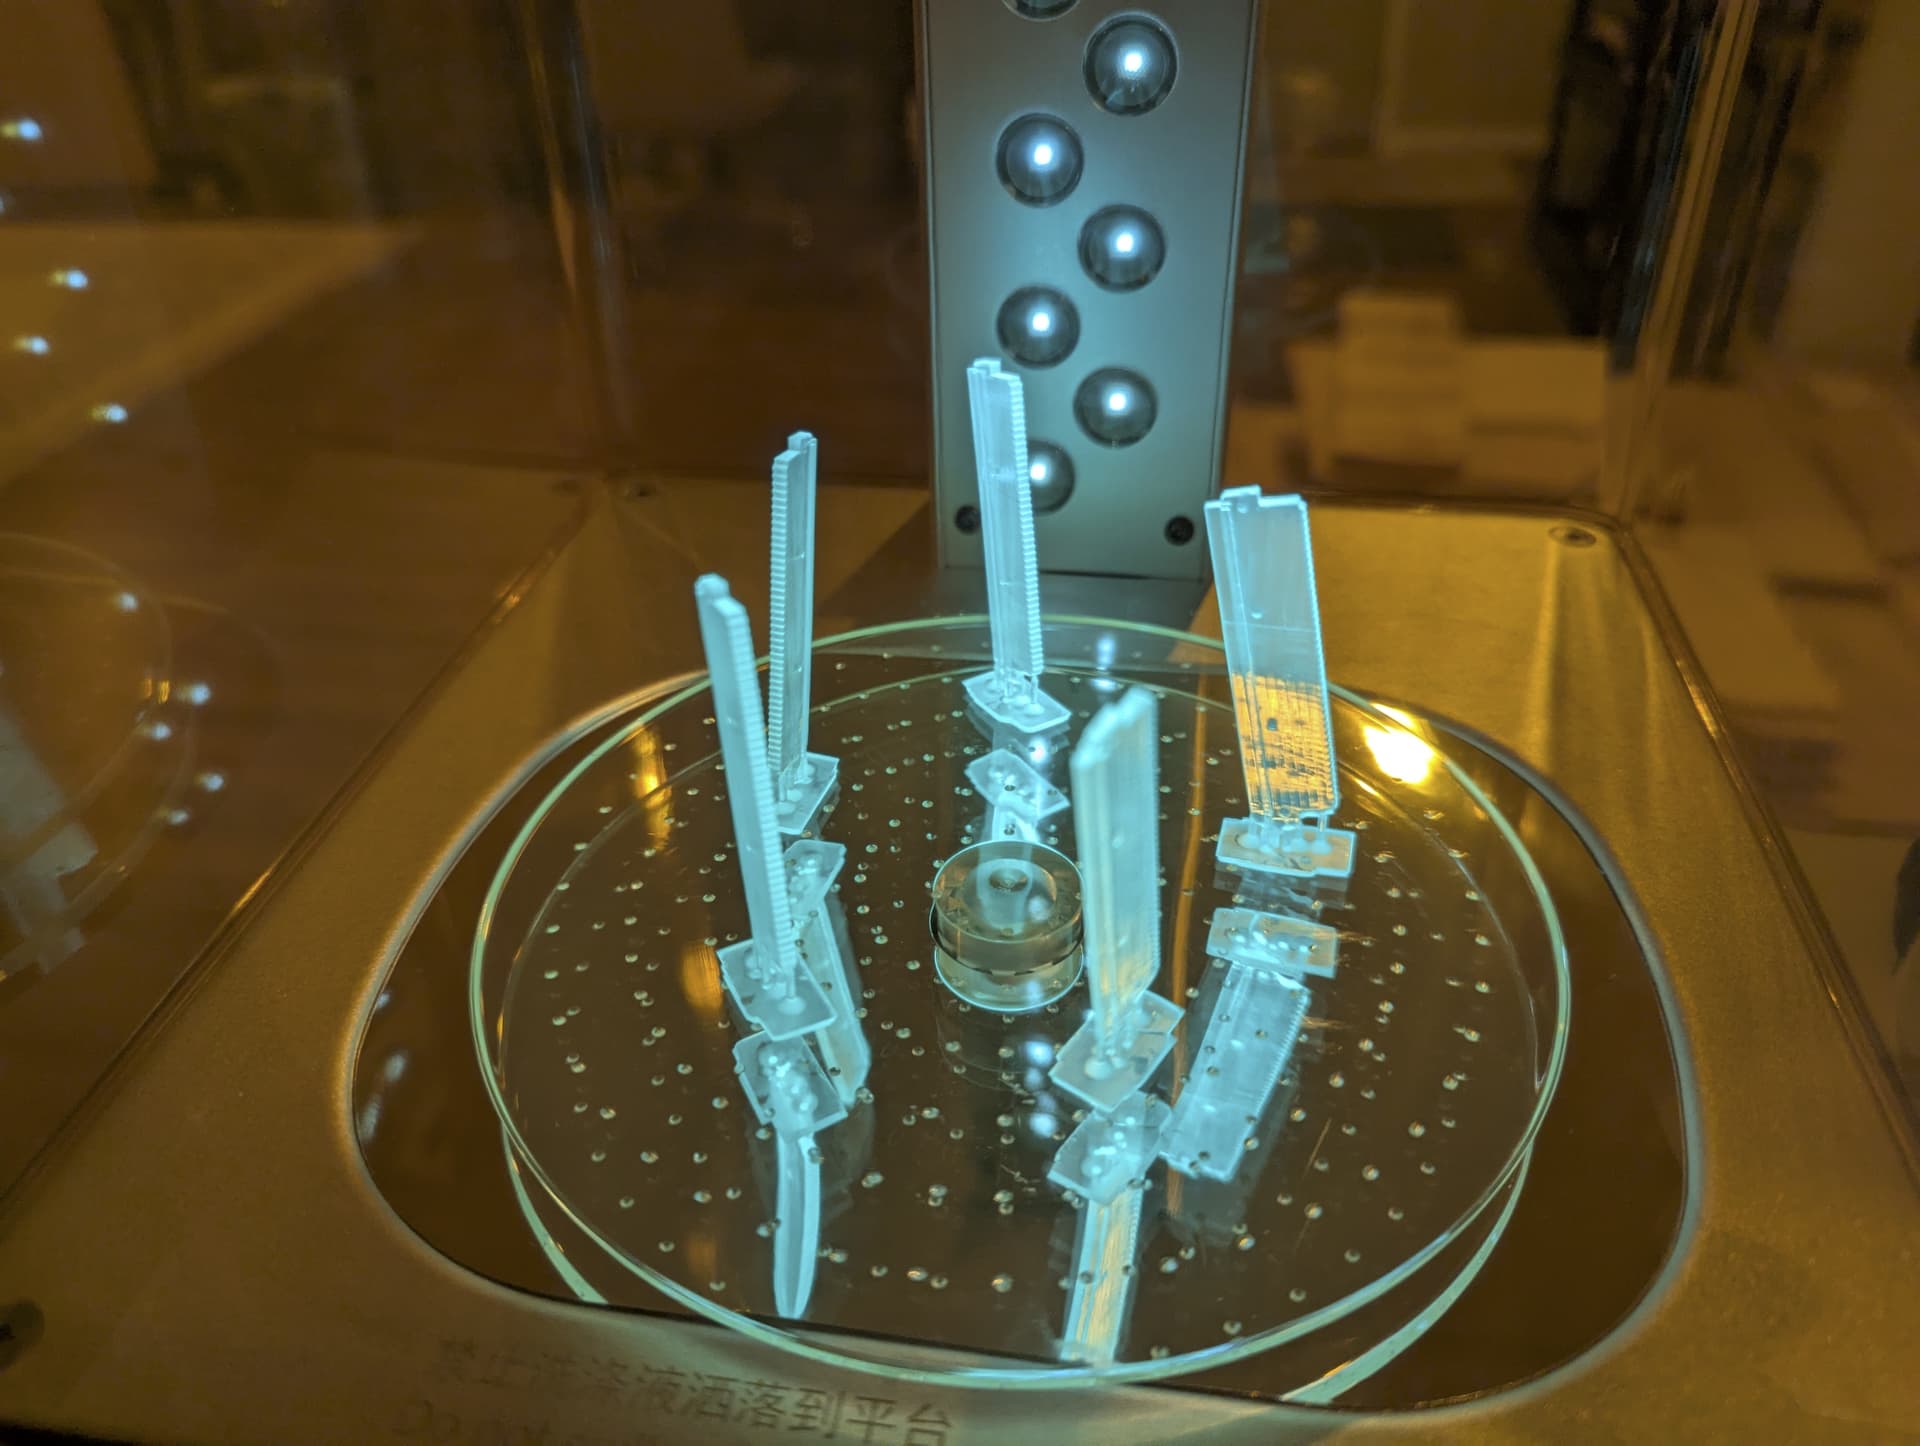
The first picture is just for fun to show the pieces glowing while curing in the UV station.
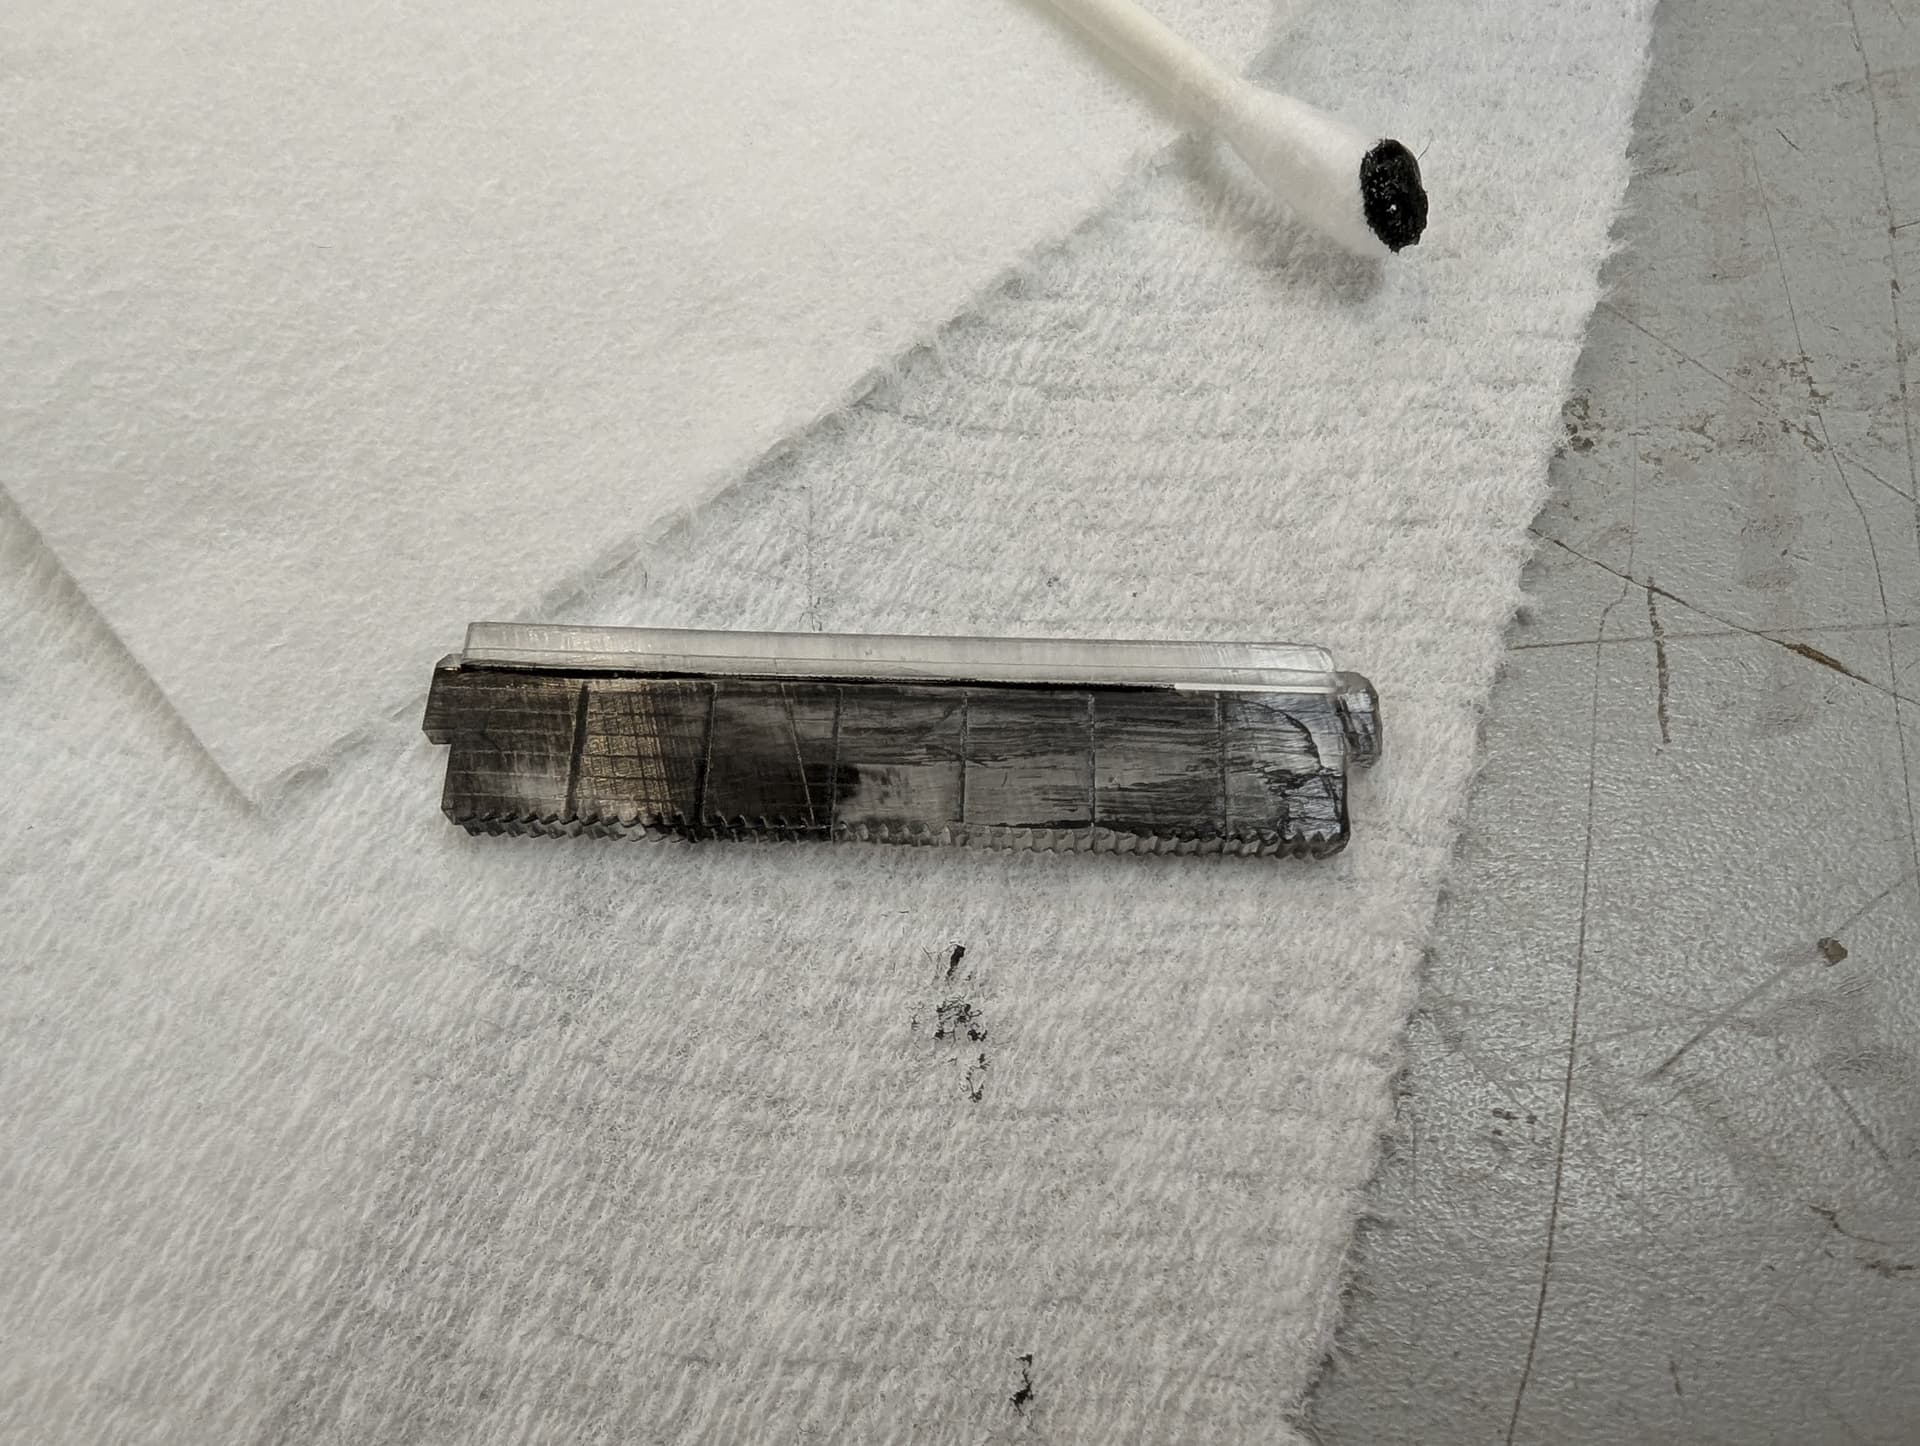
The second is to show the paint. Since the side surfaces aren’t visible and up against other plastic they don’t have to be clear and the paint on them makes no difference, so I only need to be careful to keep the paint off the front and back edges. This first attempt was with 0.2mm wide cutouts which it turns out wasn’t wide enough to clear the resin so it left an indentation but not the gap I was looking for. I’ll try 1mm next.
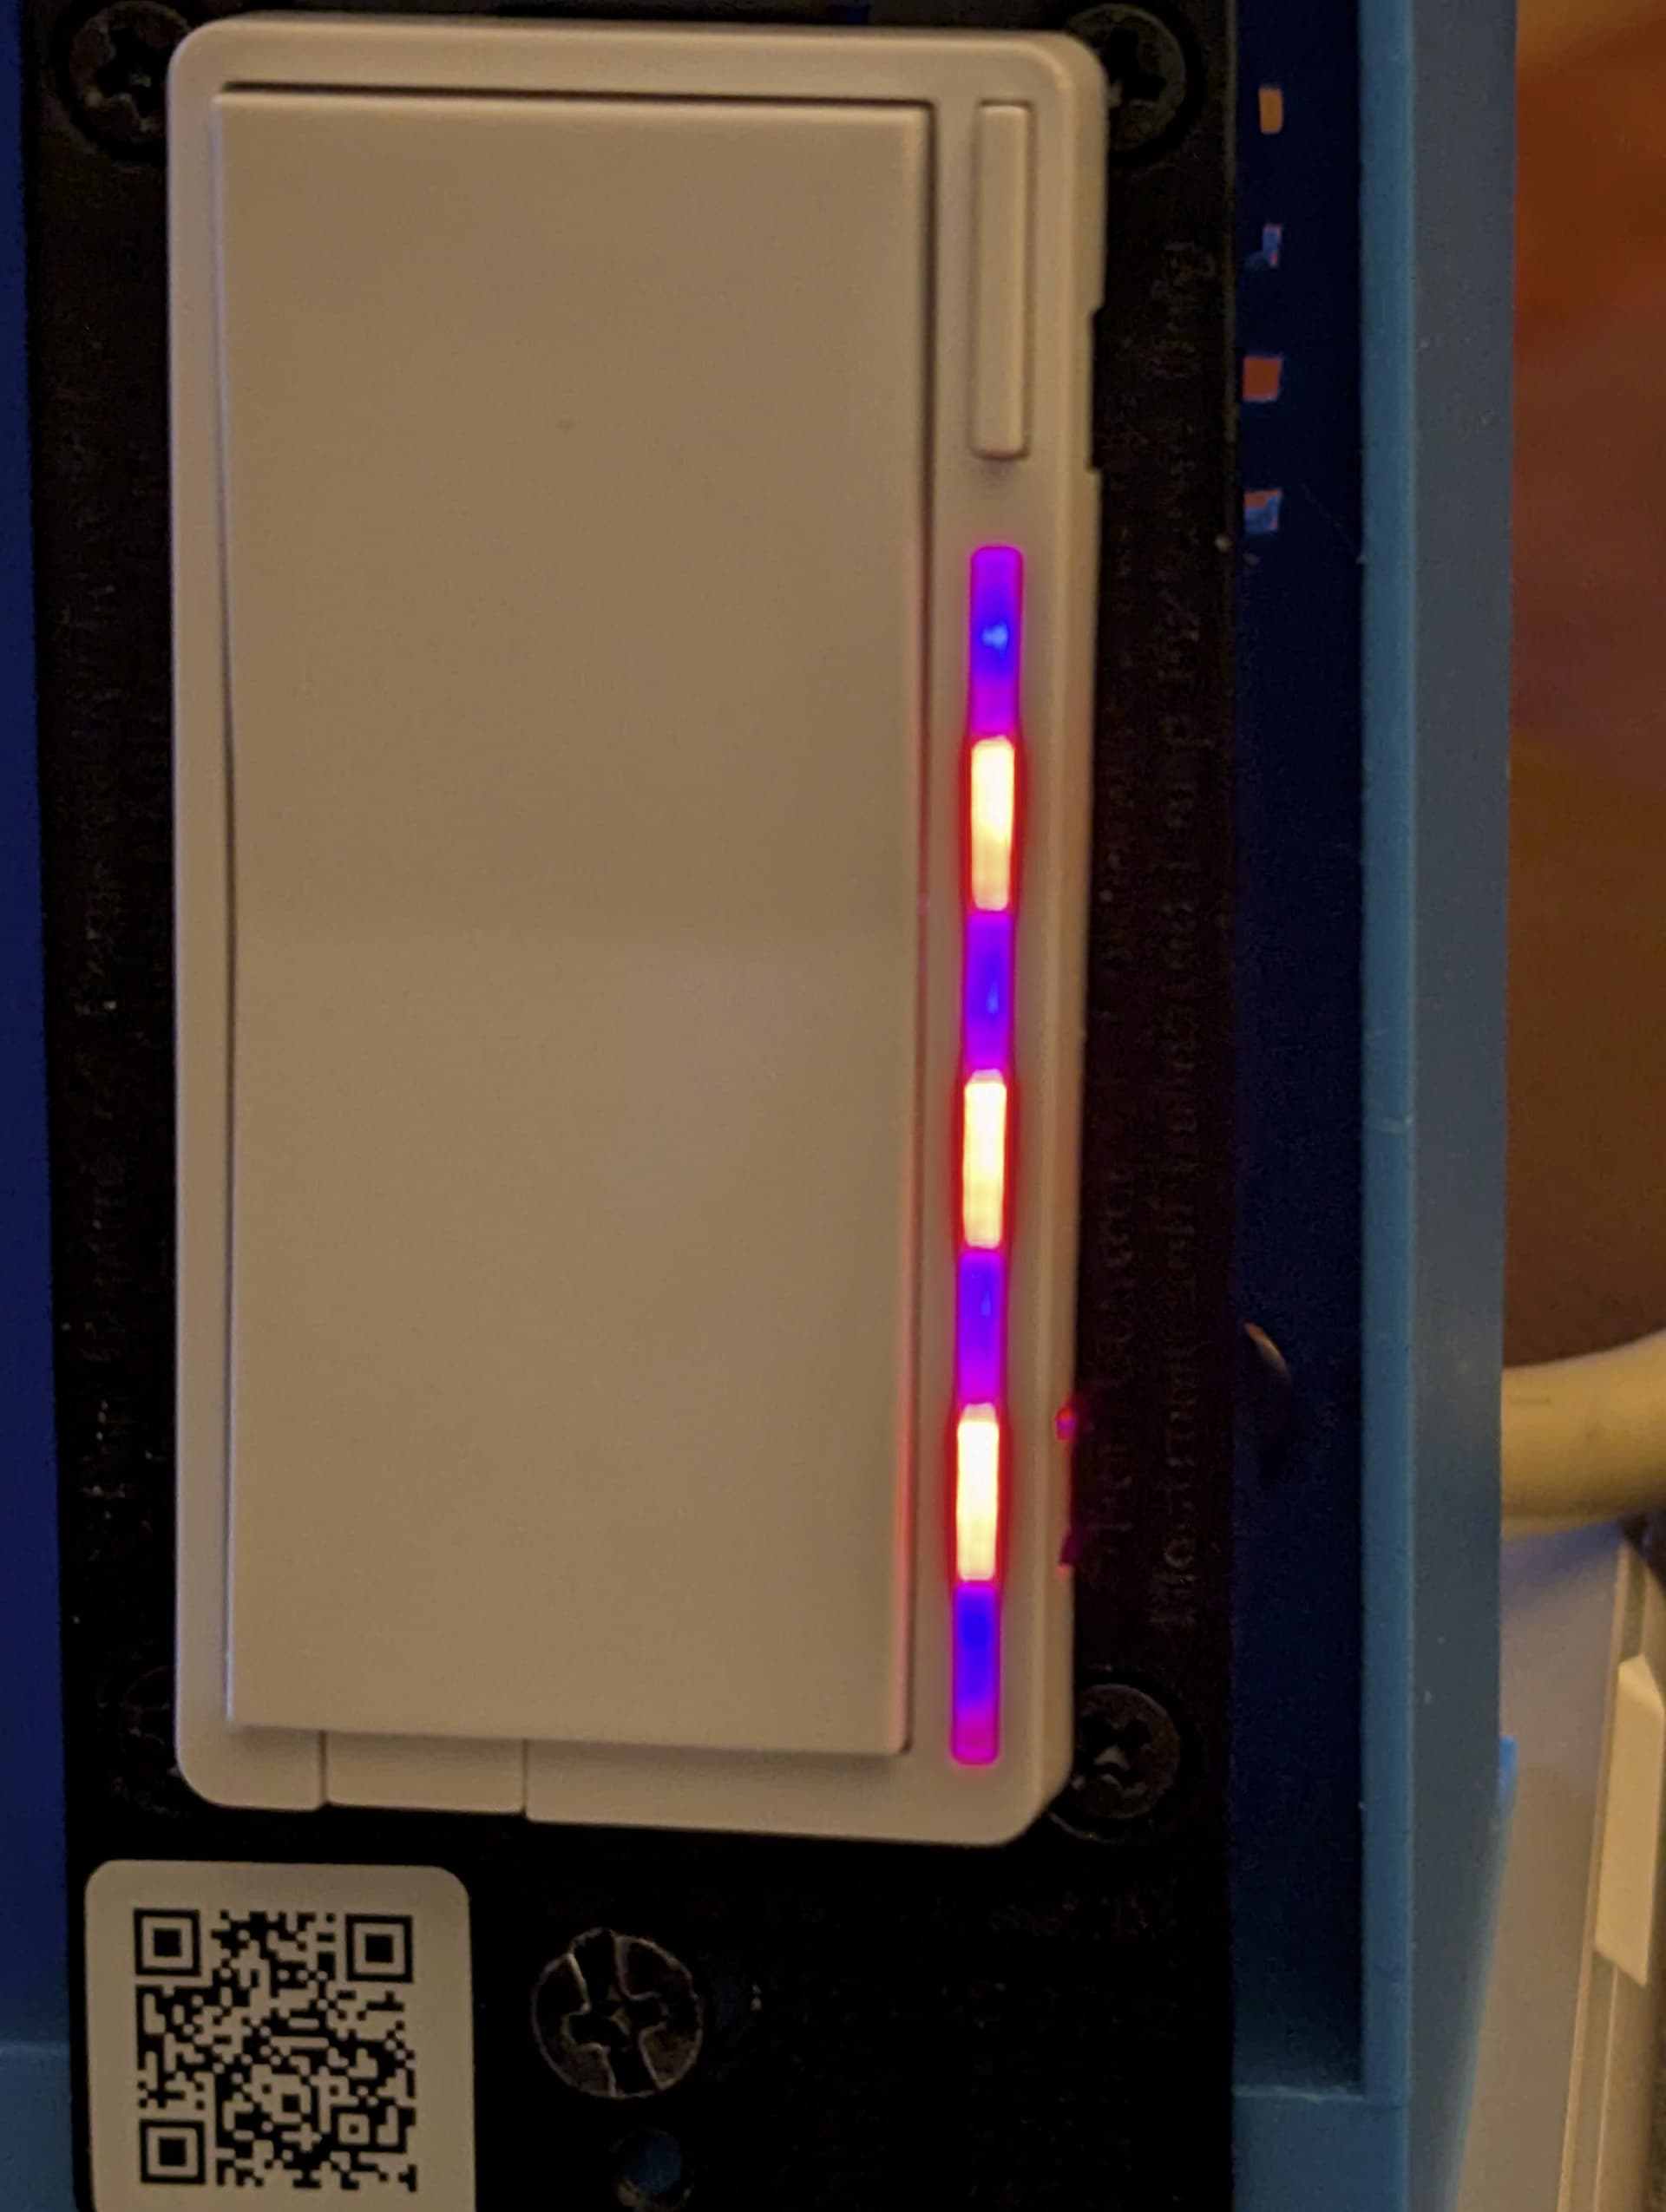
And here’s the result so far. Yes you can see the individual LEDs which in general is what I’m shooting for, but there’s going to be a second aspect to this project. The clear resin I’m using is too clear, the original diffuser is just a bit milky and scatters the light, so I’m going to have to play with mixing in just a bit of white resin to the clear to get a milky effect. The trick is going to be getting the gap long enough that the light doesn’t mix too much at the very front so they stay distinct while still giving a wide viewing angle for the light from each LED.
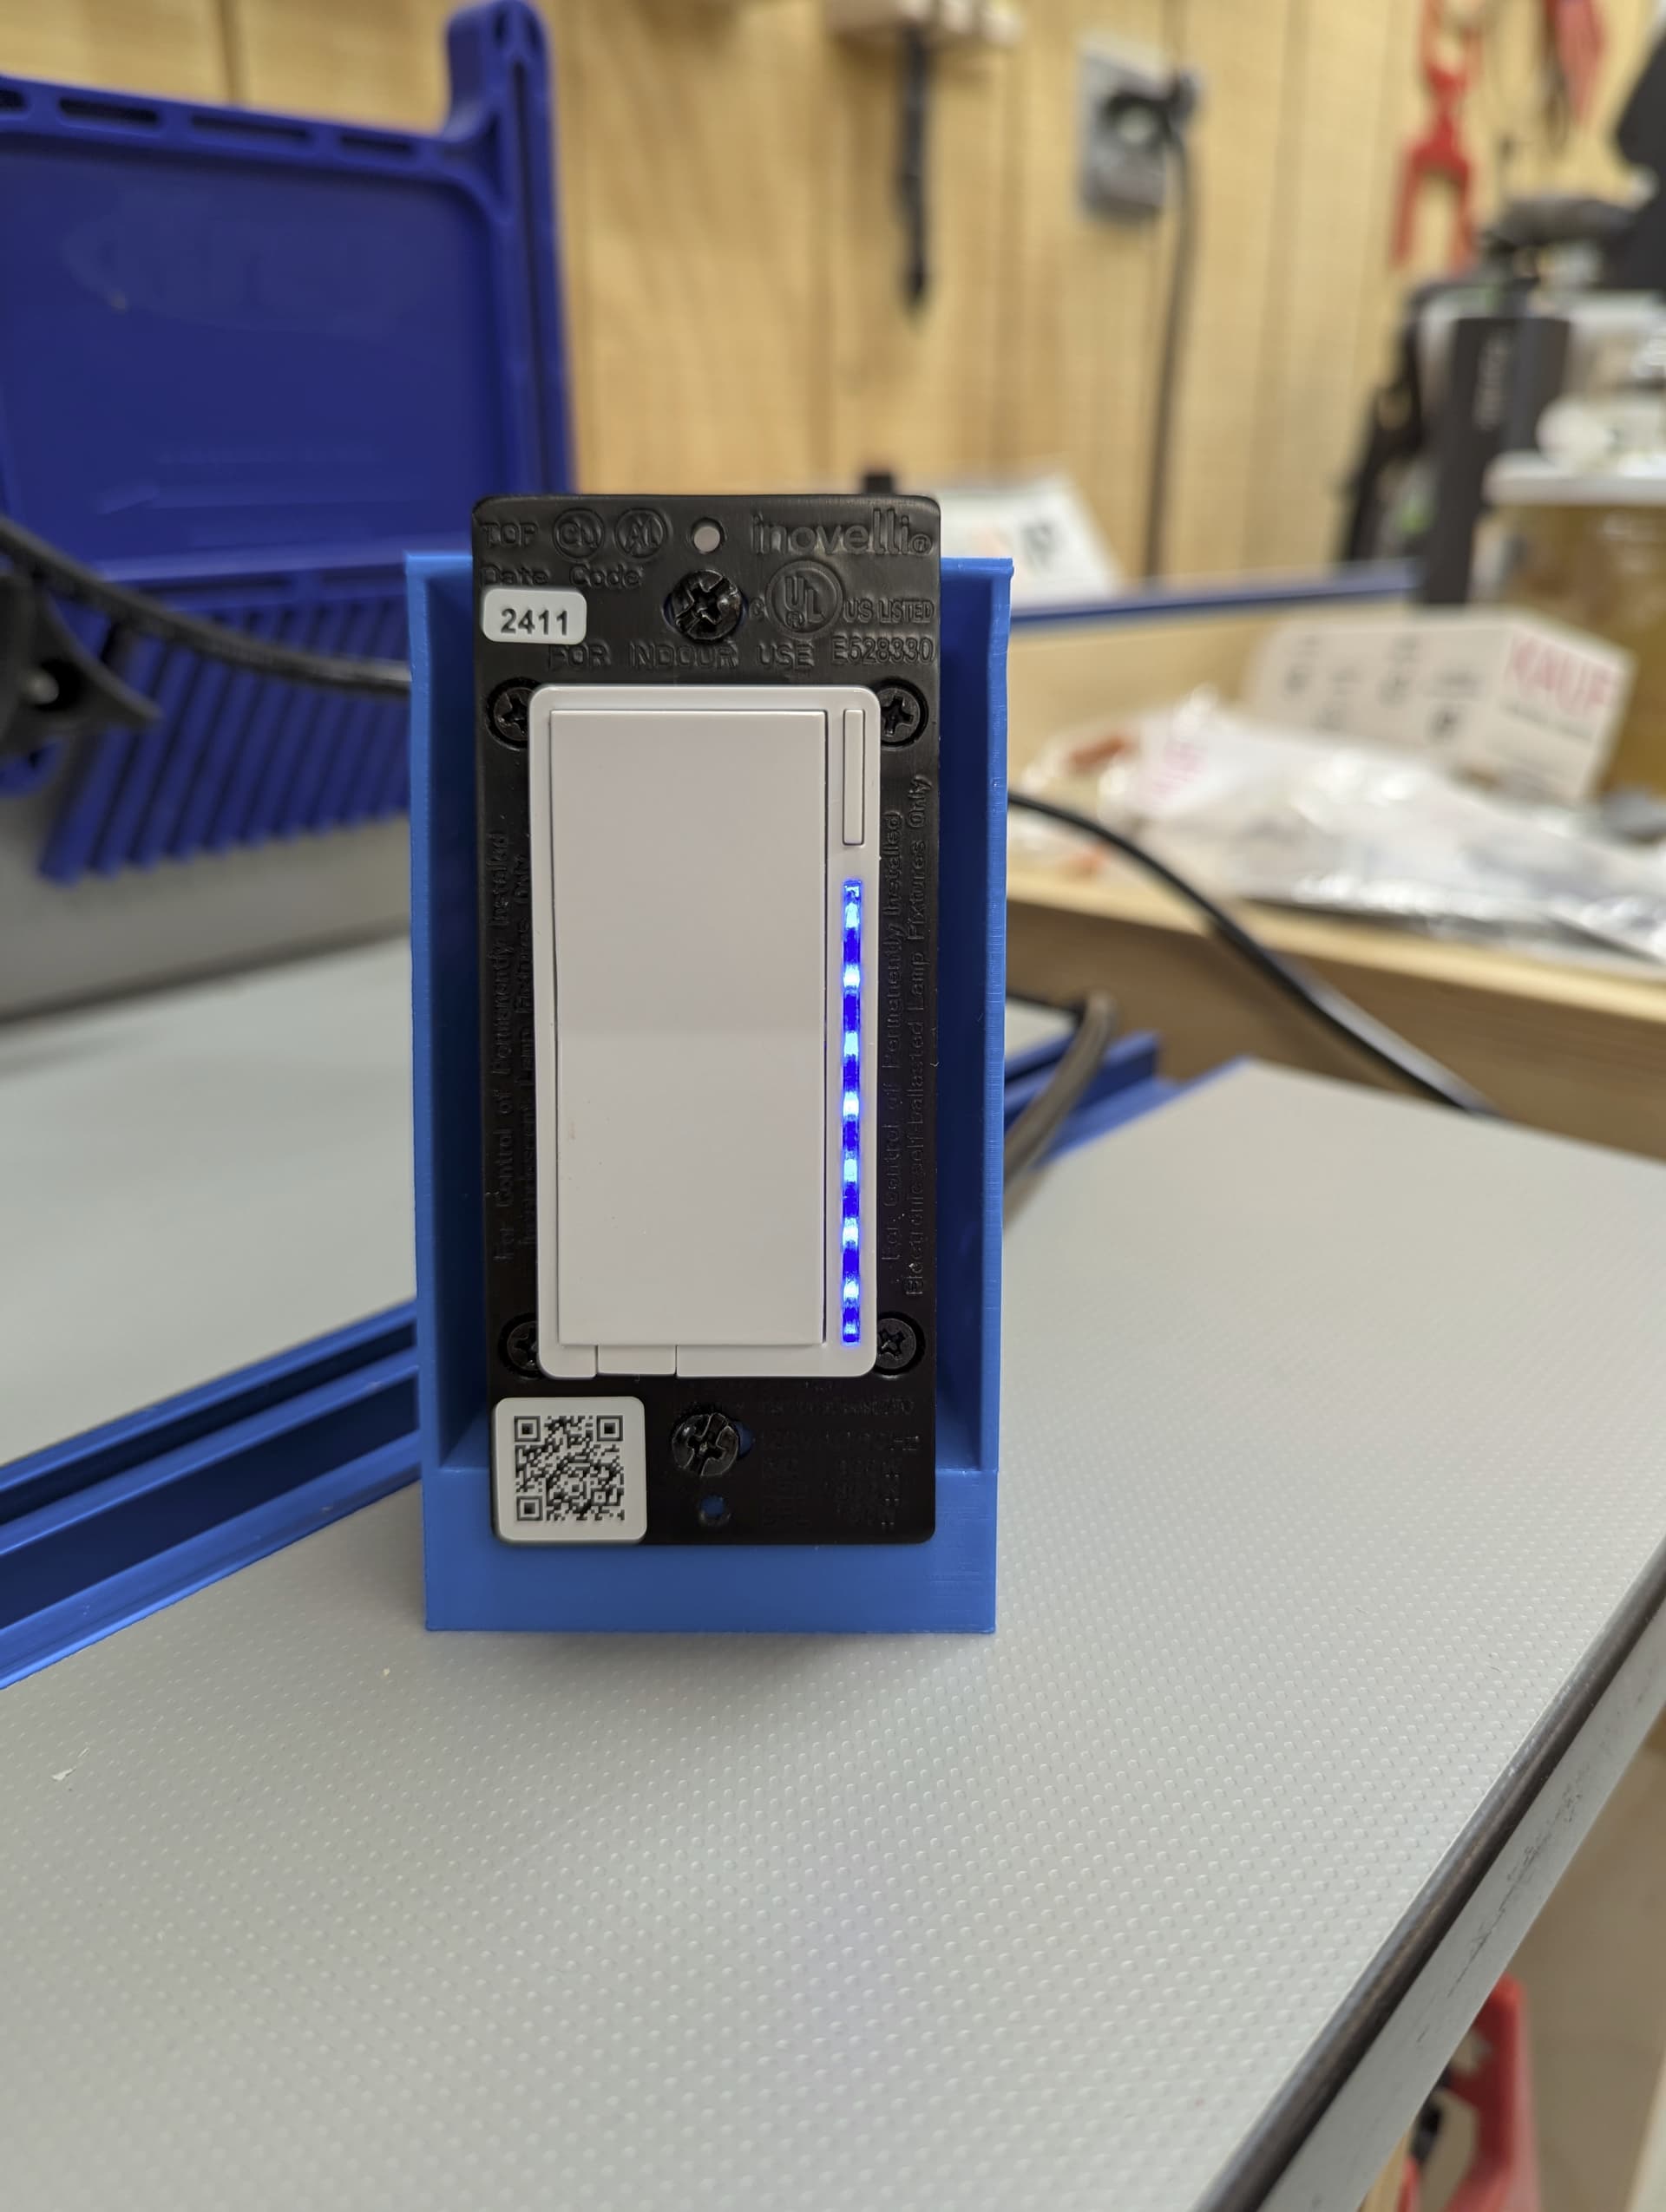
But overall I’m encouraged. I’m still working on the table top mount design (what you see in the picture isn’t what I’m designing, it’s something temporary I got from one of the models sites).
BTW, resin printing stinks up my entire workshop.