I to am interested in this new Switch, will solve a problem I have downstairs and improve WAF. What is the current status and expected availability?
1 Like
Alright guys, let me give an update! Sorry again for being MIA in the forums lately.
Right now, we’re probably on track for a Sept/Oct release date, but that’s still TBD. Here’s what we’ve been working on and what’s been taking so long.
We switched manufacturers (can’t remember if I’ve already stated this) and will be using our current/main manufacturer for this project as it was just too complex for the new manufacturer and we needed them to focus on the mmWave switches.
The biggest issue we’ve been dealing with (and finally fixed) was light leakage. How do you have 12 LED’s inside a switch with no light leakage? Very hard.
The single most important thing to the B2B client was light leakage and we’ve had a lot of back and forth with the engineers to finally get this right.
Let me show you what I’m talking about:
Competitors switch:
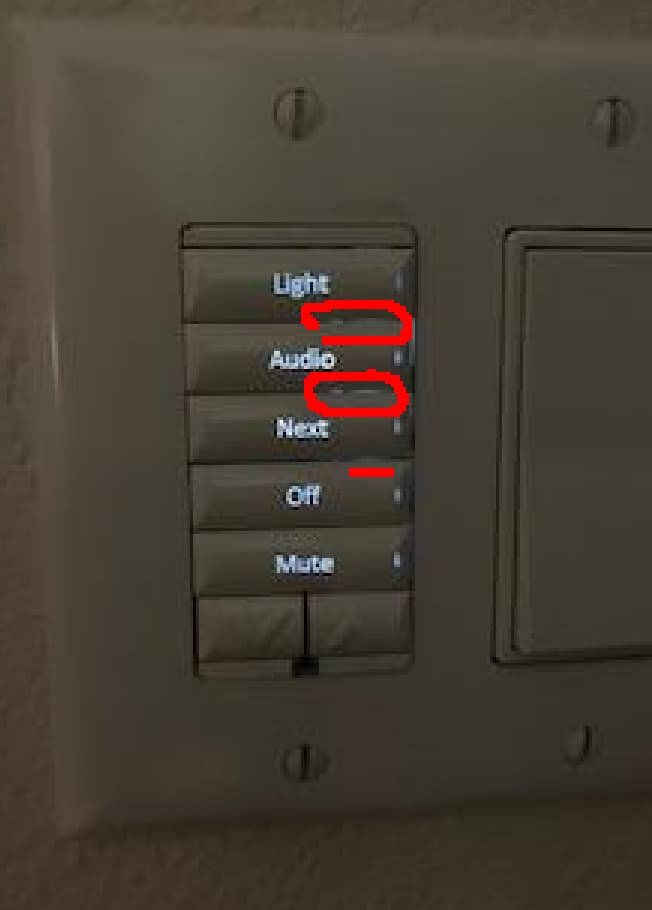
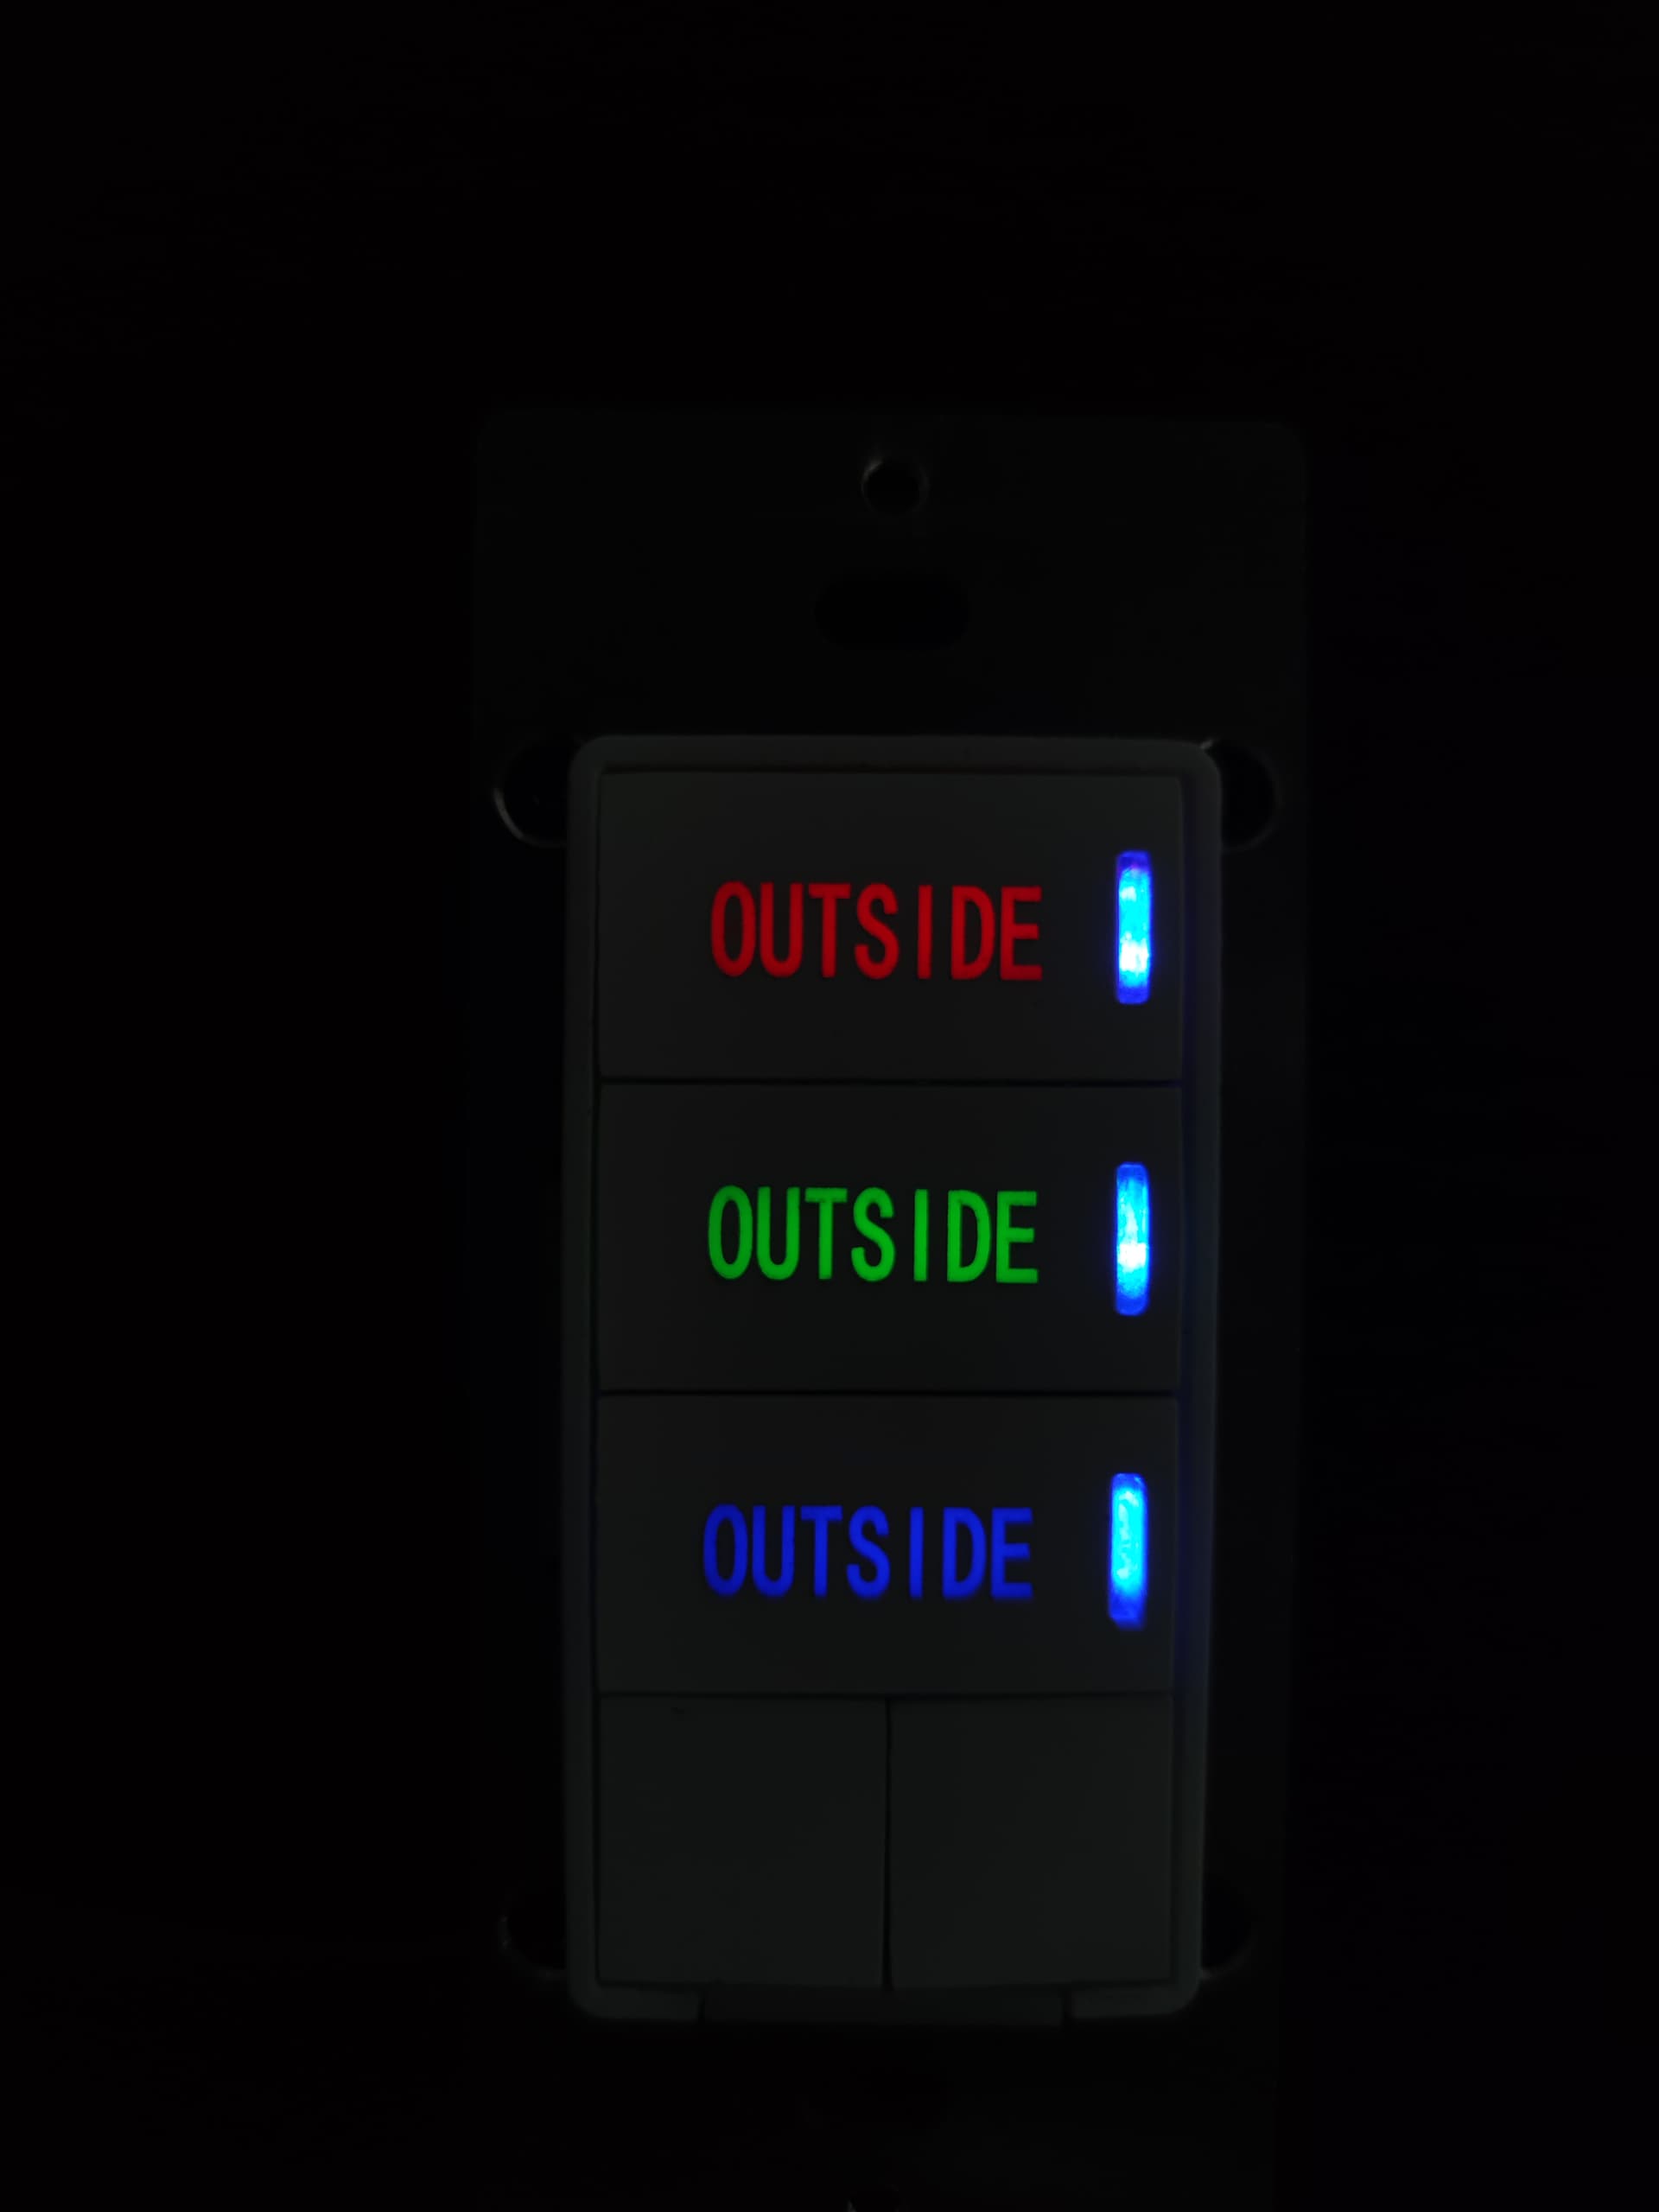
Initial Inovelli Alpha Sample (oof - lots of leakage):
–
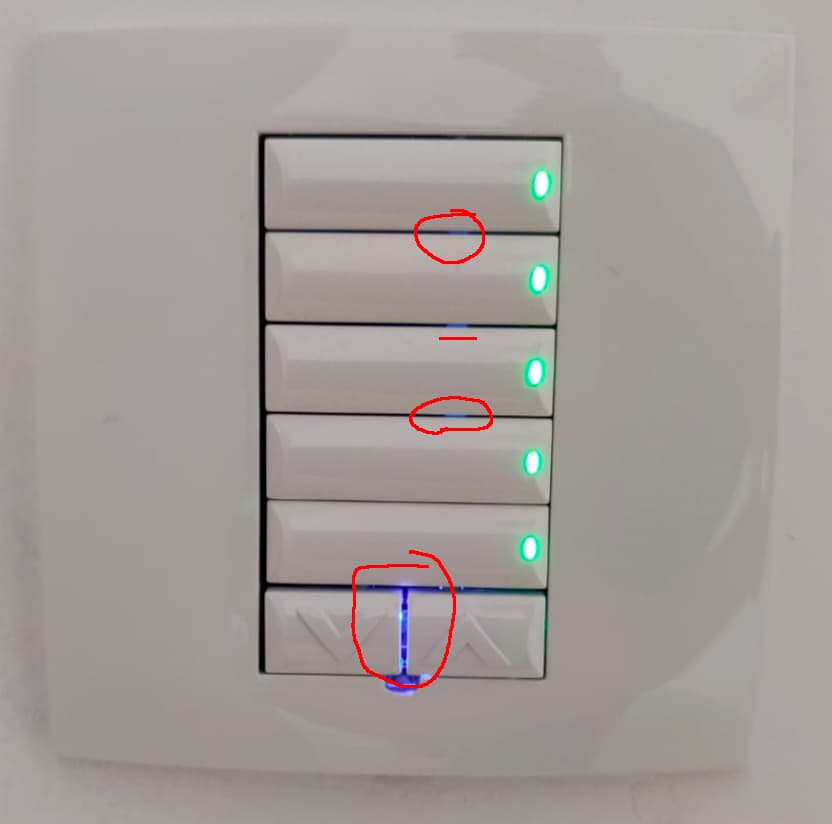
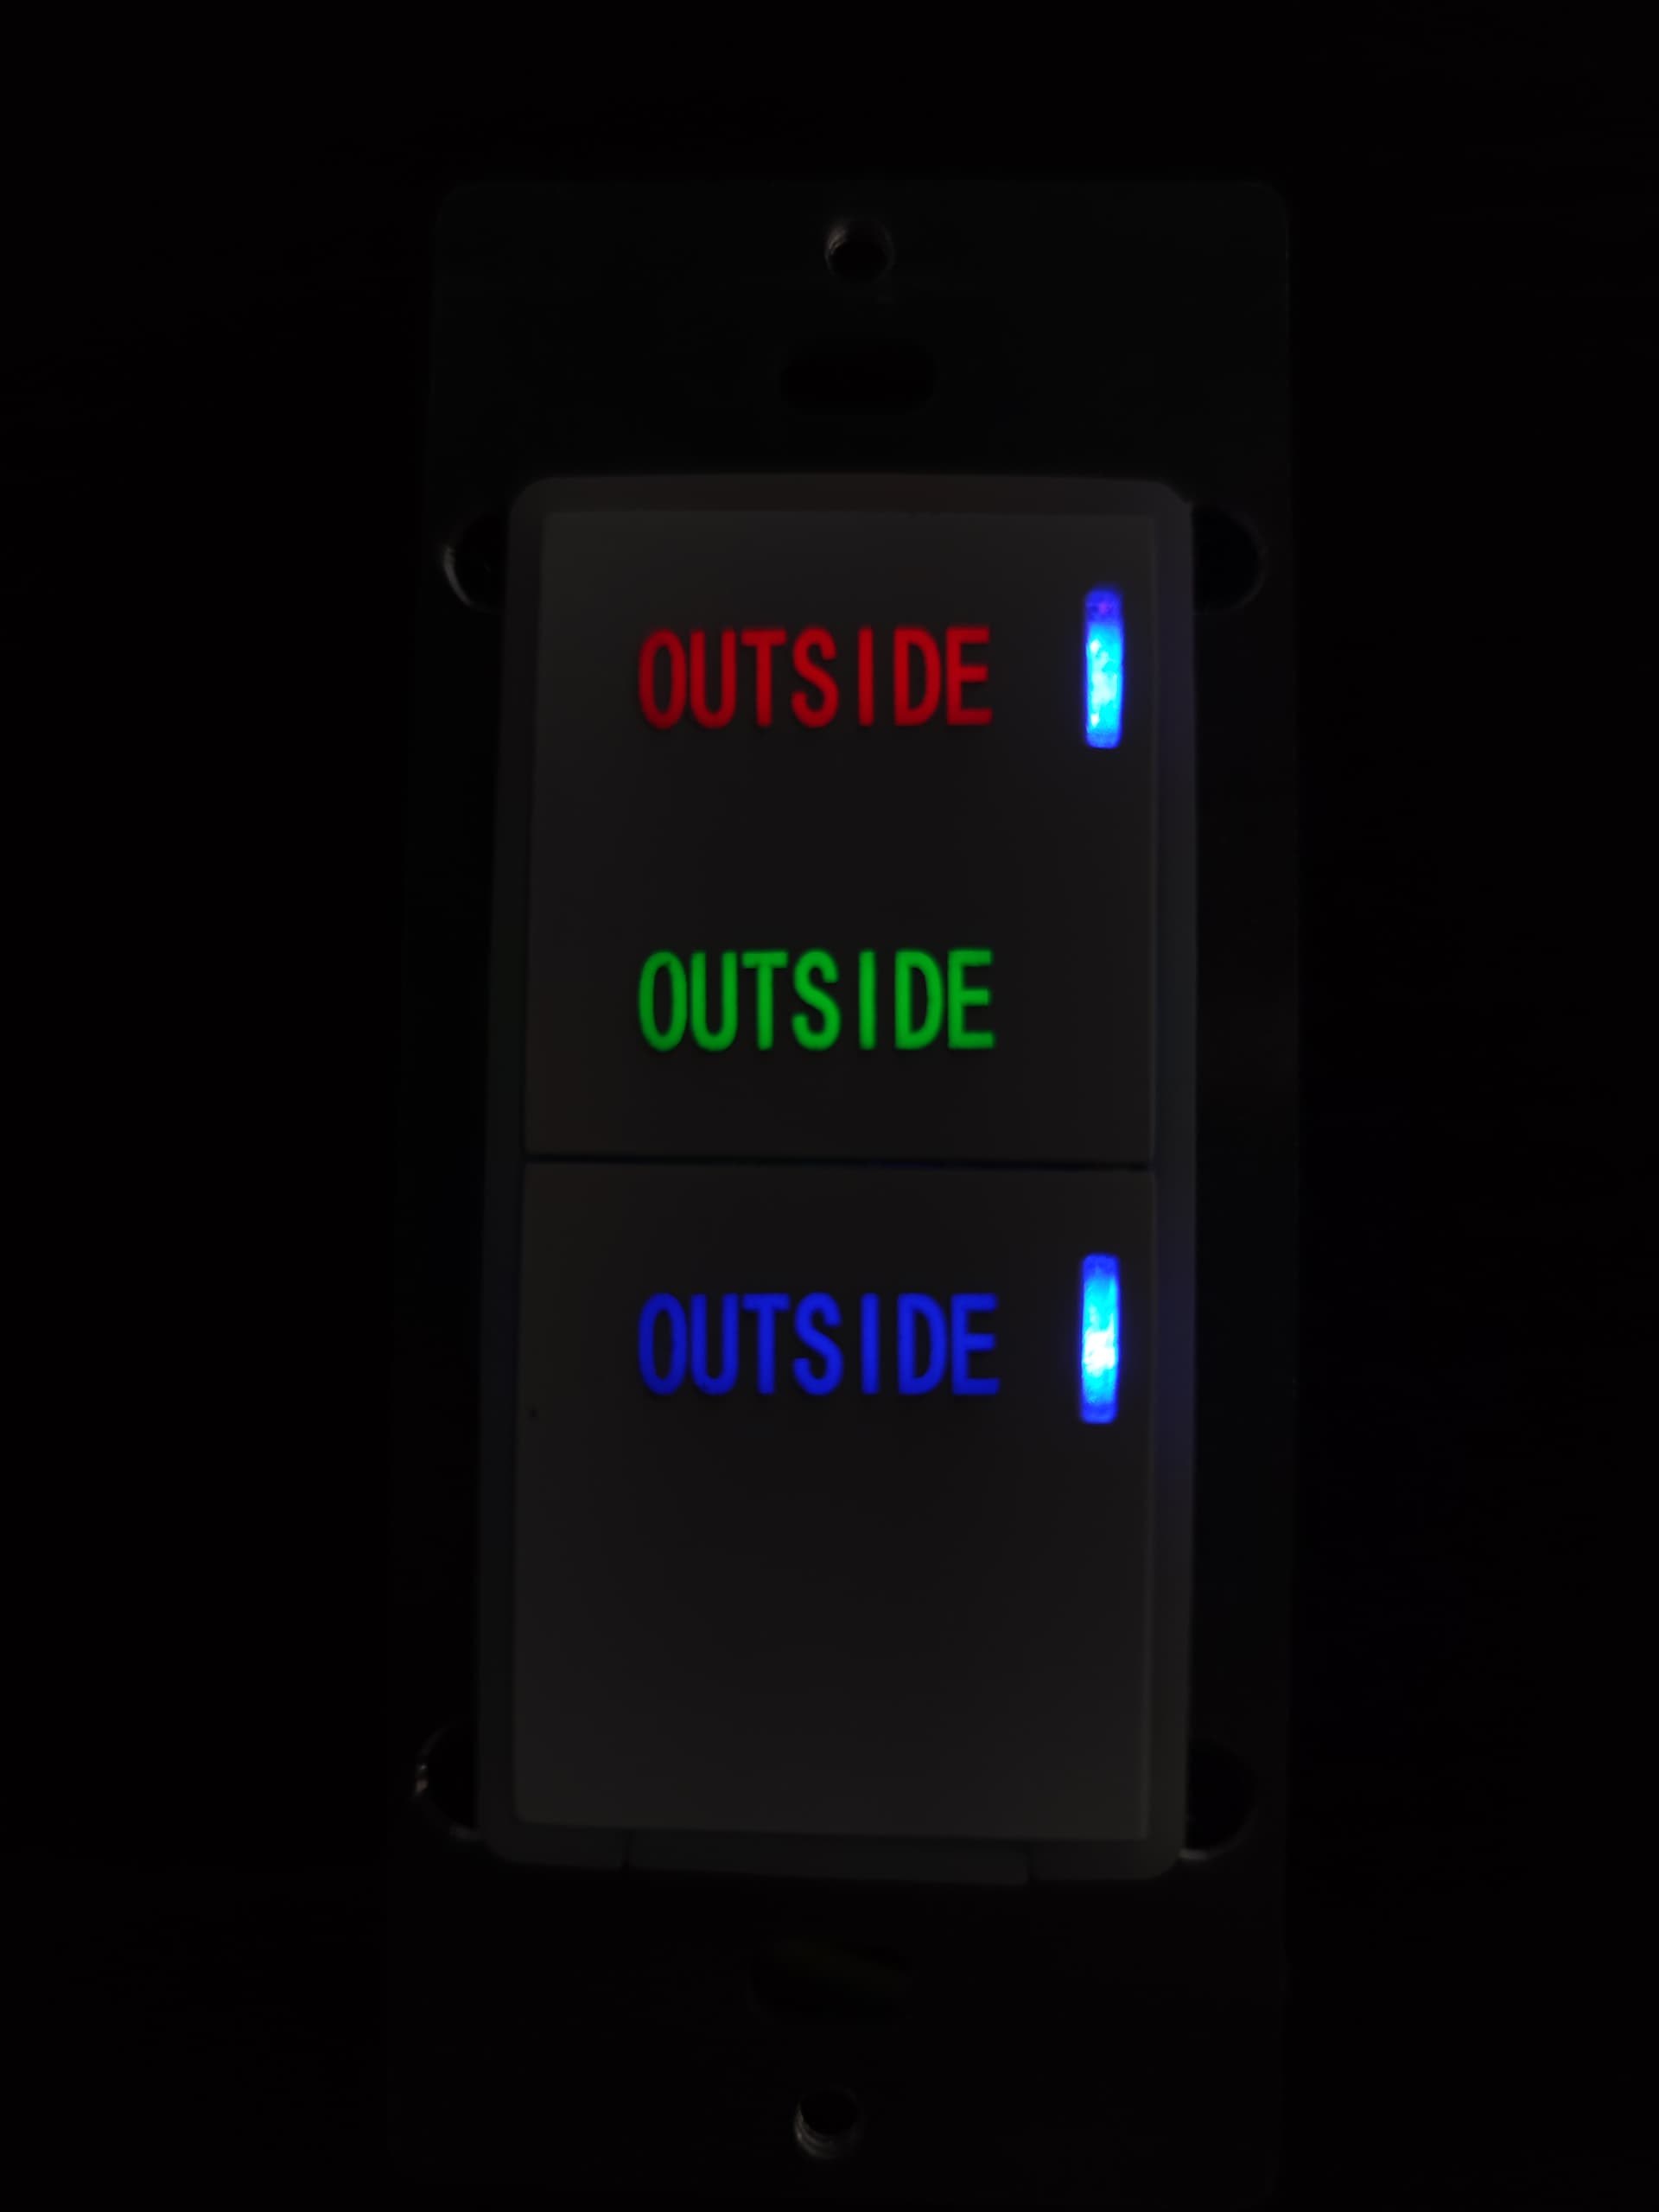
No (it’s a bad picture, but the red is reflecting off a faceplate that is above the buttons) light leakage sample:
–
The other issue we were dealing with was a, “double-click” issue where when you press down on the larger buttons, if you pressed in a certain area, you’d hear a, “double-click” because one actuator was depressing on the PCB and then the second actuator would then also press.
This would not only cause confusion with the PCB, but it also just wasn’t very aesthetically pleasing.
When we removed one of the actuators from the paddle, it caused a pressure imbalance on the paddle that made one side easier to push down (but felt more spongy) than the other.
They’ve since fixed both issues, so the next step is to send us a 3D print (should be coming early July) to verify tooling.
The good news is that most of the firmware has been developed already, they’ll just need to work on figuring out the optimal way to program the buttons correctly depending on how the user configures it.
–
All that to say that we still are targeting CEDIA (early Sept) to have this entering production as that was the goal for the B2B customer (for Z-Wave). Depending on the next Alpha sample that comes in, I should know whether or not we can accomplish the Sept/Oct production/delivery.
11 Likes
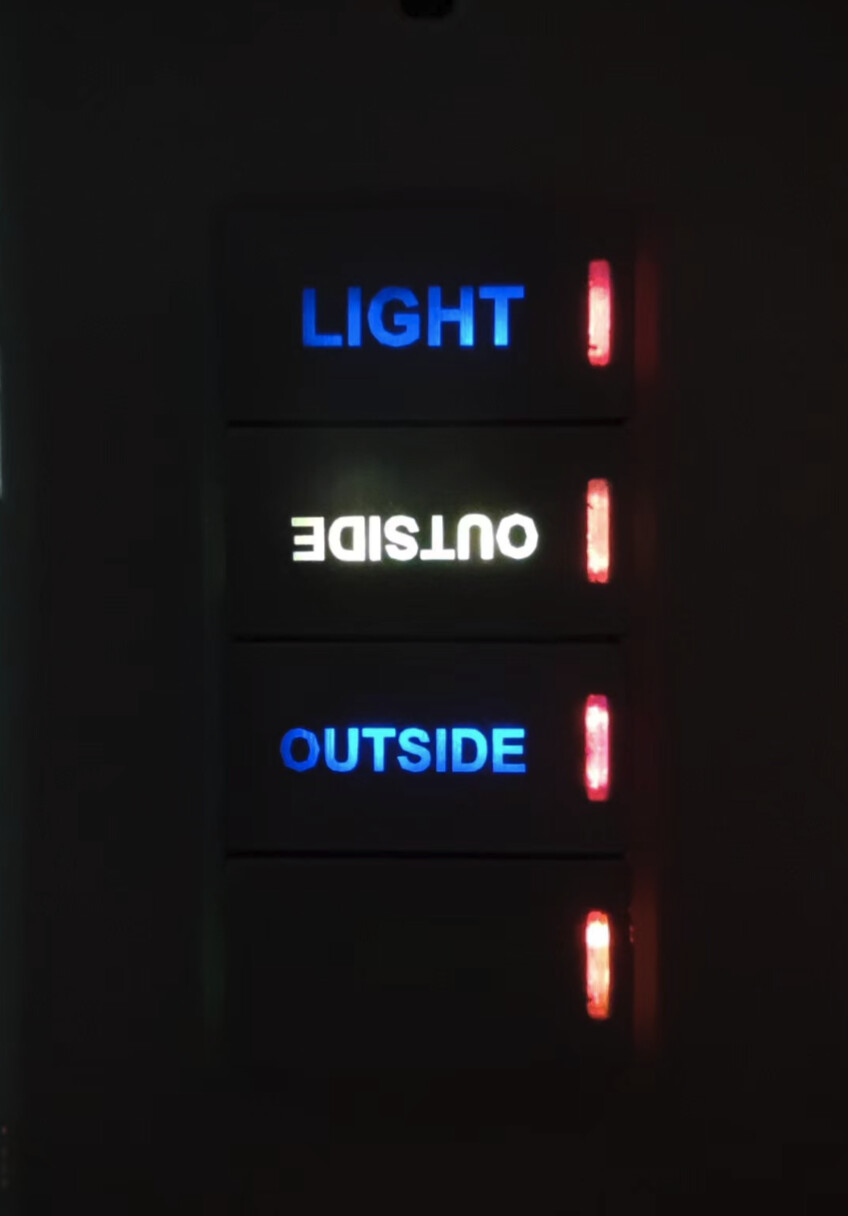
Great to see progress on the switch. We’ve waited a long time for it ![]() FYI, it looks like that tornado spun the middle label around
FYI, it looks like that tornado spun the middle label around ![]()
1 Like
Are there still plans to offer custom engraving?
Especially for use with canopy!
1 Like
Awesome!!
1 Like
There’s plenty of engraving/laser shops out there who could do this 3rd-party.
Yes, definitely. I’m working with our B2B client on the actual process – I should have an update in a month or so. One of the issues we’re working through (which at this point, we’ve just accepted it can’t be done with the current tooling) is getting the text vertically centered on the large buttons.
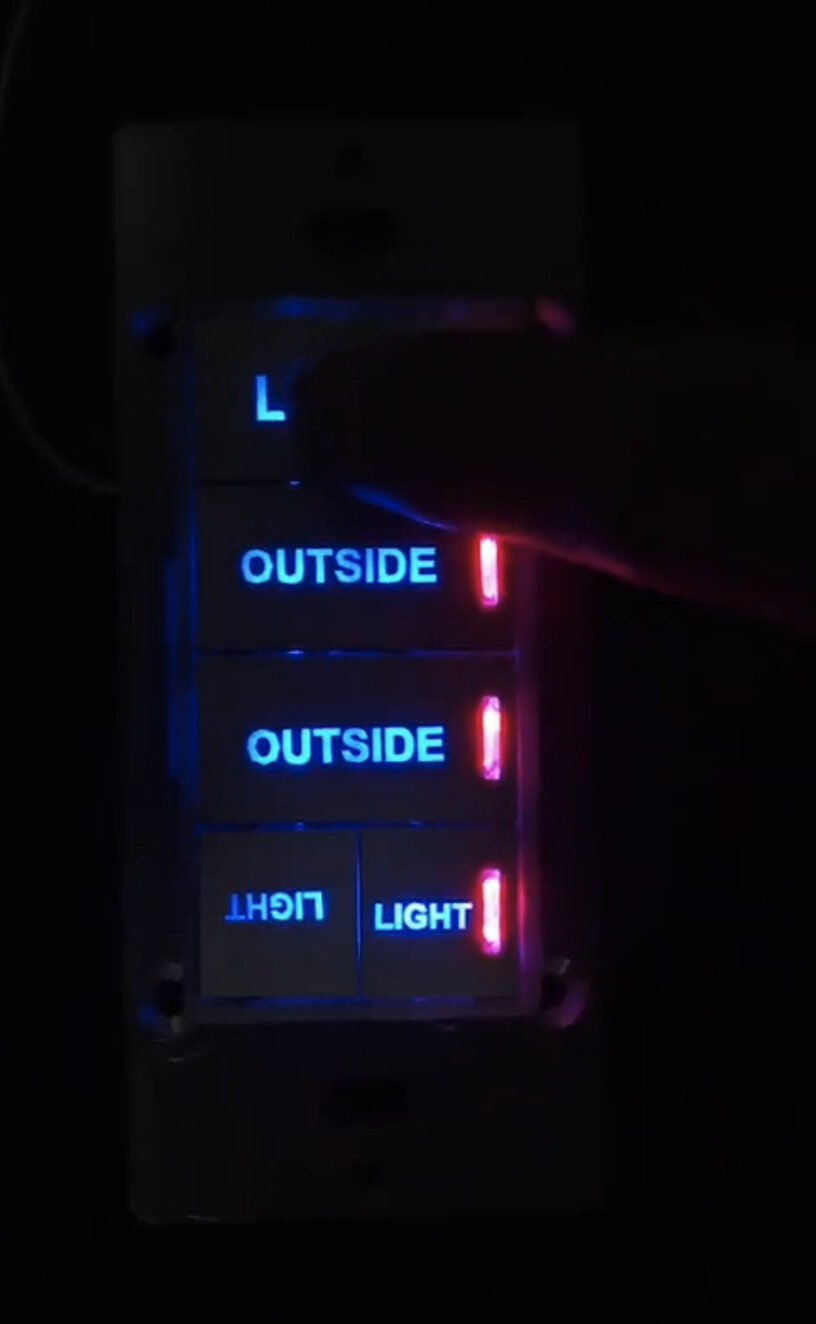
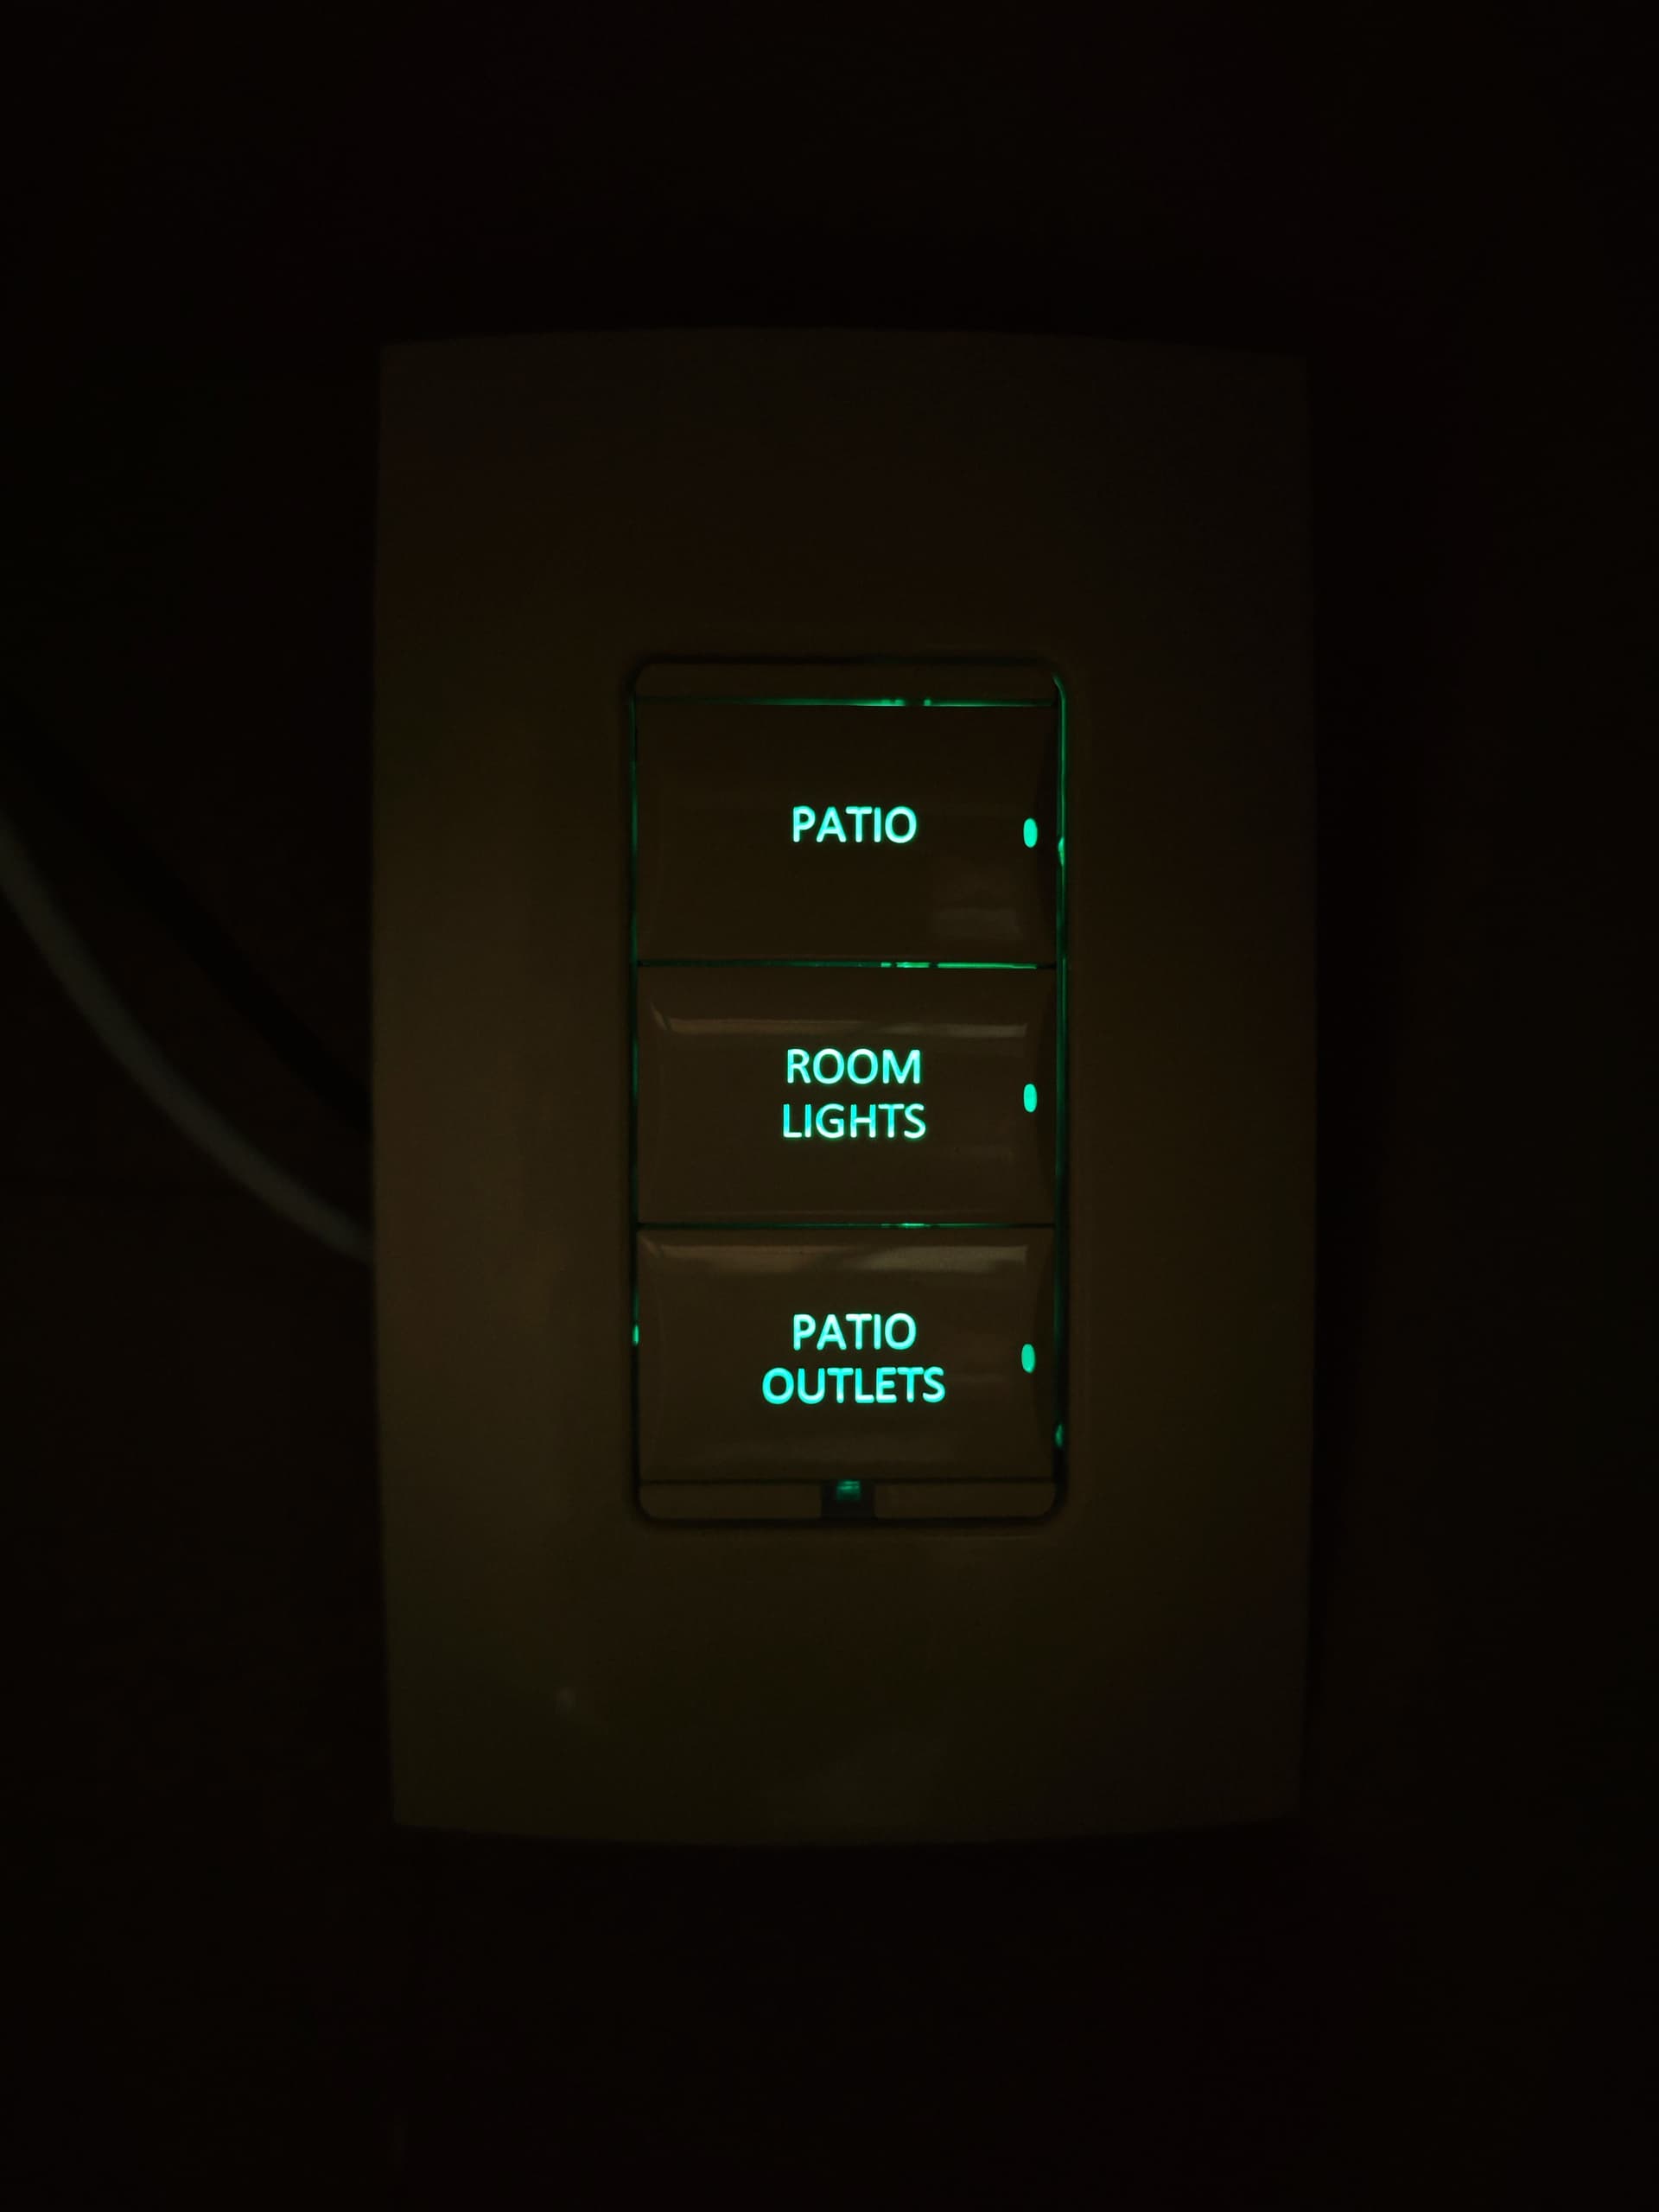
Here’s what I’m talking about:
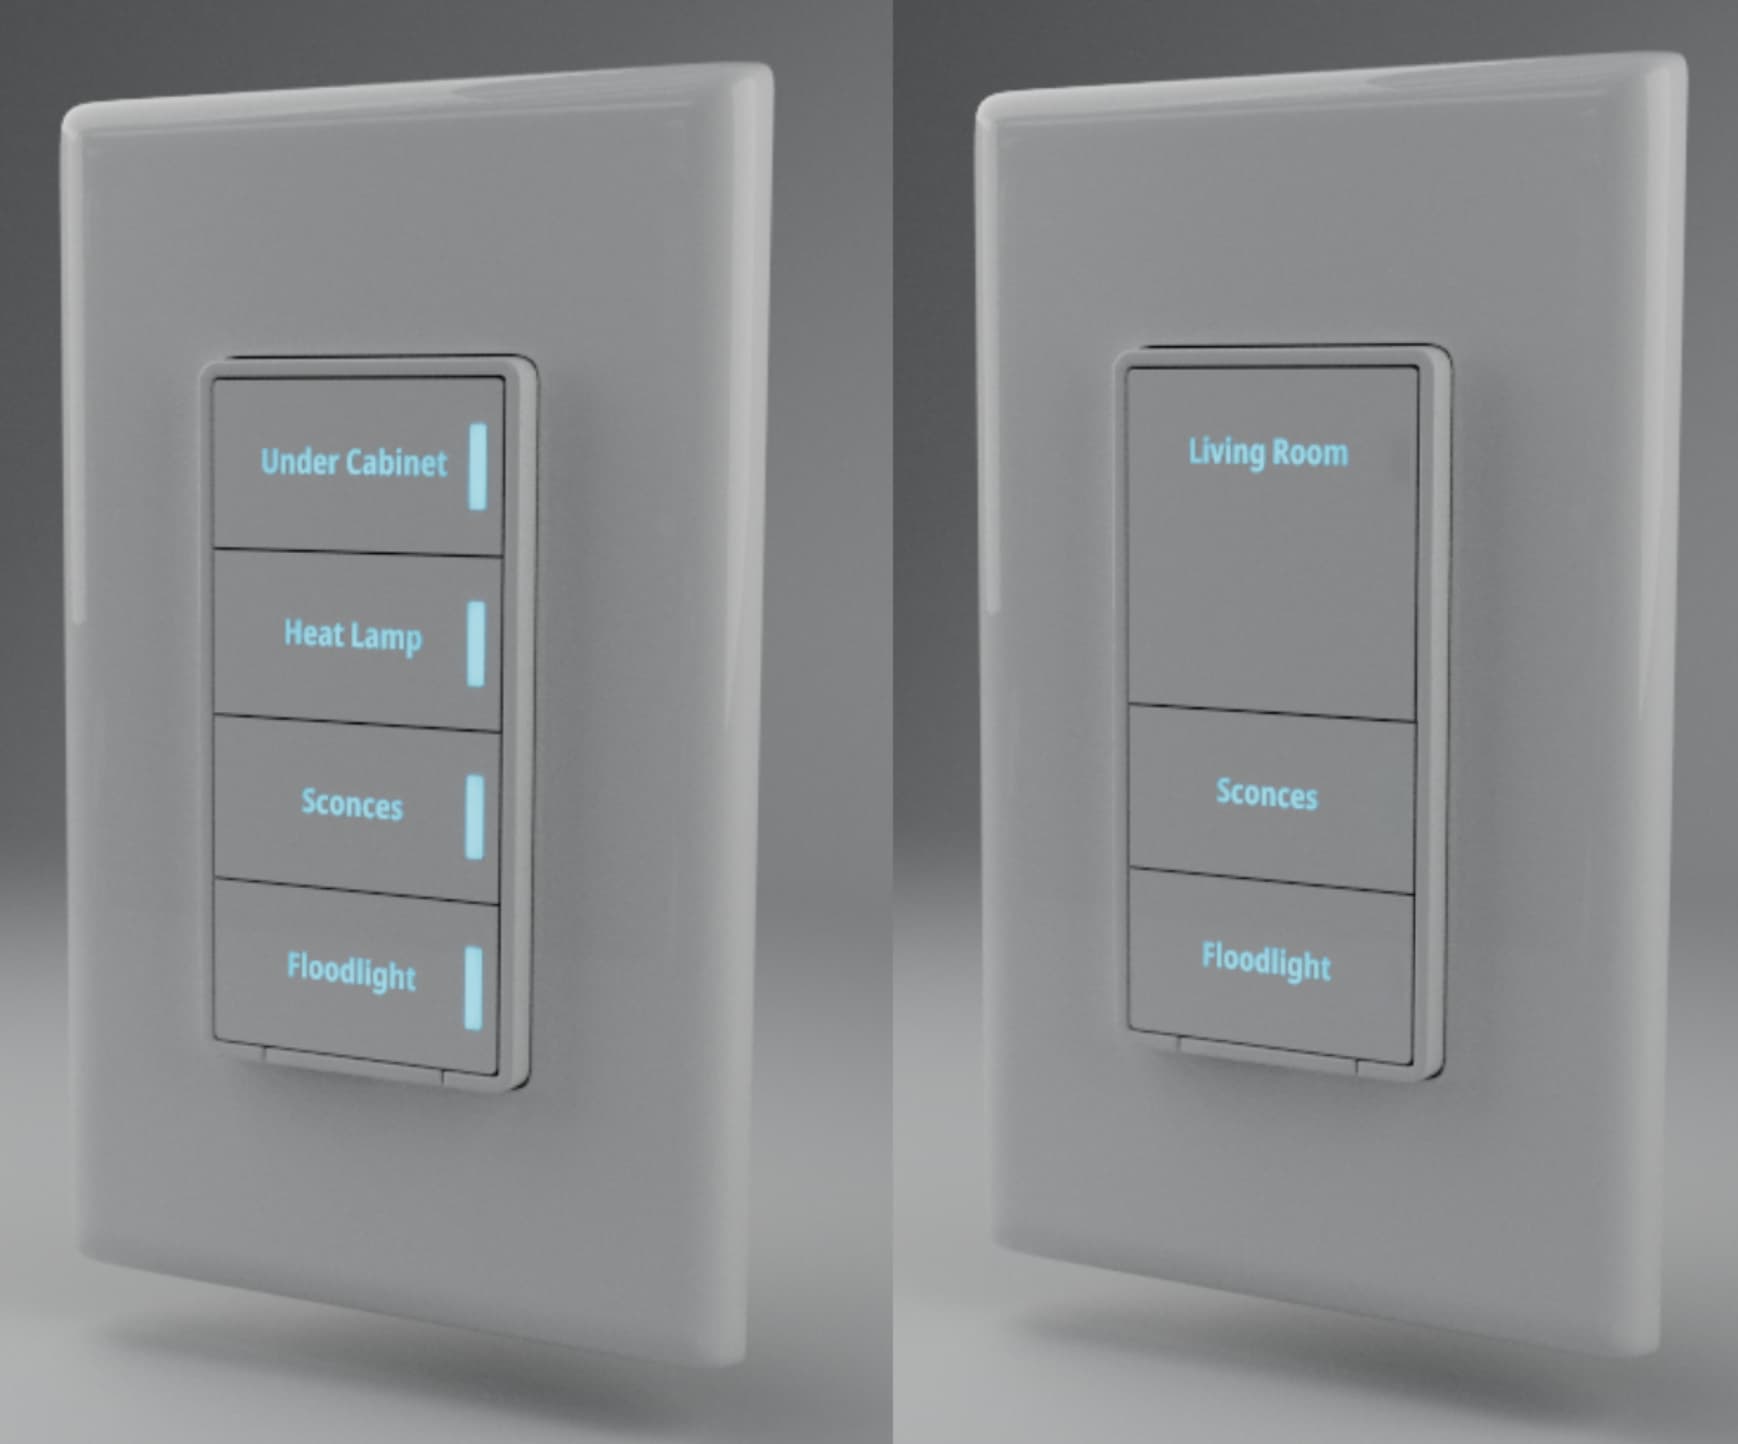
The switch on the right has the text at the top as that’s where the LEDs are that backlight it. We can’t put it here in the red area (as shown below) because we had to use a light blocker to eliminate light leakage from the purple area (as shown below).

Since the B2B guys really want this to be 90% complete by CEDIA (early Sept), we opted to just move forward with the design as is and then see if we can solve the vertical text later.
I do have a potential solution that a competitor has done, but it’s a bit complex and our team needs some time to analyze it. The good news is that it shouldn’t affect most of the tooling (it would only be a modification to the paddle). So, we’ve told the manufacturer to start tooling as-is and if we need to pay a bit more later or this becomes a point of contention, we can pay a little extra to have them modify the paddle tooling.
Me personally, it doesn’t bother me, but I can see how this would annoy some people.
6 Likes
Thanks for the update. It looks amazing. I personally like the way it looks as is. I can’t wait until they’re available. I’ve been wanting to replace my UPB switches for a long time.
2 Likes
Happy 4th all! What a present we received for America’s bday ![]()
![]()
Final 3D print version (notes below)
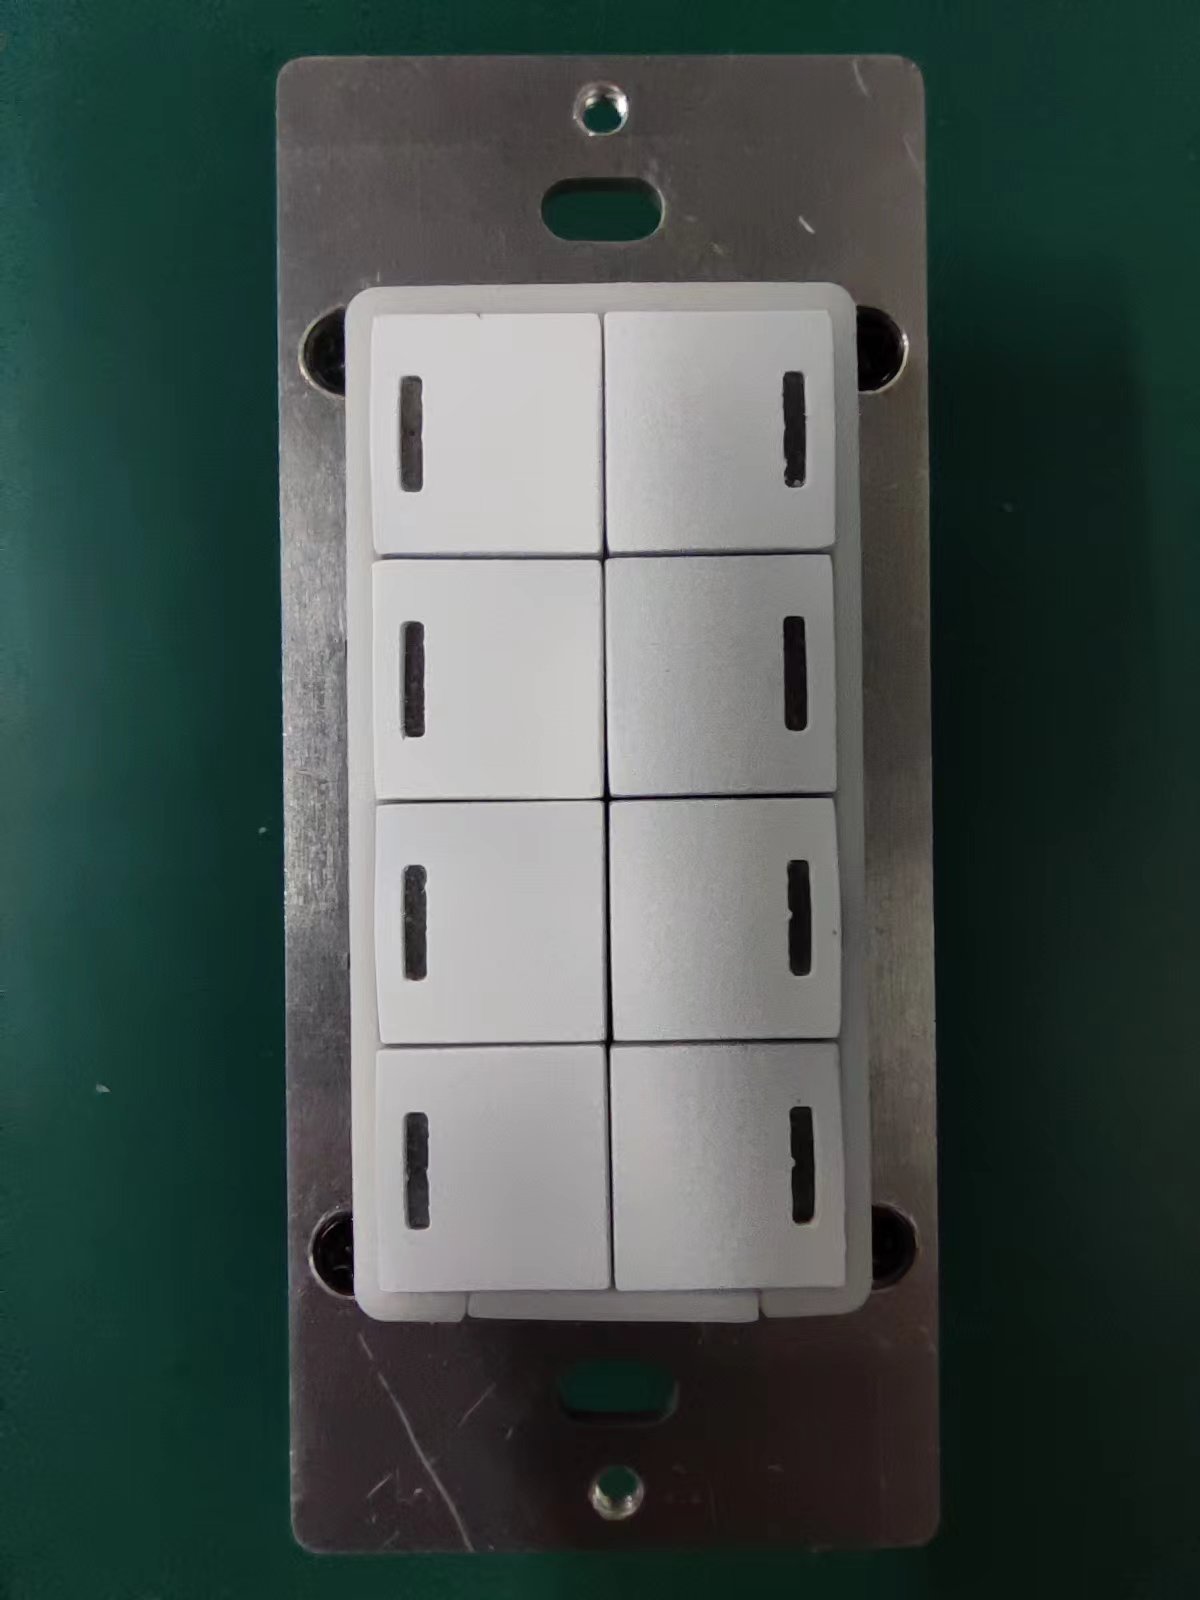
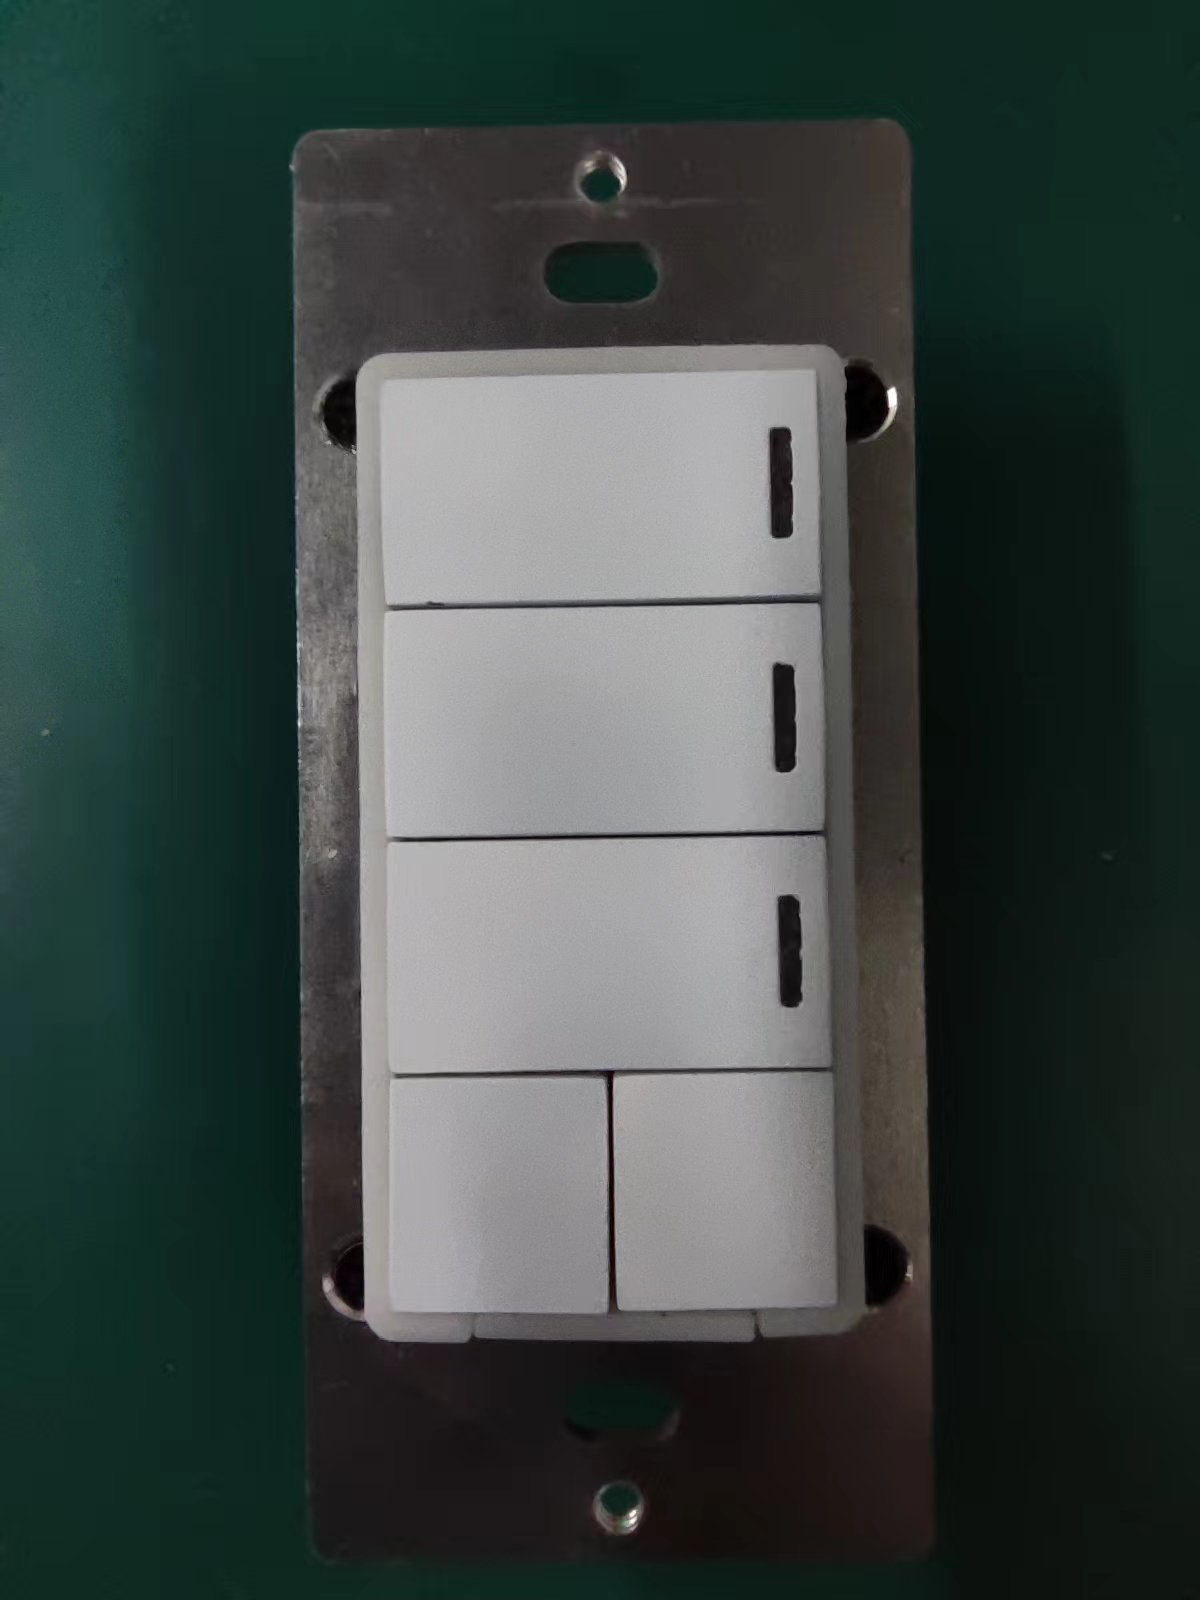
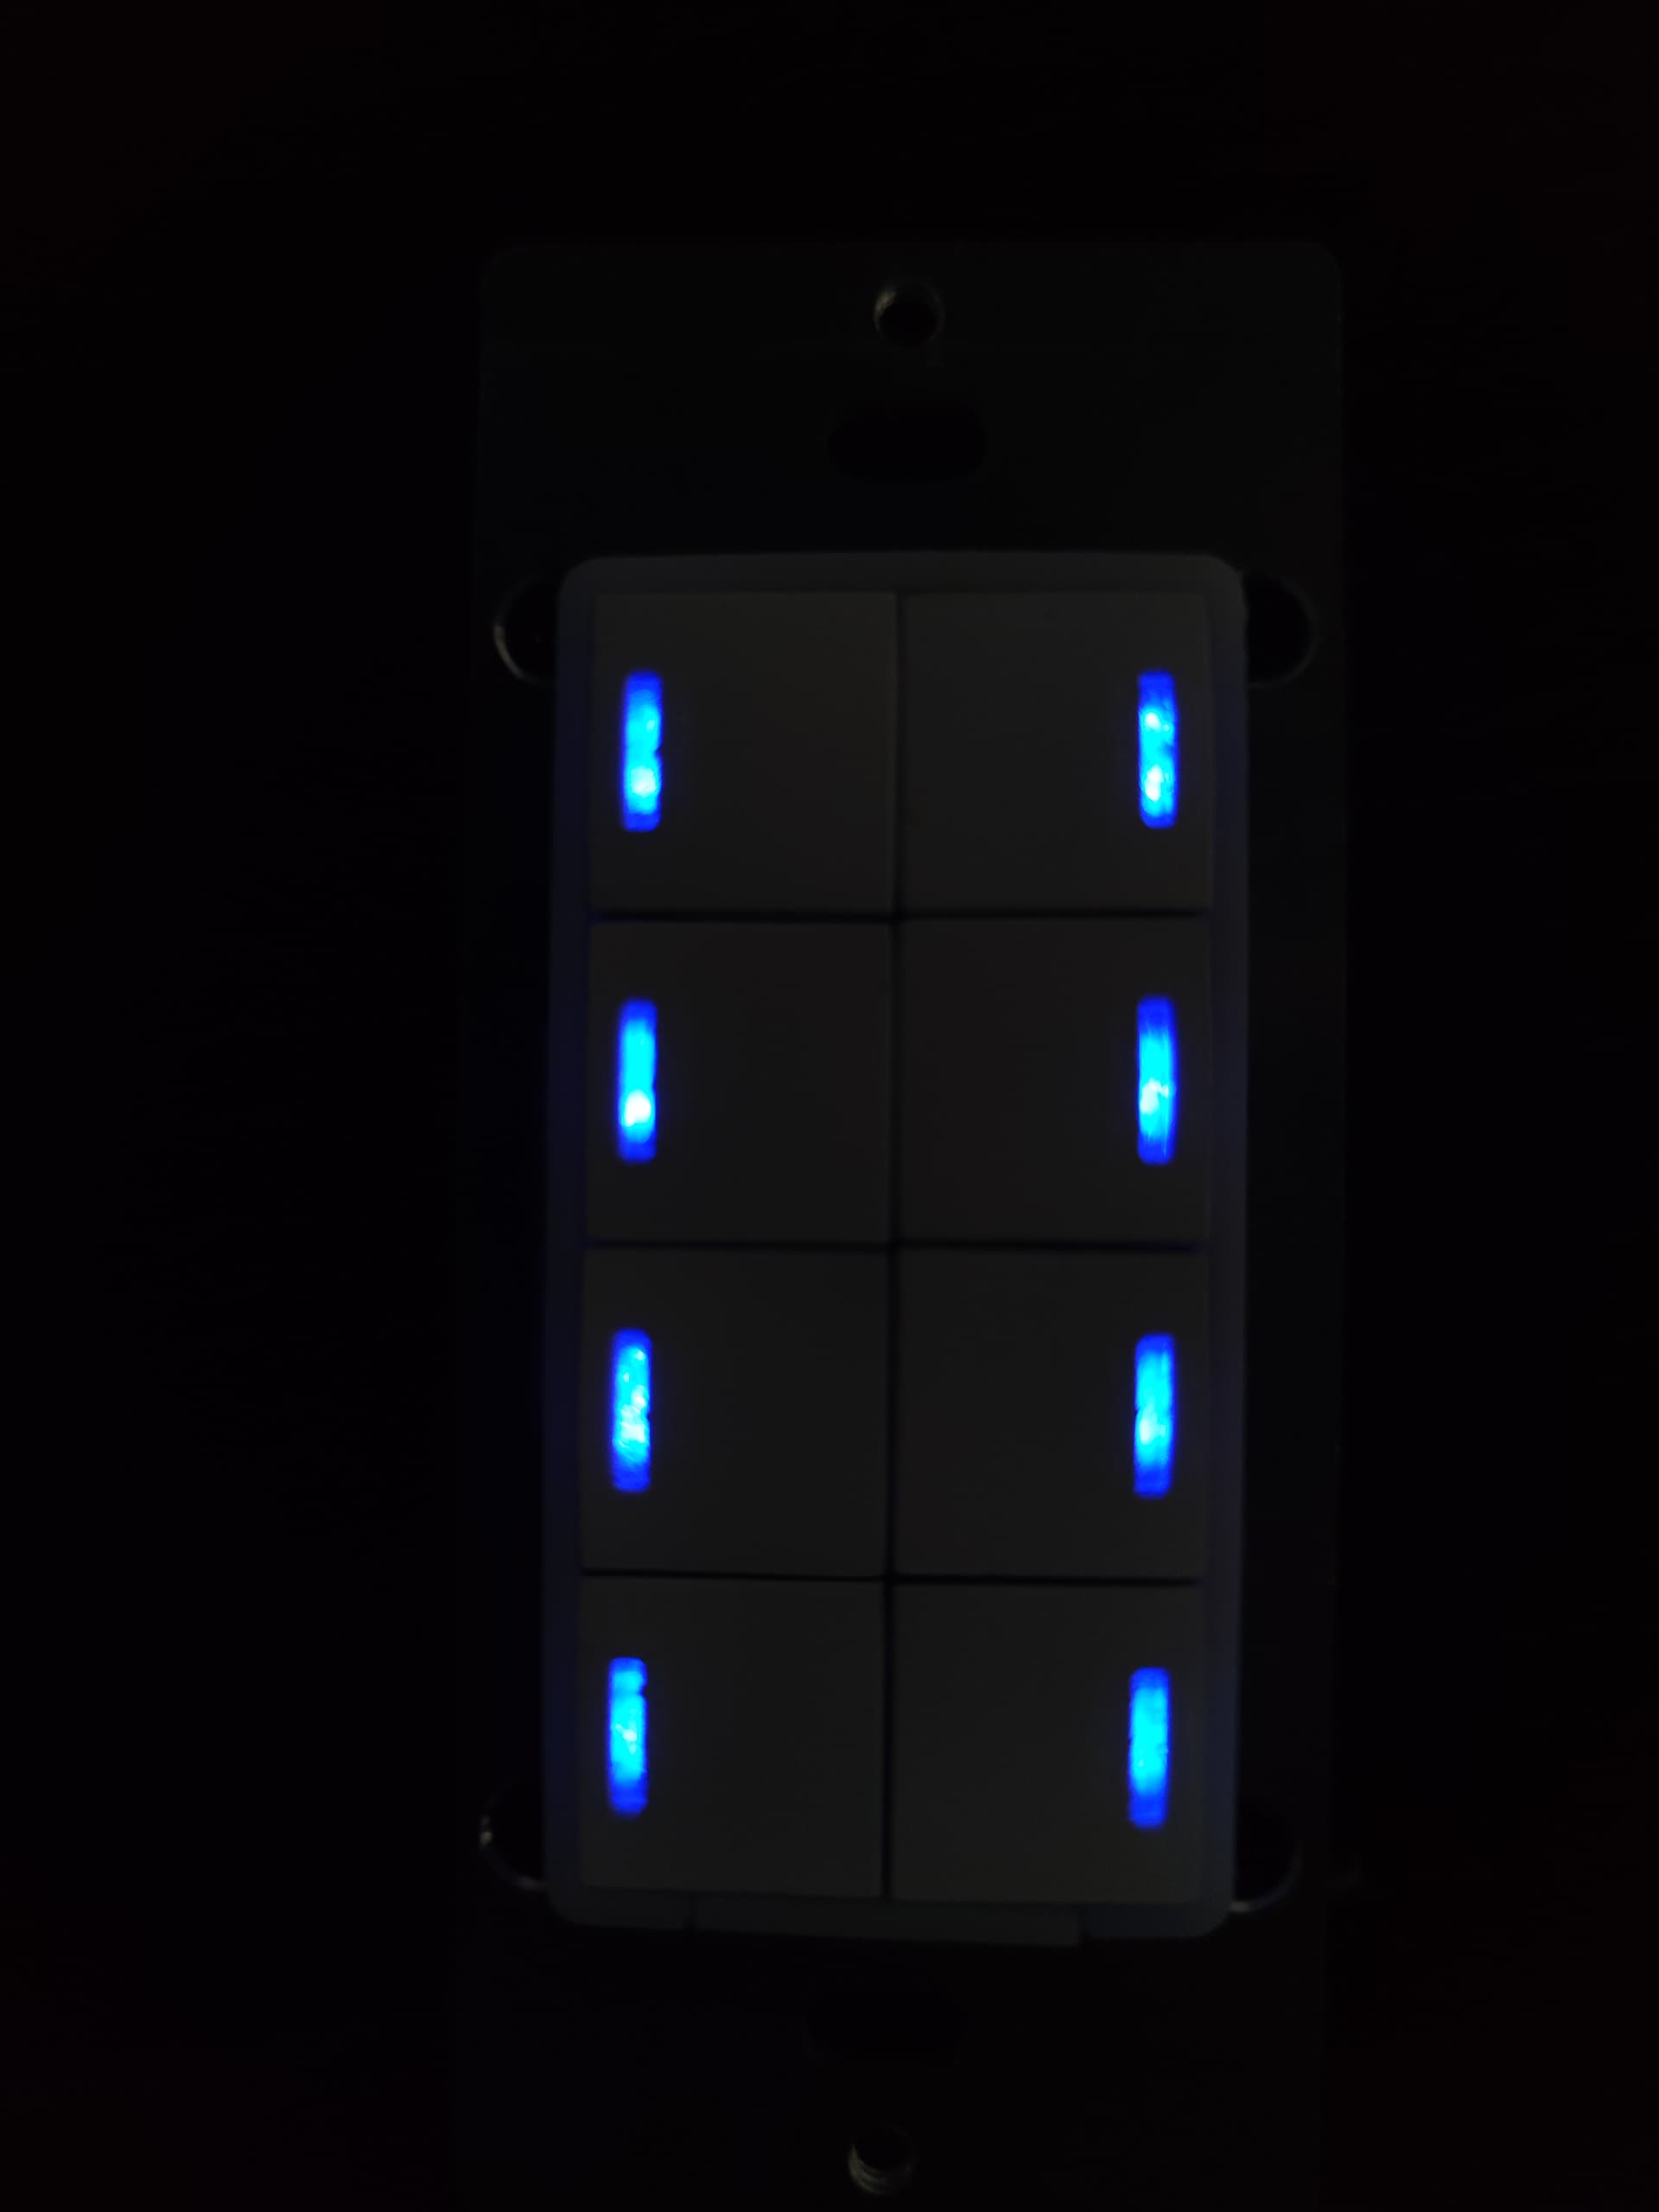
Some pictures of them testing the light leakage, which is virtually zero (3D print - see notes below)
This is the control sample we were told to test against - Control 4 version which is a $250-300 switch
A couple of videos:
Notes:
This is straight from the engineer regarding the 3D models.
Since all the plastic parts are 3D printed, the structural dimension accuracy is not enough, the surface is not smooth, and the elasticity of the lever is insufficient, resulting in some corner buttons not bouncing back in time. At present, this effect can only be achieved, and the good thing is that the gap between the buttons is reduced.
Basically saying that these are 3D prints so don’t expect it to be perfect.
Regarding the light leakage.
Eric Hines Please see the video and pictures.
- There is a phenomenon of color mixing between the backlight and the led bar, and the light of the backlight shines on the led bar, which is more obvious when the led bar is off or the brightness is low.
2.The button gap has a small part of light leakage. Reducing the brightness of the backlight can reduce these phenomena. It may also be possible to add a small number of baffles around the led bar to avoid mixing colors. We plan to send 2 inovelli samples and 2 B2B samples tomorrow, but the firmware is not perfect, there are basic dimming and OTA functions, and some backlights and led bar can be turn on by pushing buttons. You can also test button feel and light leakage. I hope you can confirm the tooling through these.
–
I’m excited to get these and move onto testing!
9 Likes
SUPER stoked!!! ![]()
1 Like
For the Zigbee protocol, are you going to be releasing a version that will have the buttons labeled for fan and lights to work in conjunction with Project Cheryl?
That’s a good question - I think by default, we’ll leave the buttons blank, but you can certainly etch them to say fan and light.
1 Like
You say that like that’s something I’m capable of doing… ![]()
We’ll offer it for ya and I know if a couple of 3rd party companies that will too ![]()
Or just get out your Sharpie ![]()
For an added fee, of course! ![]()
Actually… ![]()
You could also use a label maker or a vinyl cutter to make a sticker for it.
3 Likes
I think there’s a good opportunity there for a package deal, like the OG Z-Wave fan canopy/switch.
A package deal with the canopy and etched paddles would be great!
Trevor
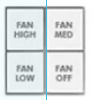
Selling just the button caps as a separate thing would be good too like they do it for the keypadlincs on insteon. I’m actually going to be replacing a failed fanlinc with the zigbee canopy module very soon and if there was a pre-etched button set that for high, medium, low and off for this to go with it, it would be the holy grail for me that I’ve been looking for years to work on replacing my insteon stuff with zigbee and ditching that extra hub/PLM
If there was a future package deal with the fan module, you’d have me breaking out my wallet on day 1 for that
3 Likes