I want to dedicate this project to a couple of guys who have been with us since just after we started out and have been not only an amazing help in the community, but have been good friends of mine over the years (and have kept me sane when I start to lose my mind). Thanks so much @Bry and @harjms – I’m truly grateful for everything and look forward to working on this with you!
Project Team
Feel free to tag any of us with questions. I’ll (Eric H) be the go-to’s for overall project management, timeline and anything other than firmware related questions, whereas Eric M is the go-to for any firmware related questions. Either way, we’re all here to help!
- Project Manager (Inovelli): @Eric_Inovelli
- Project Manager (Manufacturer): TBD
- Innovation Lead: @Eric_Inovelli
- Technical Lead: @EricM_Inovelli
Introduction
As per our tradition of working with you amazing people, here’s what this thread allows us to do as a community.
- Allows us to keep everyone updated on the project status (either good or bad)
- Allows you to participate and help us develop amazing products together
- Enjoy each other’s company and have fun talking home automation
How this initial post will be laid out is in five sections:
- Project Overview
- Initial Hardware & Software Requirements (edited to remain up-to-date)
- Timeline (edited to remain up-to-date)
- Pinned Ideas & Shout-outs (edited to remain up-to-date)
- Weekly Recap
Housekeeping
- DATES & FUNCTIONS ARE NOT SET IN STONE: Just a reminder that all dates and functions are sometimes fluid. We have to make choices based on feasibility, opportunity costs, and overall timeline. I will be as transparent as possible on these decisions, but just a heads up, they may not always be exciting.
- NO IDEA IS A BAD IDEA: Ok, some are, but honestly throw out anything that you can think of. If we use your idea, we’ll credit you and send you a free device, so take that shot!
- VERSION 1 VS VERSION 2: Some ideas may be fantastic, but may not make the cut for the first version of the product. Once the product is locked in from a function standpoint, we’ll keep a tally of V2 ideas and then once the product is produced, we’ll move the ideas over to a suggestions/wishlist section.
Ok, let’s get this party started!
Project Overview
The purpose of this project is to step outside lighting a bit and offer up a product that has been requested for a long time (going on 7+ years) – a wall outlet.
Some may remember, but we started off selling smart plugs and while they were great, I always wanted to have a cleaner look by creating a wall outlet.
In addition, there are a lot of people (myself included) who have switched outlets in their house that our current light switches do not support (more on that in another new project) and we’d love to offer up a solution to that.
Project Name - Jambry
I’m going to be honest, I have been running out of ideas for new names, so I decided to combine the names of the two people this project is dedicated towards (James and Bryan) – Jam(es)Bry(an).
As I mentioned at the beginning of this thread, they’ve been an incredible resource to the community, have been an incredible resource to the development and testing of many of our products and have been great friends of mine over the years.
I’m incredibly grateful for their help and friendship and at the very least wanted to create something in their name.
Jambry - Hardware Requirements
The hardware for the wall outlet can be found below.
Hardware
NOTE: Subject to change as R&D has not kicked off.
Hardware - Outlet (Look / Feel)
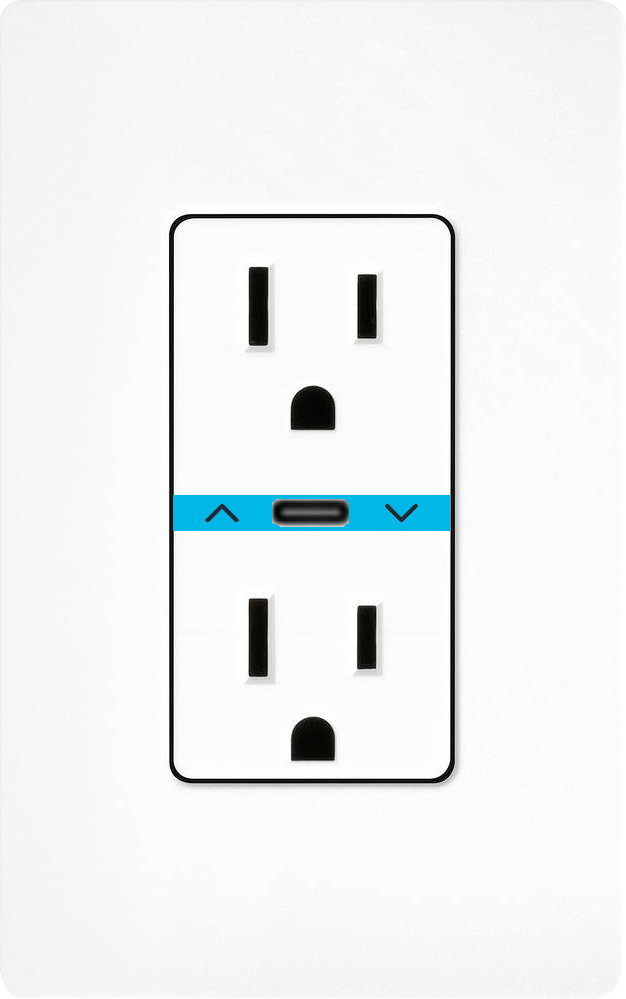
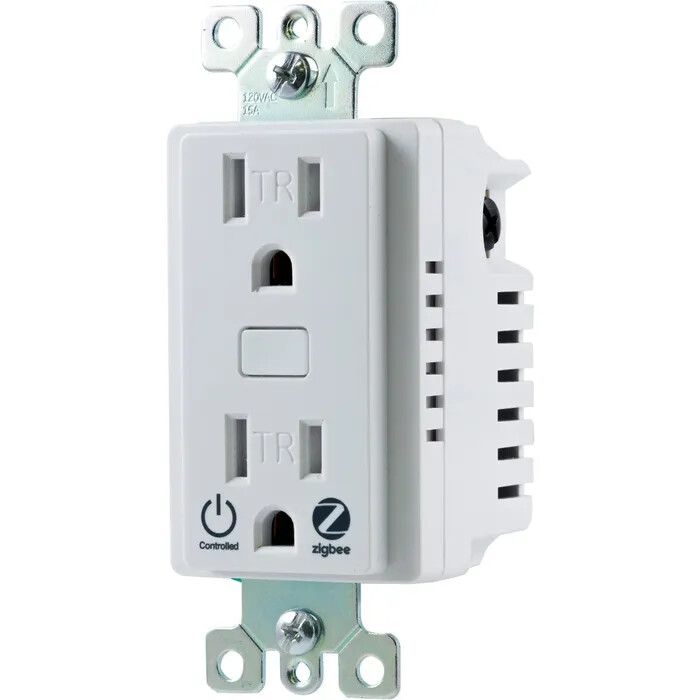
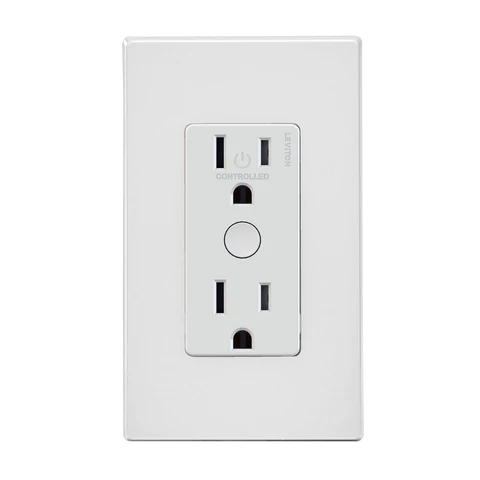
- Standard Decora Style Outlet – match standard decora style outlet and the color should match Lutron Claro wall-plate
- Dual Smart Outlets – each outlet should be smart and should have a 16A relay.
- RGBW LED Bar – Should match our switch RGBW LED Bar
- LEDs should be RGBW
- LEDs should also be able to be dimmed and should have 2 per side
- LED Bar should allow for animations that match our switches
- USB-C Outlet – This should be a standard (non-smart) USB-C with fast charging capabilities (however, it should be able to determine whether something is plugged in to it
- Outlet Control Buttons – There should be buttons on each side of the USB-C that can be depressed to turn on/off the dual outlets
- Slim Design – depth of switch should be as slim as possible so that it can fit into metal boxes
- Color Change Options – the outlet cover should be able to be removed so various color options can be installed like our switches
- Breakable Line/Neutral Bus Bars – this allows for split receptacle for separate switch control
Hardware - Features & Capabilities
- Dual On/Off – both outlets should be able to completely shut off the load it’s attached to
- Zigbee 3.0 - use the latest Zigbee chipset (MG24)
- Switched Outlet Compatible – both outlets should work as a switched outlets if need be (See Appendix C)
- Dumb Switch Compatible1 - Should be able to work with an existing, “Dumb” switch
- Aux Switch Compatible – Should be able to work with an Inovelli Aux Switch
- Inovelli Smart Switch Compatible – use Zigbee Bindings
- Power Monitoring - Independent reporting of power / energy for each outlet as well as combined reporting2 (no need to measure USB-C)
- Zigbee Distance Estimator - should be able to estimate the signal strength of the Zigbee signal and notify via the LED bar (see Appendix D)
- Instant On – when the buttons are tapped 1x (and scenes aren’t used), switch should turn the load on instantly (no delay)
- Configurable delay in 100ms increments (see tech doc)
- General Purpose Load – Should be General Purpose Load Certified by ETL
- Tamper and Wet Resistant – the outlets should both be tamper and wet resistant (so it can be used in garages and outside)
- 16A Relays – both outlets should have a max amperage of 16 like our On/Off switch
- 120V/277V Compatibility – have the outlet be compatible with both 120V and 277V (Optional, but preferred for commercial use)
- Inductive Load compatible – the outlets should be able to control an inductive load (On/Off only, no speed control)
- Overload protection – outlets should have overload protection in case of a power surge
Jambry - Software Requirements
- Zigbee Scene Control – Multi-taps to activate various scenes
- RGBW Bar Config - bars should be able to change colors and dimmed to the customer’s favorite level
- Auto Timer - outlets should each have a timer that shuts the outlets off after a certain amount of time
- Easy Config - outlet endpoints and parameters should be able to be configured via the buttons.
- There should be infinite customization via parameters in the firmware, but also set customizations for HUB’s that do not allow parameter changes (ie: Wink)
- Internal Relay Disable - internal relays should be able to be disabled locally and via Zigbee
- OTA Ready - ability to update firmware via OTA
- Zigbee Associations – Each outlet should be able to be associated to our Inovelli Zigbee switches
- USB-C Plug-In Detection – the USB-C port should be able to detect when something is plugged in (this will allow for a routine where a cell-phone is plugged in activates a night-time scene)
Timeline
Ah, everyone’s favorite part. When is this flippin thing going to be released? Great question – here’s the high-level of what happens leading up to the first release of the timeline:
- We present a PRD (Project Request Document) that has all of the above info in it (see above section for the pdf)
- R&D (manufacturer) analyzes the PRD and we go back and forth until we can align on 90% of the product
- Initial Timeline is released and remaining 10% of product features are added/cut along the way
Again, just want to throw this out there – I don’t have a crystal ball so I can’t predict things that come up along the way. Trust me when I say we’re trying our best to get things launched on time.
Pre-Initial Timeline Milestones:
- Present PRD: Completed
- R&D Analyzation: In-Progress
- Initial Timeline Released: In-Progress
Timeline (Estimated)
The initial timeline will be shown below once released and will be updated monthly.
-
Structure & Hardware Design
Details: ID/Structure Design, PCB Layout & PCBA Making, Hardware Sample, Structure Tooling
Est Completion Date: July 15, 2024
Status: NOT STARTED -
Software Development
Est Completion Date: September 10, 2024
Status: NOT STARTED -
Beta Testing
Est Completion Date: October 23, 2024
Status: NOT STARTED -
Marketing Material
Details: Manual Creation, Box Design, Insert
Est Completion Date: October 17, 2024
Status: IN PROGRESS -
Certifications
Details: Thread, Matter, FCC/IC, ETL
Est Completion Date: November 10, 2024
Status: NOT STARTED -
Mass Production
Details: Materials Purchasing & Trial Run on Production Line
Est Completion Date: November 15, 2024
Status: NOT STARTED
Pinned Ideas & Shout-Outs
Here are the ideas from the community. We sincerely appreciate them, we love them, and we couldn’t create the products we do without them. So, thank you for your input and let’s continue to innovate together and change the home automation category for the better (NOTE: if an idea is crossed out, it’s not because it wasn’t valid, nor was it something we didn’t consider – we’ve discussed it internally or with the manufacturer and unfortunately it was not feasible).
Hardware
Software
Monthly Recap
Every month I’ll provide a recap as well as edit the sections above so we can all keep track. If you have any specific questions you’d like me to ask, feel free to tag me and let me know so I can ask the manufacturer as well.
February 2nd, 2024: I’ve presented the PRD (Project Request Document) to the manufacturer and they have finished analyzing it – they are working on pricing and will send it to me before Chinese New Year starts (02/18/24)
April 18, 2024: Initial timeline has been released with a targeted production date of November 15th, 2024.
October 16, 2024 Update: Zigbee Wall Outlet | Project Jambry - #162 by Eric_Inovelli


