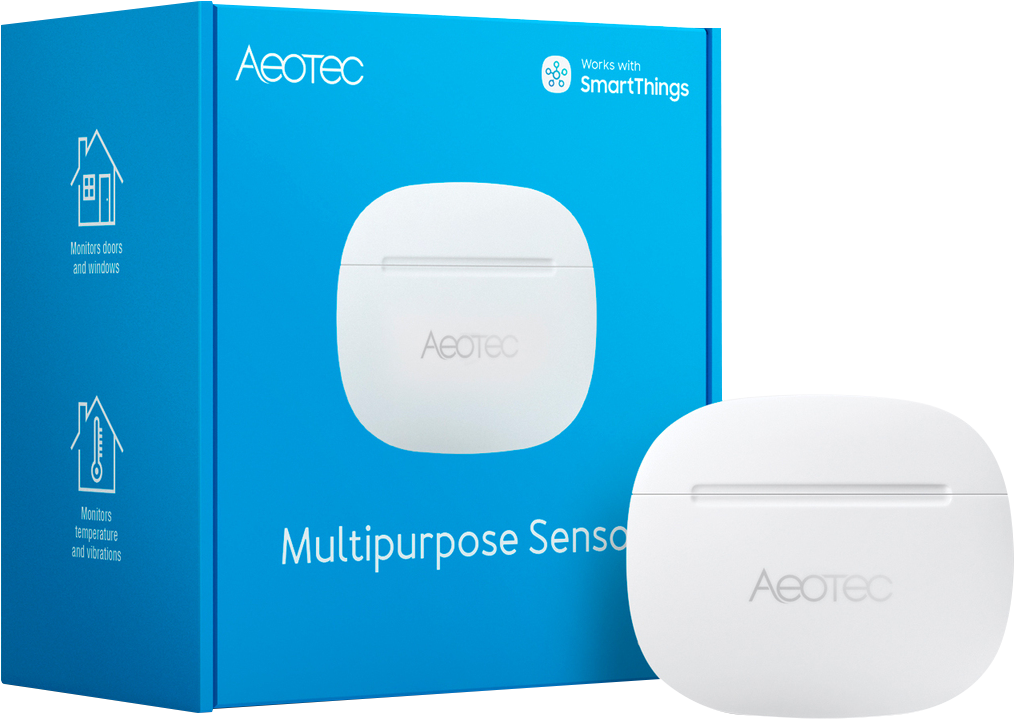
Inovelli Store Page: Aeotec Multipurpose Sensor
DISCLAIMER
While we (and our community) try to keep these instructions up to date, it’s often hard due to the many updates to our firmware, SmartThings app & platform changes, as well as many other factors outside of our control. If any updates/edits need to be made to these instructions, please comment on this thread so we can keep it up-to-date:Wiki - General Feedback/Suggestions Thread
COMMUNITY DRIVEN
Our entire Knowledge Base (which includes manuals) is community driven. This means that we at Inovelli work together with our amazing community to keep articles up-to-date. We’d love it if you’d contribute in any way you can, be it making edits, submitting how-to’s so others can learn, participating in our innovation projects, or simply commenting on threads. Thank you so much for your support and dedication to really making an impact in the smart home market.Community Knowledge Base
NOTE: All of the pictures can be clicked on to be made larger. Also, if you’re on mobile, you can either click on the pictures or turn your phone side-ways and the pictures will become larger.
Setup Instructions Overview
This is Inovelli’s rendition of the digital manual for the Aeotec Multipurpose Sensor on the Hubitat platform.
Navigating these Instructions
For desktop users, the, “Table of Contents” is located to the right of the screen, whereas for mobile users, it can be found at the bottom of the screen.
NOTE: If you do not see the table of contents, click here: Setup Instructions | Aeotec Multipurpose Sensor - SmartThings
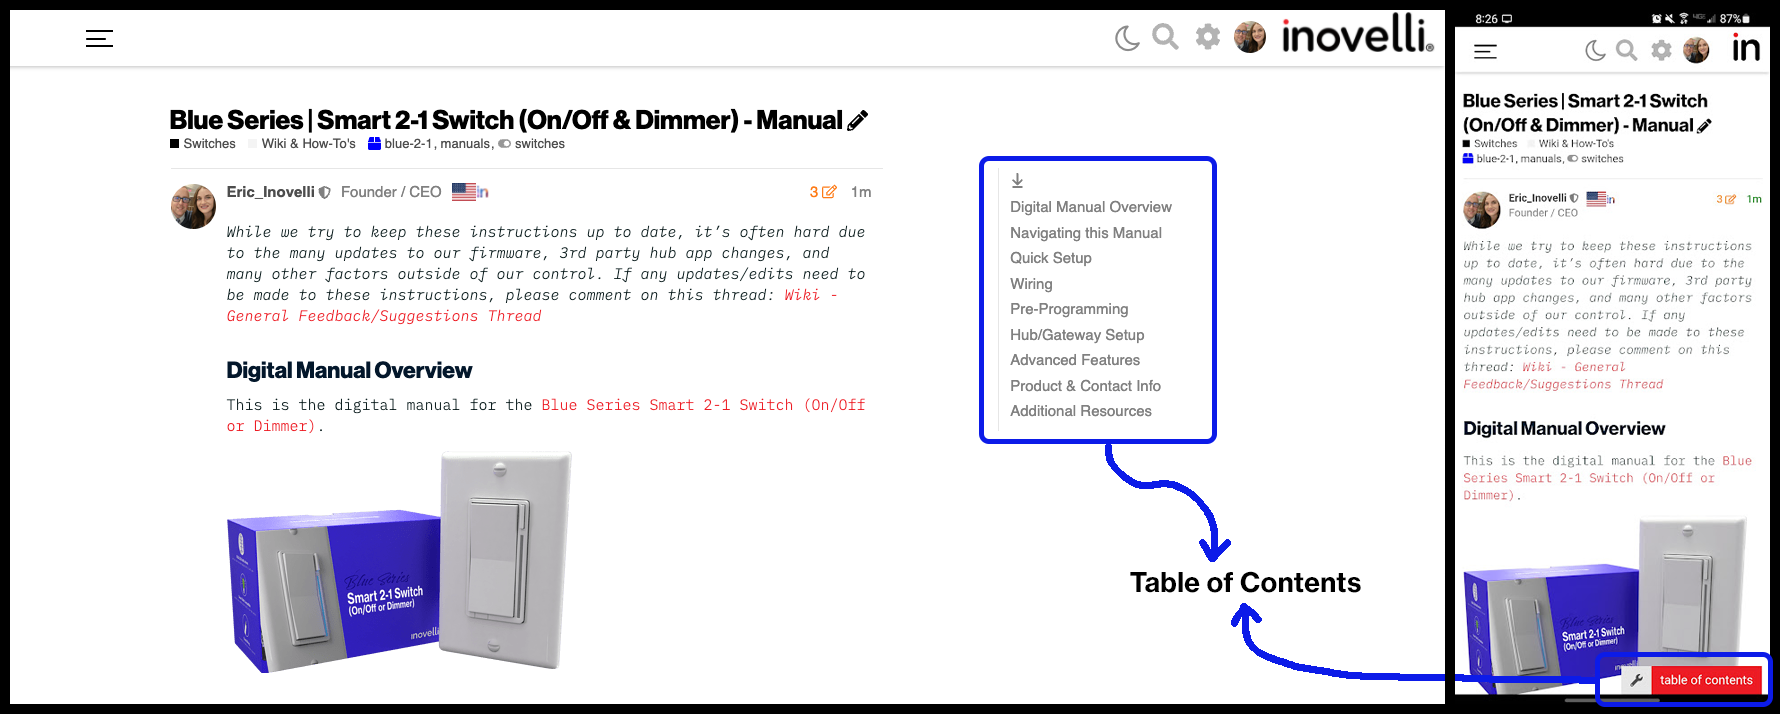
Please click on any of the sections to get started. We recommend working your way down as it follows an intentional flow that is user friendly and hub/gateway specific.
As always, any questions, please see the Additional Resources links section or submit a ticket, we’re happy to help.
Quick Setup Instructions
Follow these if you have already installed this particular version of the sensor before and are just looking for some quick pairing instructions. If this is your first time installing the sensor, please skip this section and work your way through the various sections below starting with the Pairing Instructions.
Let’s begin:
- Make sure your sensor is blinking green and red by doing one of the following pairing methods:
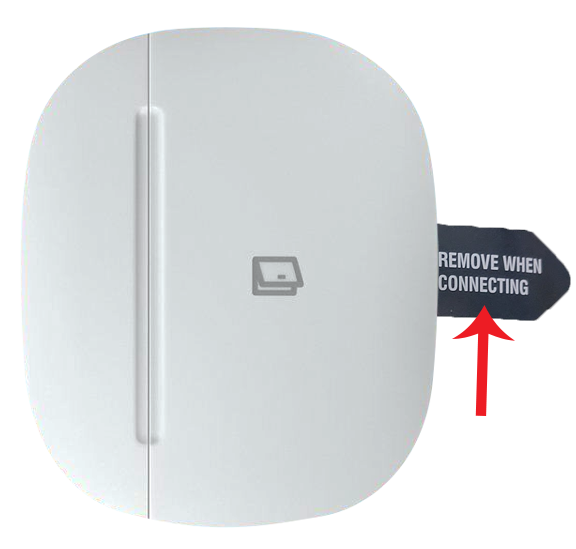
Pulling the Plastic Tab
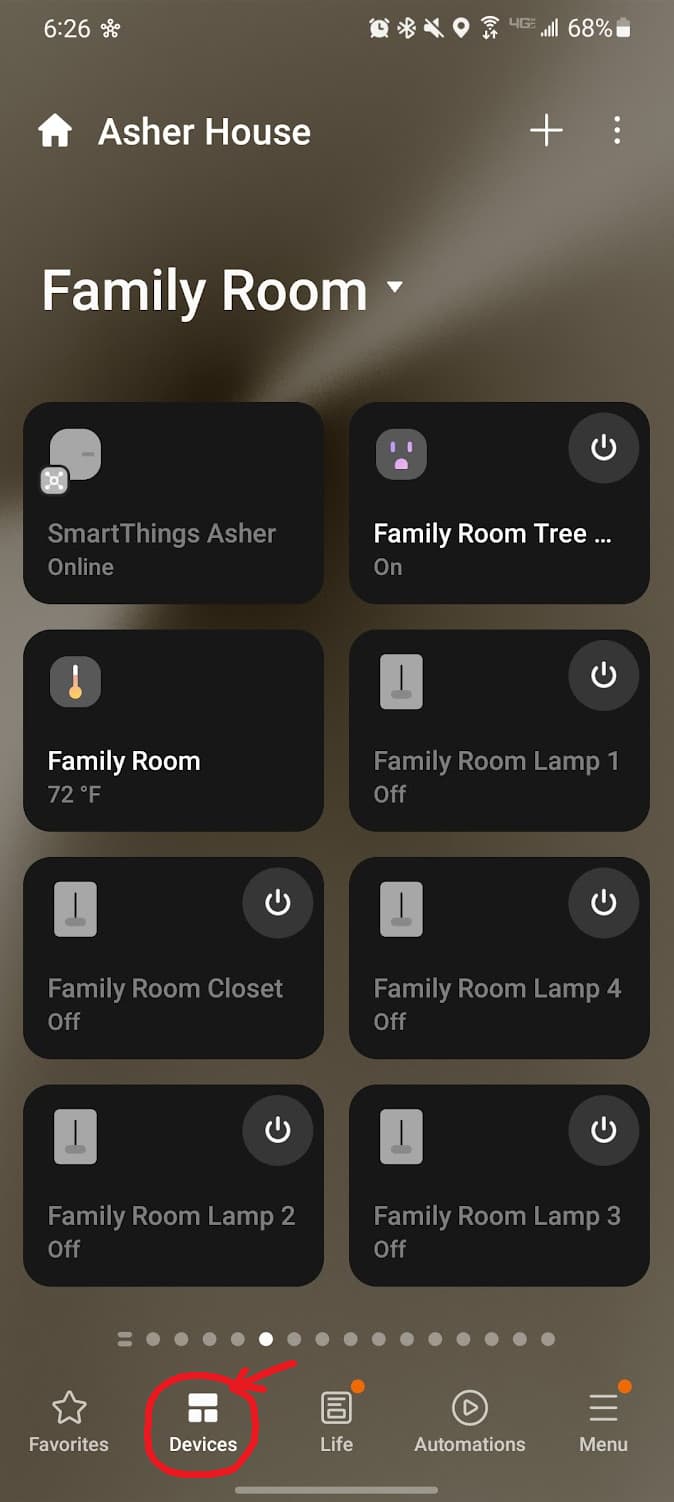
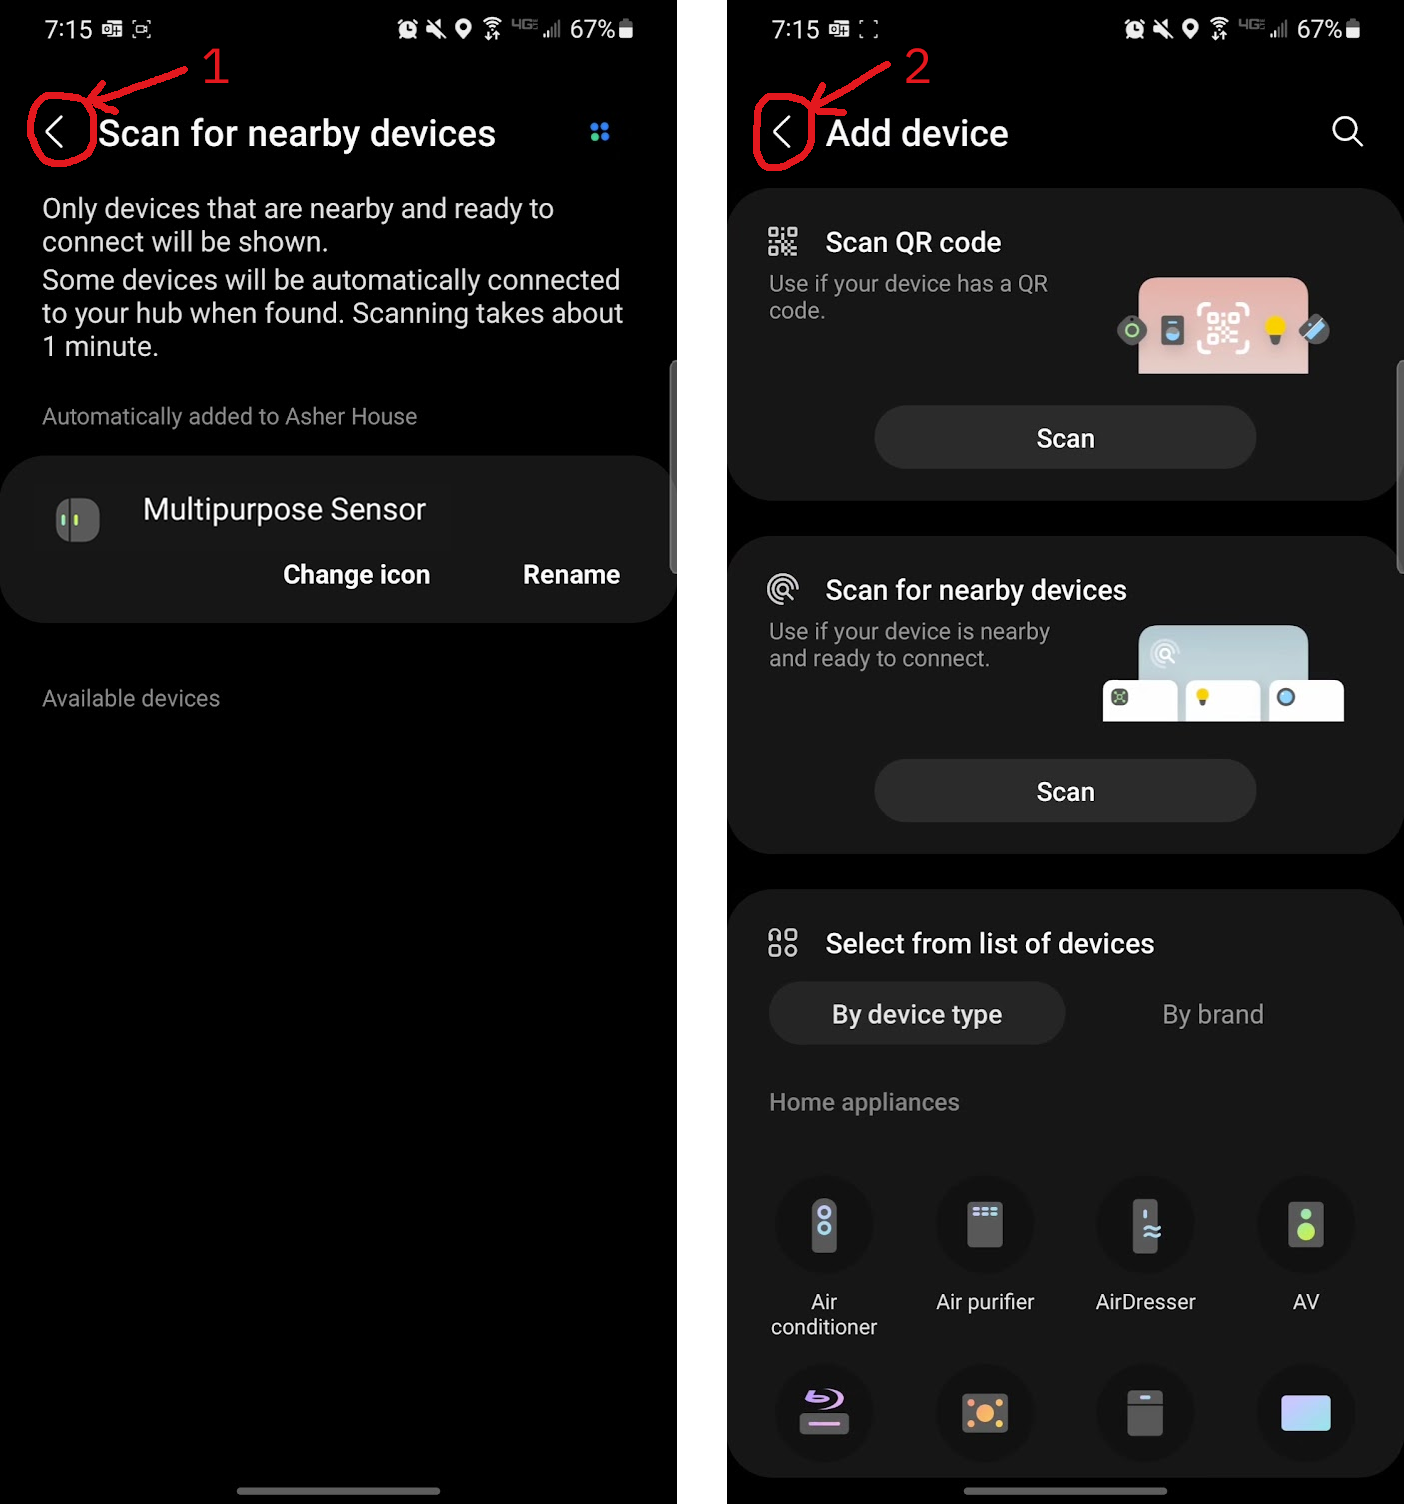
Remove the plastic tab that says, "Remove When Connecting" and the sensor should start blinking green and red. If there is no plastic tab as shown below, please move on to option #2. - With your LED pulsing blue, open up your Hubitat App, click on the hamburger bar at the top left (three lines) and select, “Devices”
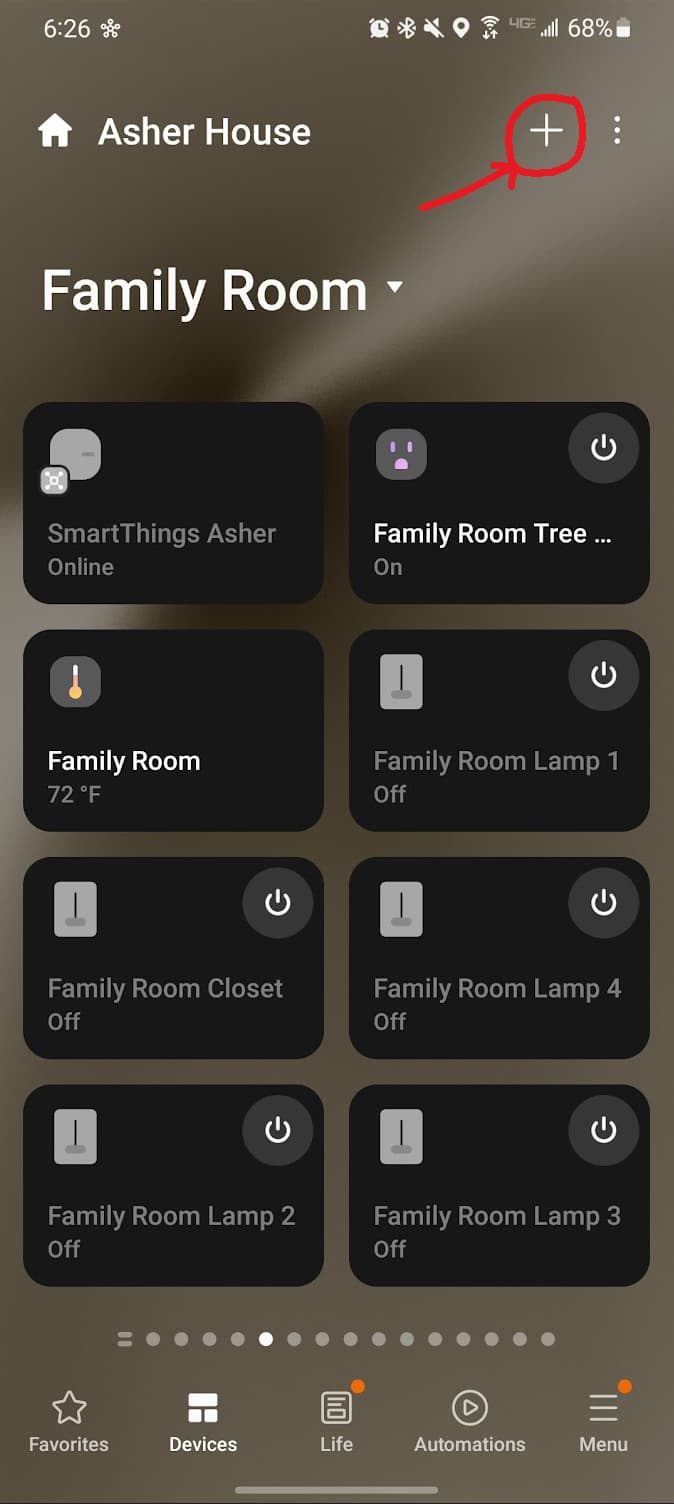
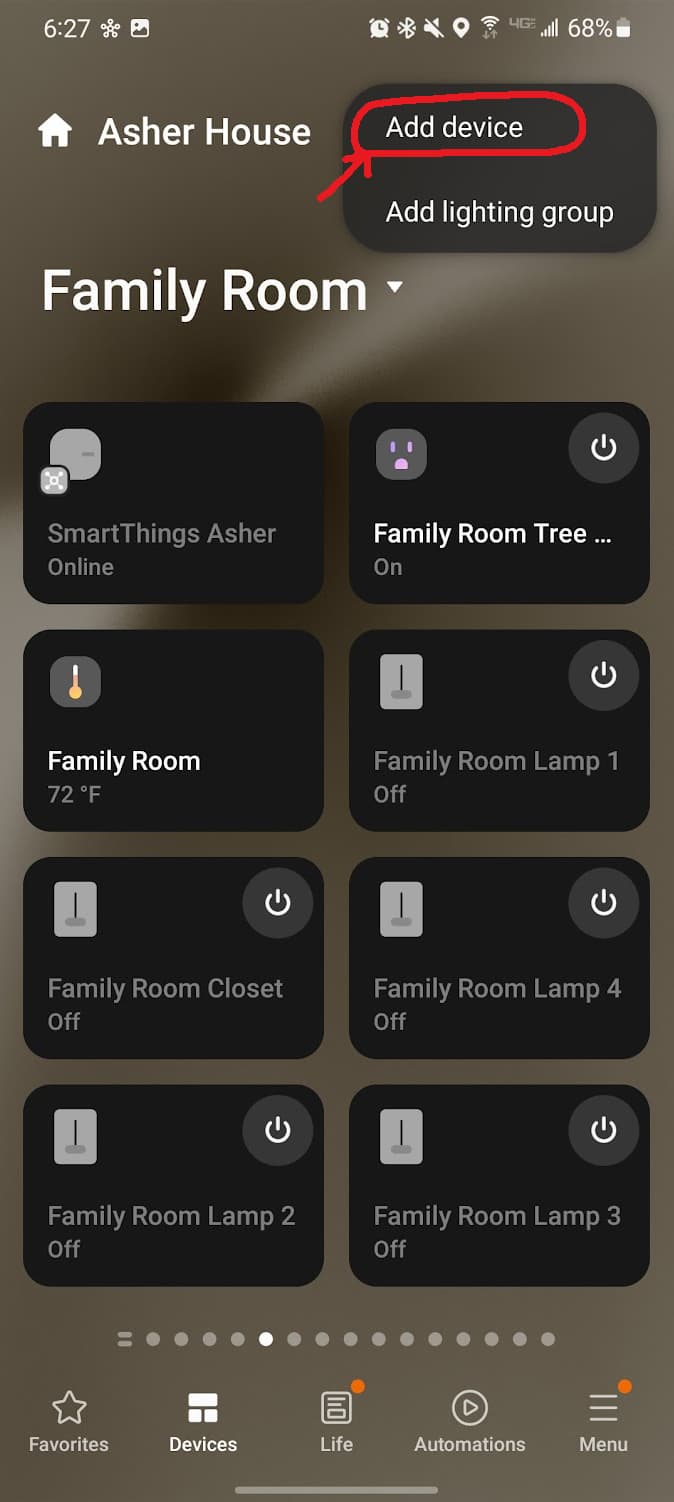
- Then select, “Add Device”, then, “Zigbee” (under “Add device manually”) and finally, “Start Zigbee Pairing”
- Hubitat should then search for, find and initialize the sensor
Prerequisites
There are no prerequisites for this sensor on the Hubitat platform as everything is fully integrated and the sensor runs locally.
Pairing Instructions
NOTE: If you run into issues pairing, please try moving the sensor closer to the hub during the pairing process.
1. Initiate Pairing on the Sensor
There are two ways to initiate the pairing process on this sensor. Please select the drop-down that corresponds to your situation.
Pulling the Plastic Tab
Remove the plastic tab that says, "Remove When Connecting" and the sensor should start blinking green and red. If there is no plastic tab as shown below, please move on to option #2.
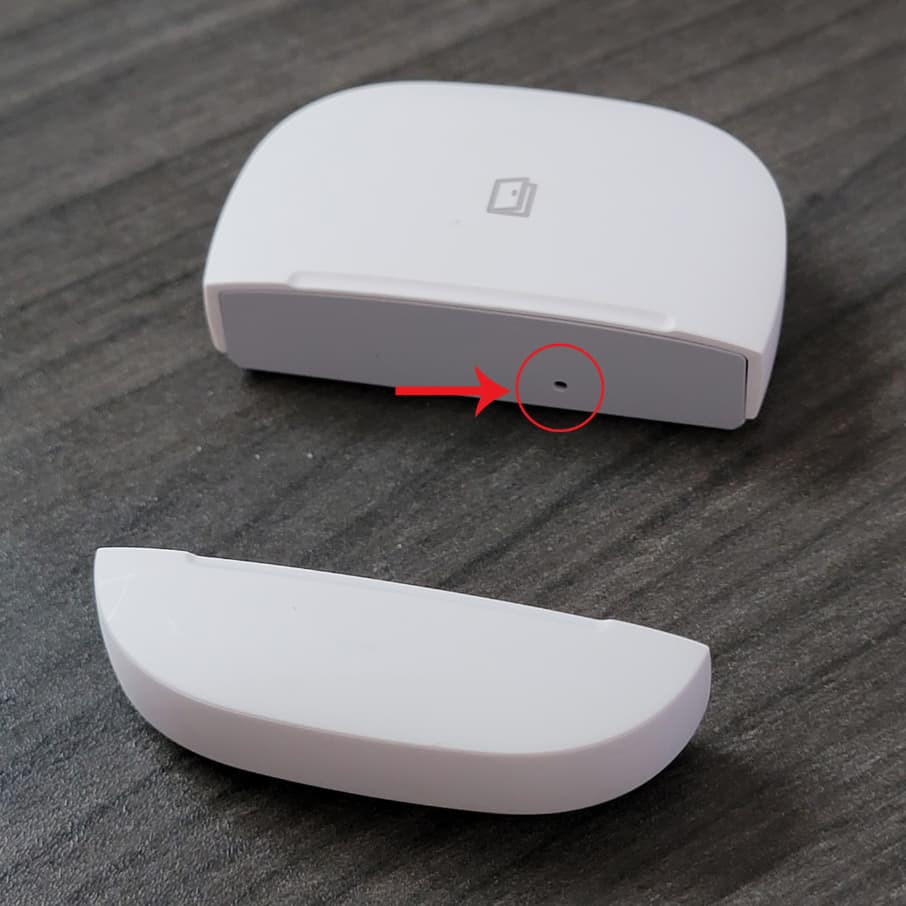
Resetting the Sensor
Insert a paperclip or something similar into the reset hole located on the inside, flat portion, of the sensor as shown below for 2-3 seconds until it starts blinking green and red.
Once your sensor is blinking green and red, move onto the next step. You will have 2 minutes to complete it before the sensor times out.
2. Initiate Pairing on the Hub
After you’ve initiated pairing on your sensor, it should be flashing green and red (reminder, you will have 2 minutes until it times out).
If it’s not flashing, please insert a paperclip into the side of the sensor for 2-3 seconds (click below for a visual).
Feel free to follow the written instructions below by clicking the drop down or follow along with the video below:
Written Instructions
- Open your Hubitat App (web or mobile) and click on the hamburger menu at the top left—
- Click on the, “Devices” tab—
- Under, “Add device manually”, click on, “Zigbee” and then, “Start Zigbee Pairing” – Hubitat will then start the pairing process and if successful, the sensor will turn solid green for 3 seconds—
- In addition, your app will show your sensor (likely called, “SmartThings Multipurpose Sensor V5” or something similar)—
- Feel free to rename the sensor—
- Next, click on, “View Device Details” to be taken to the device page—
- Finally, feel free to test out the remote functions and configure the parameters—


Once your sensor is successfully paired, check to make sure you have basic functionality of your sensor by opening and closing it and look to see if it updates in the app.
If successful, we can move onto customizing your sensor in the next section.
Mounting Instructions
There are a few different ways this sensor can be mounted and/or used. We recommend waiting to mount the sensor until after you pair it just in case there are issues during the pairing process and you need to move it closer to the hub.
For full mounting instructions, please click the following link: Multipurpose Sensor Mounting Instructions