IMPORTANT: If you are here because you want to associate your bulb directly to your light switch via Z-Wave, please follow the instructions to pair this bulb non-securely (also make sure your switch is paired non-securely).
While we try to keep this article up to date, it’s often hard due to the many updates of both our firmware and SmartThings firmware. If any updates/edits need to be made to this article, please comment on this thread: https://community.inovelli.com/t/wiki-general-feedback-suggestions-thread/7399
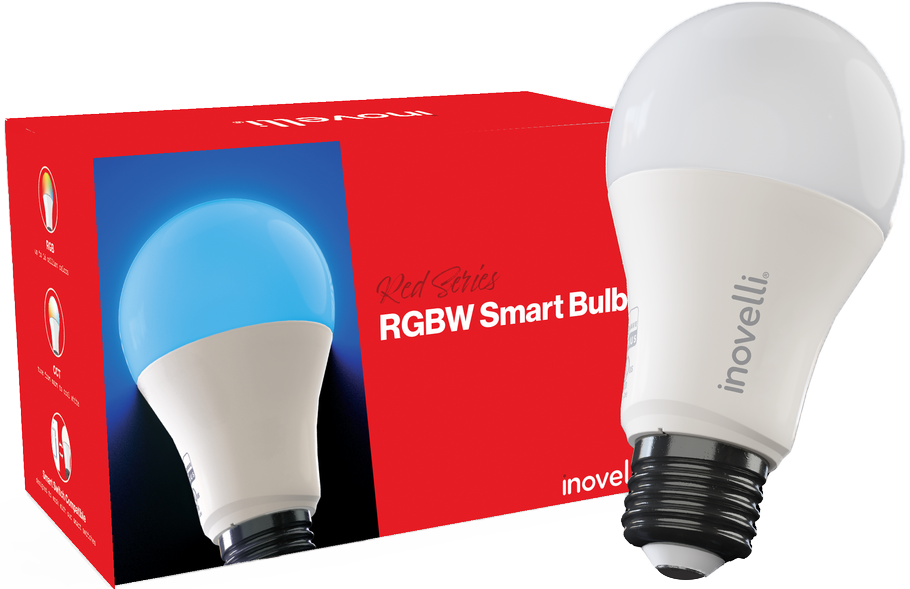
Overview
This page will discuss how to setup your Red Series RGBW Smart Bulb on the SmartThings platform (hardware made by Samsung or Aeotec).
Make: Inovelli (or Ilumin)
Model #: LZW42
Amazon ASIN: B07VGB8Q61
UPC: 850007431006
Prerequisites
For the best experience, we recommend downloading and installing the Inovelli device handler for your bulb.
To access the device handler page as well as instructions, please see the below links:
- Installation: Device Handler Installation Instructions
- Device Handler: LZW42 Device Handler Raw Code
IMPORTANT: Your smart bulb must have constant power in order to work. If you are putting your smart bulb on a, “dumb” switch, you will need to make sure your, “dumb” switch remains in the on position.
Inclusion / Pairing Instructions
Depending on the firmware version you have, there may be a couple of ways to pair your smart bulb.
- Firmware Version 2.31 and above = Non-Secure and S0
- Firmware Version 2.30 and below = S0 Only
NOTE: If you would like to take advantage of, “Smart Bulb Mode”, you will need to be on firmware version 2.31 and the bulb (and switch) will need to be paired without security (ie: non-secure).
Non-Secure Inclusion Method
Use this method if you want your smart bulb to be directly associated (via Z-Wave) with your Inovelli switch (dimmer, on/off, or fan/light) or if you prefer to include without security (sometimes your network can be faster without security).
To associate your bulb with an Inovelli switch, please click here: How-To's | Setup Z-Wave Associations - SmartThings
Video Instructions (Non-Secure)
 | Inovelli RGBW Smart Bulb | SmartThings")
Written Instructions (Non-Secure)
NOTE: The below directions assume you have installed the device handler prior to pairing.
Step By Step Instructions
- Disconnect power from the bulb
- Open your SmartThings App
- Press the (+) button at the top right of the screen
- Click on, “Device” (or, “Add Device” depending on the screen you’re on)
- Click, “Scan nearby” at the top right of the screen
- Follow this sequence: Turn bulb on, Turn bulb off, Turn bulb on, Turn bulb off, Turn bulb on (about a half second in between each sequence) – for a visual, click here: https://youtu.be/OD4aS0F8oEY?t=22
- The bulb should blink twice indicating it’s in inclusion/pairing mode
- If successful, the bulb should blink once more
- In addition, your app will show your bulb (it will say, “Inovelli Bulb Multi-Color”)
- Go back to the main menu, click on, “Devices” and look for your bulb – it should show up under, “No room assigned”
- Feel free to rename it and assign it to the proper room (to do this click on the bulb, then click on the three dots and select, “Edit”)
_____________
Secure Inclusion Method (S0)
Use this method if you want your smart bulb to be paired with security. NOTE: This is the default method.
Video Instructions (S0)
Coming soon.
Written Instructions (S0)
NOTE: The below directions assume you have installed the device handler prior to pairing.
Step By Step Instructions
- Disconnect power from the bulb
- Open your SmartThings App
- Press the (+) button at the top right of the screen
- Click on, “Device” (or, “Add Device” depending on the screen you’re on)
- Search for (or scroll to), “Ilumin by Inovelli” and select it
- Click on, “Lighting” and then click, “Ilumin”
- Press, “Start” – your hub is now in inclusion/pairing mode (either follow the instructions on your screen or keep reading below)
- Turn the bulb back on
- The bulb should blink twice indicating it’s in inclusion/pairing mode
- If successful, the bulb should blink once more
- In addition, your app will show your bulb (it will say, “Inovelli Bulb Multi-Color”) – feel free to rename it
- Go back to the main menu, click on, “Devices” and look for your bulb in the room you assigned it
NOTE: You may get a notification that not all security features are supported. This is because the bulb only supports S0 encryption whereas some Z-Wave devices (such as our switches) support S2 encryption.